Waukesha Cherry-Burrell
®
Brand Universal 3 Pump Maintenance
11/2018 95-03103 Page 43
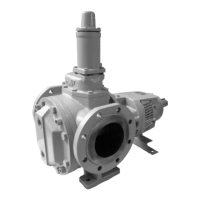
180-U3 and larger pumps: Install Seal Components
(single mechanical seal)
NOTE: SPX FLOW recommends
replacing elastomers every time the
pump is serviced.
NOTE: For single mechanical seal on 130-U3 and smaller
pumps, see page 40. For double mechanical seal, see page 57.
1. Lay out the required parts for each seal.
To lift the body of a 130, 180, 210, 220, or 320-U3, use a lifting
strap threaded through the ports on either side of the body.
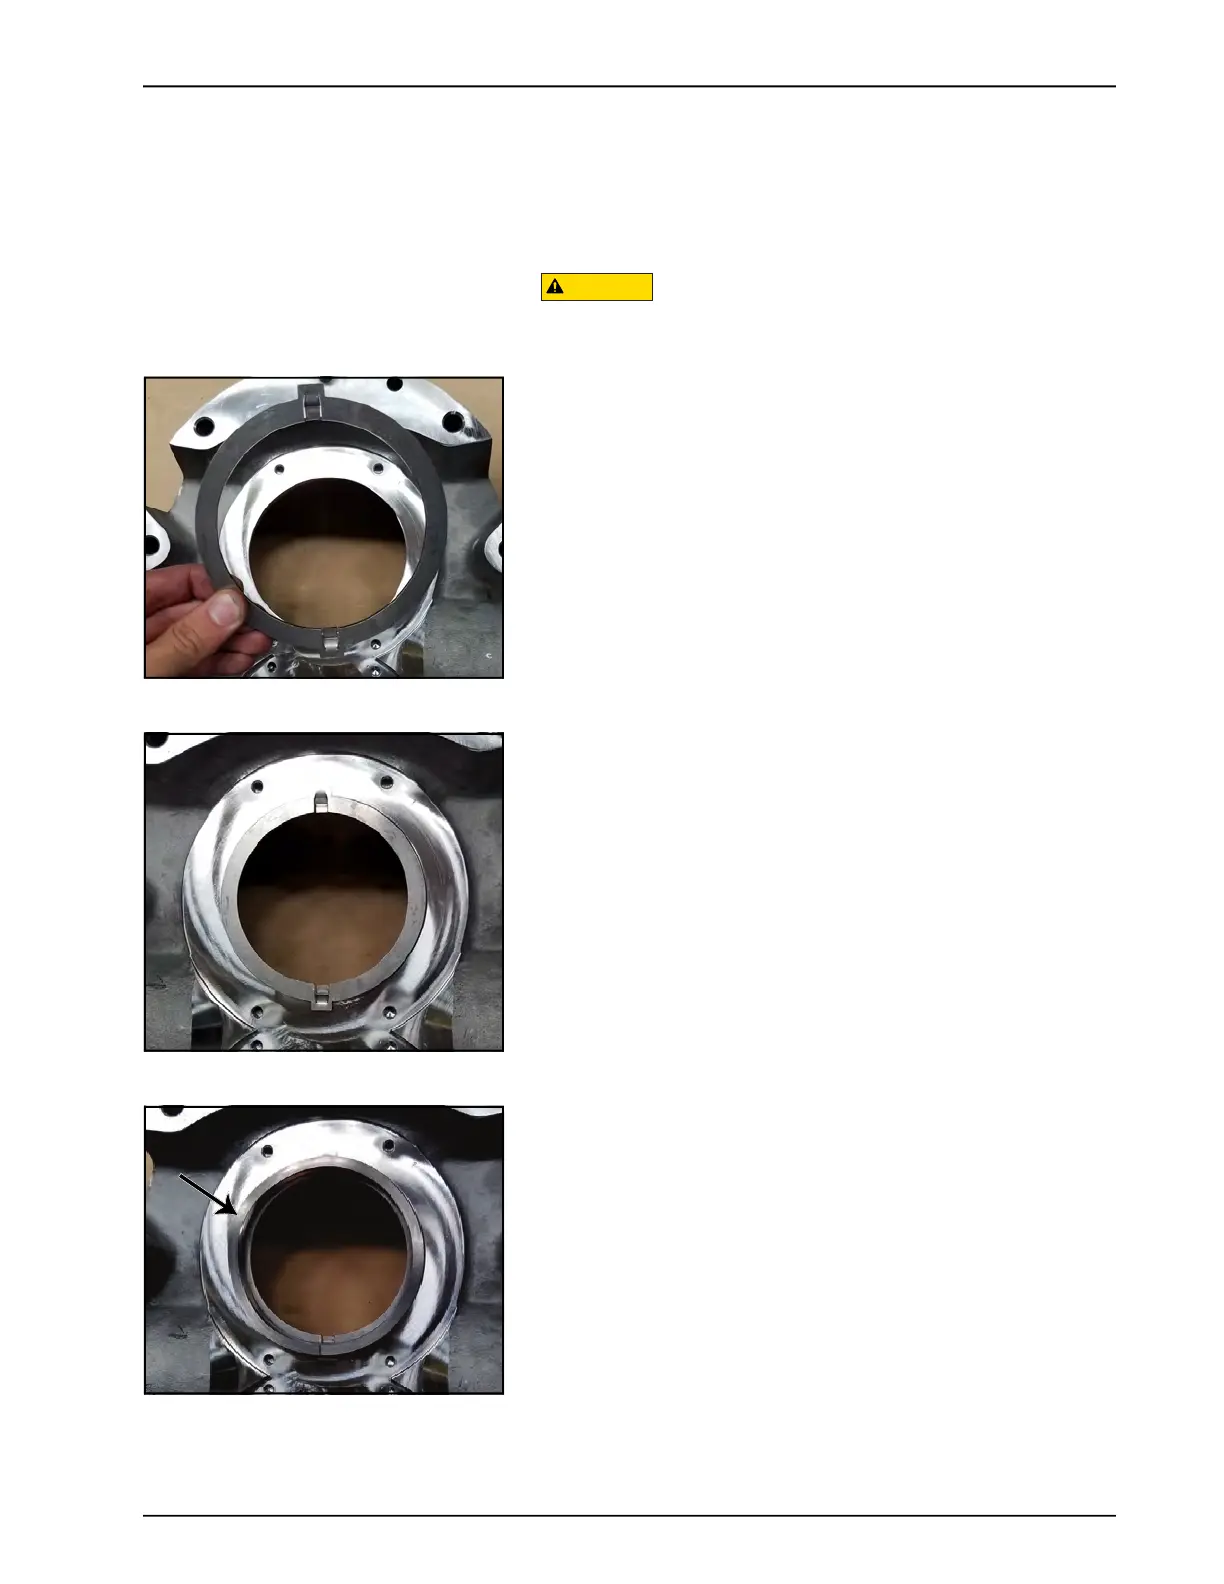
2. Install the drive ring as shown in Figure 63. The side of the
drive ring tab that protrudes, faces the body; the flat side of
the tab faces up. (The flat side of the tab is facing the camera
in Figure 63 and Figure 64.)
NOTE: See also the exploded-view drawing of the seals on
page 122.
3. Figure 64 shows the drive ring installed.
4. Install the wave spring, centering it on the drive ring.
Figure 65 shows the wave spring installed.
Figure 63 - Install drive ring
Figure 64 - Drive ring installed
Figure 65 - Wave spring installed