Maintenance Waukesha Cherry-Burrell
®
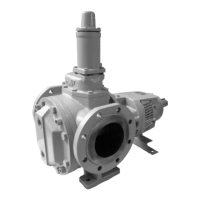
Brand Universal 3 Pump
Page 68 95-03103 11/2018
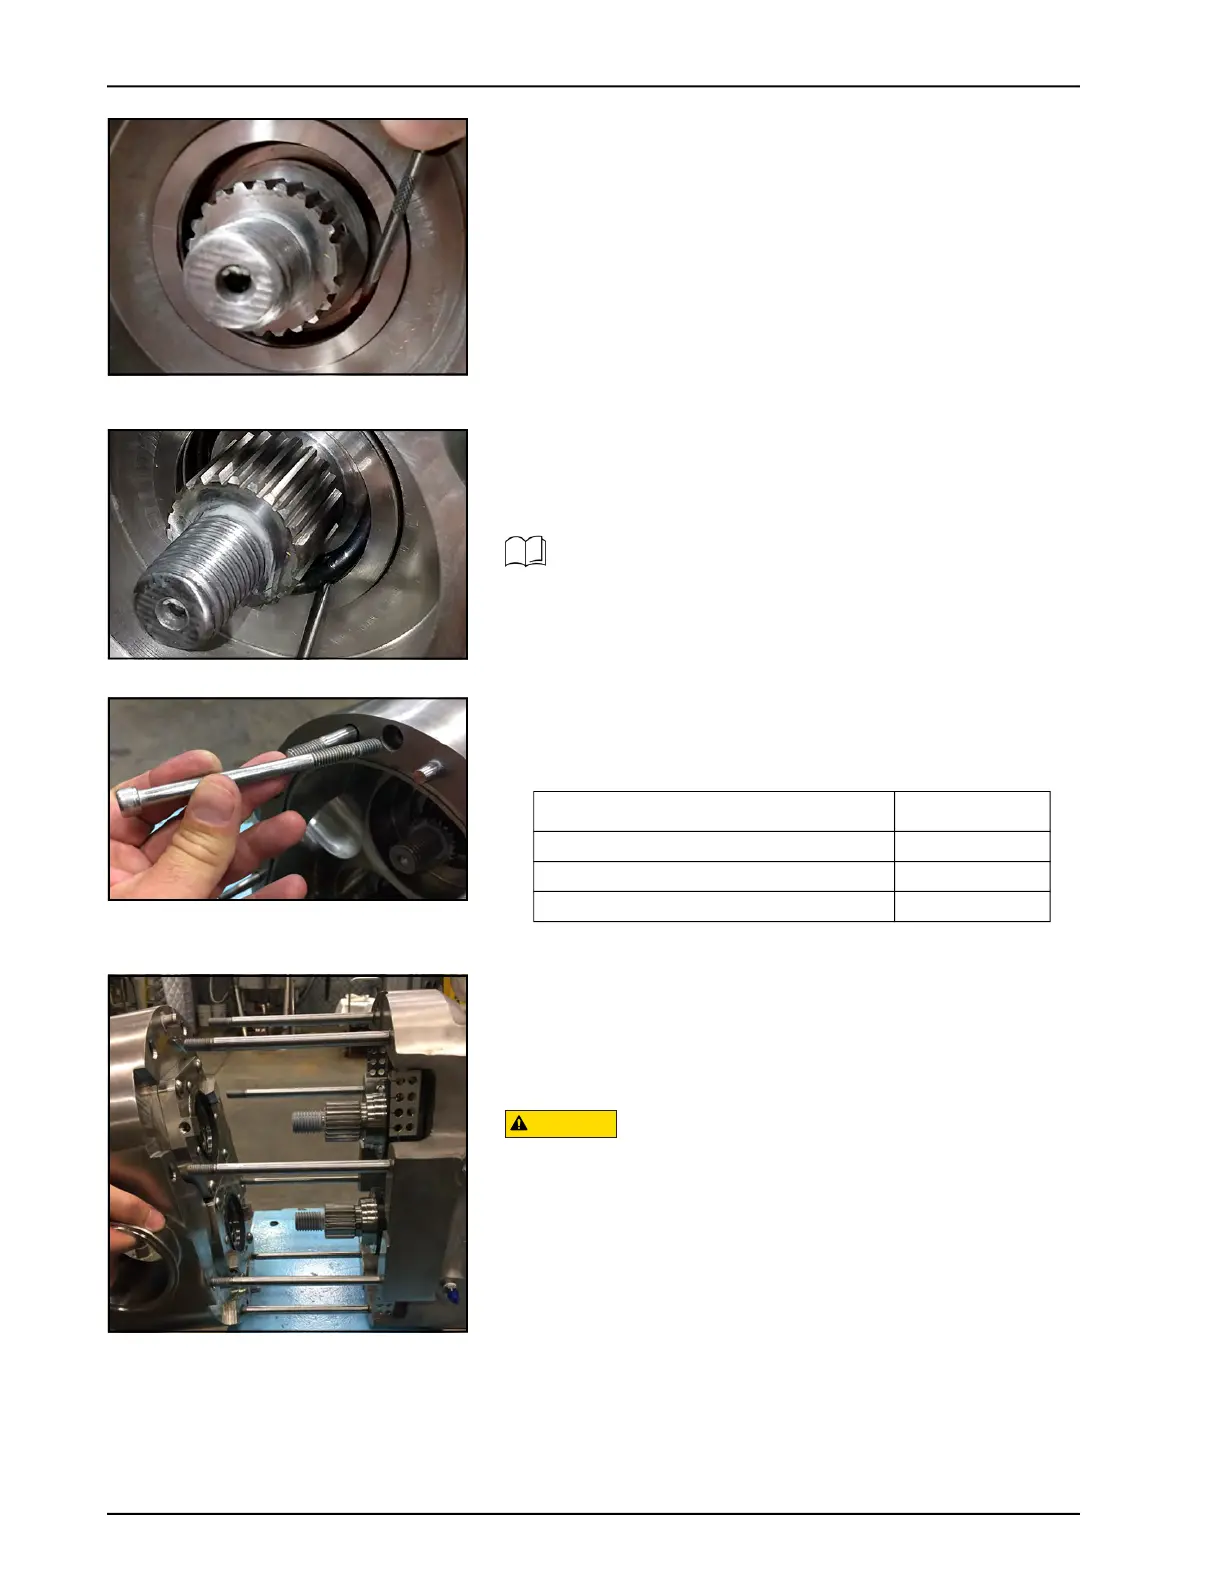
2. The O-ring fits into a groove on the seal housing. With the
hook on the tool facing down (facing the groove), slide the
tool between the O-ring and the groove to dislodge the O-
ring.
3. Then twist the tool so the hook faces the opposite direction
(toward the shaft), and pull the O-ring out of the seal housing.
4. Discard the used O-ring.
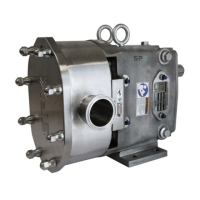
Remove Pump Body
1. Remove the two body retaining cap screws.
2. Remove the body from the gear case. If needed, use a plastic
mallet to tap the body away from the gear case, until the
dowel pins are dislodged from the bushings.
3. Slide the body straight off the body studs to prevent
damaging the mechanical seal parts.
To lift the body of a 130, 180, 210, 220, or 320-U3, use a lifting
strap threaded through the ports on either side of the body.
4. Place the body on a protected surface with the seals facing
up to protect the seals.
Figure 148 - Remove O-ring
Figure 149 - Remove O-ring
The seal sleeve and O-rings in a U3 O-ring seal can be
replaced without removing the pump body.
To replace or service these components only, skip to
“Install Seal O-ring” on page 74.
Figure 150 - Remove body retaining
screws
Table 11: Body Retaining Screws Wrench Size
Model Wrench Size
006, 015, 018, 030, 040 3/16"
045, 060, 130 1/4"
180, 220, 210, 320 5/16"
Figure 151 - Remove pump body