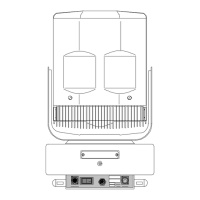
STARLITE Mk5 User Manual Version 1.2
34
Lamp Installation (cont.)
working
8) With great caution, (See manufacturers safety notes for correct handling of Metal Halide Lamps)
remove the old lamp by lifting upwards to clear the sprung mounting supports and then tilting one
end up before extracting the lamp sideways from the carrier. Take care not to strike the quartz
envelope against any hard metal surface. Store the used lamp safely (preferably in its original
packaging) and dispose of safely according to local regulations.
9) Remove the new lamp from its packaging and if necessary clean the quartz envelope using the
cleaning cloth supplied with the replacement lamp, following the lamp manufacturers guide to
cleaning.
10) Replace the new lamp by reversing the above procedures (8 – 4).
Ensure the following:
a) The ‘Pip’ (Envelope seal) of the lamp is not in the direct optical path.
i.e. Do not place the ‘Pip’ towards either the lens or the rear reflector.
b) Both ends of the lamp are correctly seated in the sprung mounts.
c) The knurled nuts securing the lamp and its power connections are fully tightened.
11) Re-seat the lamp / lens module by reversing procedure 5 above. Make sure that the module is
correctly located on the spigots and pushed fully forwards so that it locates flat against the lamp
housing.
12) Ensure that the lamp cables and their fibreglass sheathes are placed correctly so that they do not
obstruct the closure of the rear door or contact the quartz envelope of the lamp unit.
13) Gently close the back door ensuring that the safety stay retracts back into its enclosure and secure
the door retaining screw. You may hear an audible click as the safety interlock switch is
reactivated.
14) If you have followed the above instructions, the unit should now be ready for use.
Note: The fibreglass sheathing covering the HT Cables will turn white due to the UV light. This is normal
and will not effect its working properties.
Warning: Whenever you are working on or near the lamp, wear protective eyewear and
gloves. An operating unshielded lamp emits ultraviolet and visible radiation, which could
damage eyes and skin.
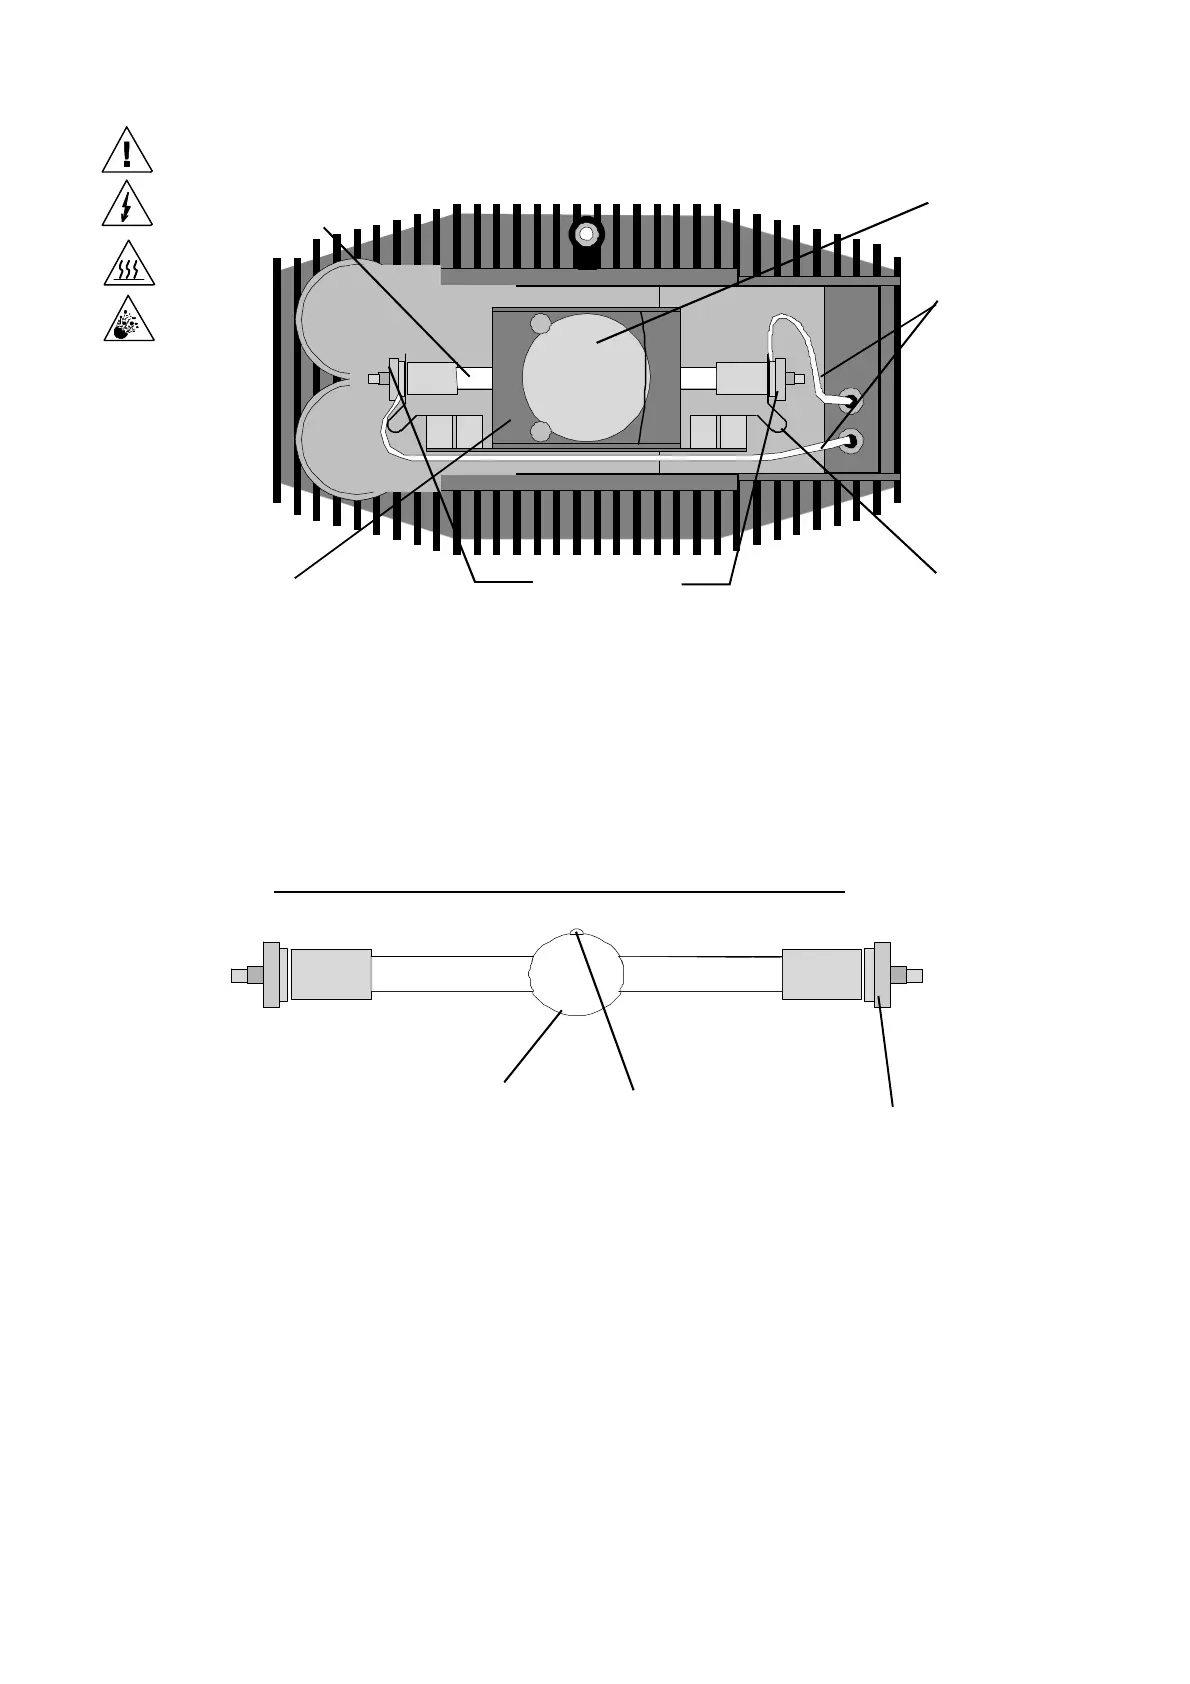
HT Cables
to Bulb
(sheathing
not shown)
Cold
Mirrored
Reflector
HMI Bulb
(1200W shown)
Knurled Nuts
Sprung Bulb
Mount
Bulb/Lens
Module
“Pip”
Envelope Seal
Quart Glass
Envelope
Knurled
Nut