Chapter 11 System Board and Component Replacement 175
Installing the System Board
Caution – Use proper ESD grounding techniques when handling components. Wear
an antistatic wrist strap and use an ESD-protected mat. Store ESD-sensitive
components in antistatic bags before placing it on any surface.
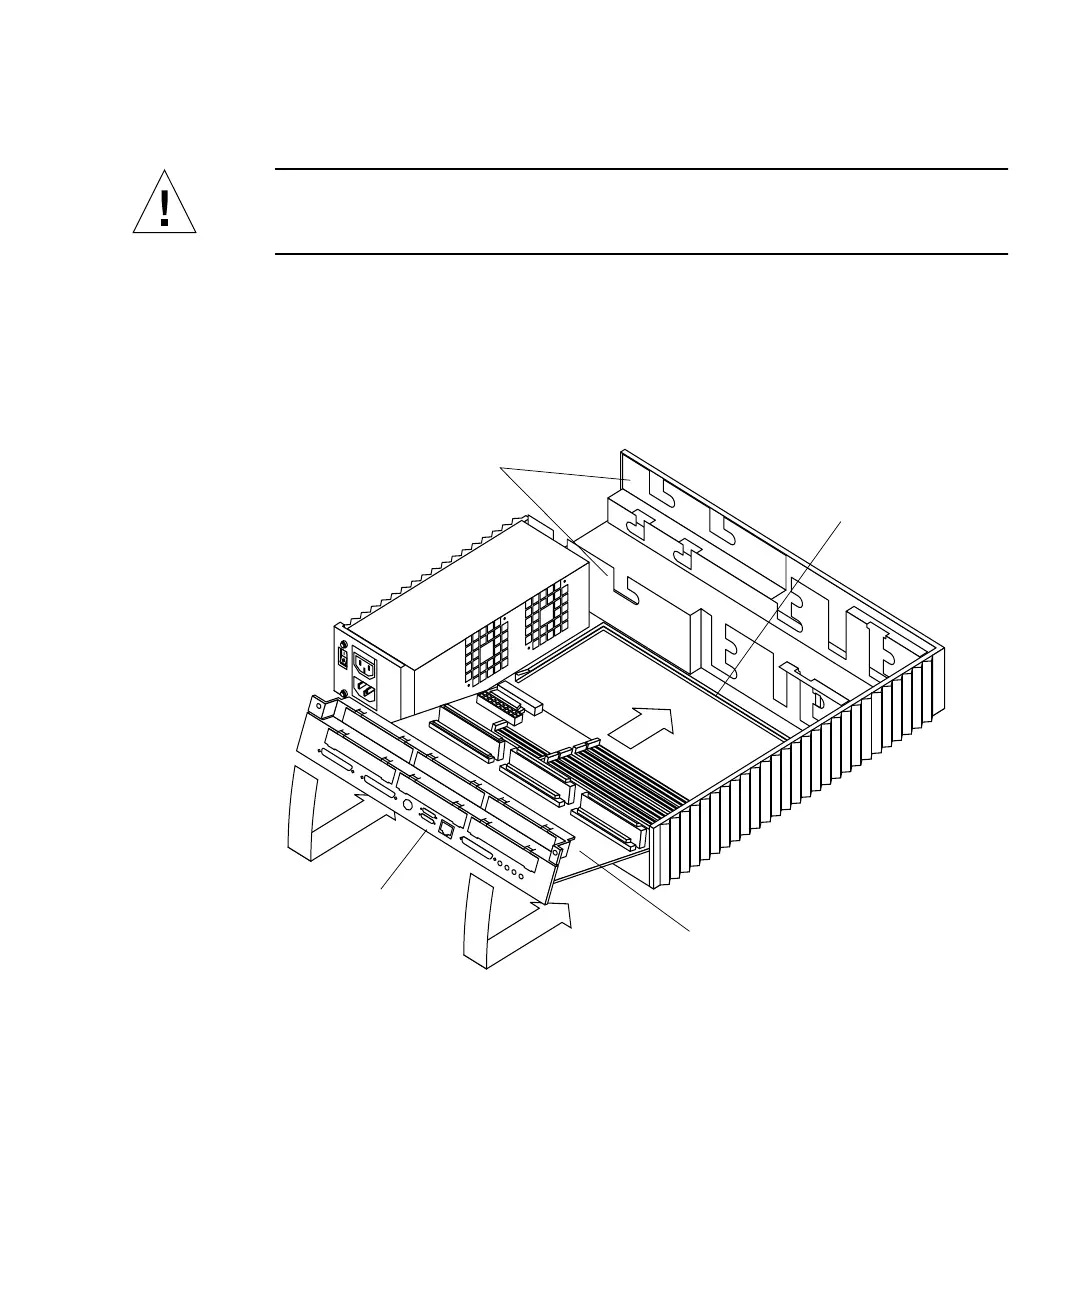
1. Position the system board over the back of the chassis so that the SIMM slots are
facing the drive siderails and the chassis front.
2. Lift the back edge of the system board slightly, ensuring that the foot on the
underside of the system board does not catch the metal edge of the chassis
(
FIGURE 11-40).
FIGURE 11-40 Installing the System Board
3. Position the system board edges into the plastic card guides; slide the system
board toward the chassis front.
4. Tighten the captive screws at the back of the chassis (
FIGURE 11-41).
System board
Card guide
Back panel
Drive bracket

 Loading...


