SunFounder ESP32 Starter Kit
10. Tool: Includes some tools - the most frequently used Board (the board you use) and Port (the port your board is
at). Every time you want to upload the code, you need to select or check them.
11. Help: If you’re a beginner, you may check the options under the menu and get the help you need, including
operations in IDE, introduction information, troubleshooting, code explanation, etc.
12. Output Bar: Switch the output tab here.
13. Output Window: Print information.
14. Board and Port: Here you can preview the board and port selected for code upload. You can select them again
by Tools -> Board / Port if any is incorrect.
15. The editing area of the IDE. You can write code here.
16. Sketchbook: For managing sketch files.
17. Board Manager: For managing board driver.
18. Library Manager: For managing your library files.
19. Debug: Help debugging code.
20. Search: Search the codes from your sketches.
1.3 1.3 Install the ESP32 Board(Important)
To program the ESP32 microcontroller, we need to install the ESP32 board package in the Arduino IDE. Follow the
step-by-step guide below:
Install the ESP32 Board
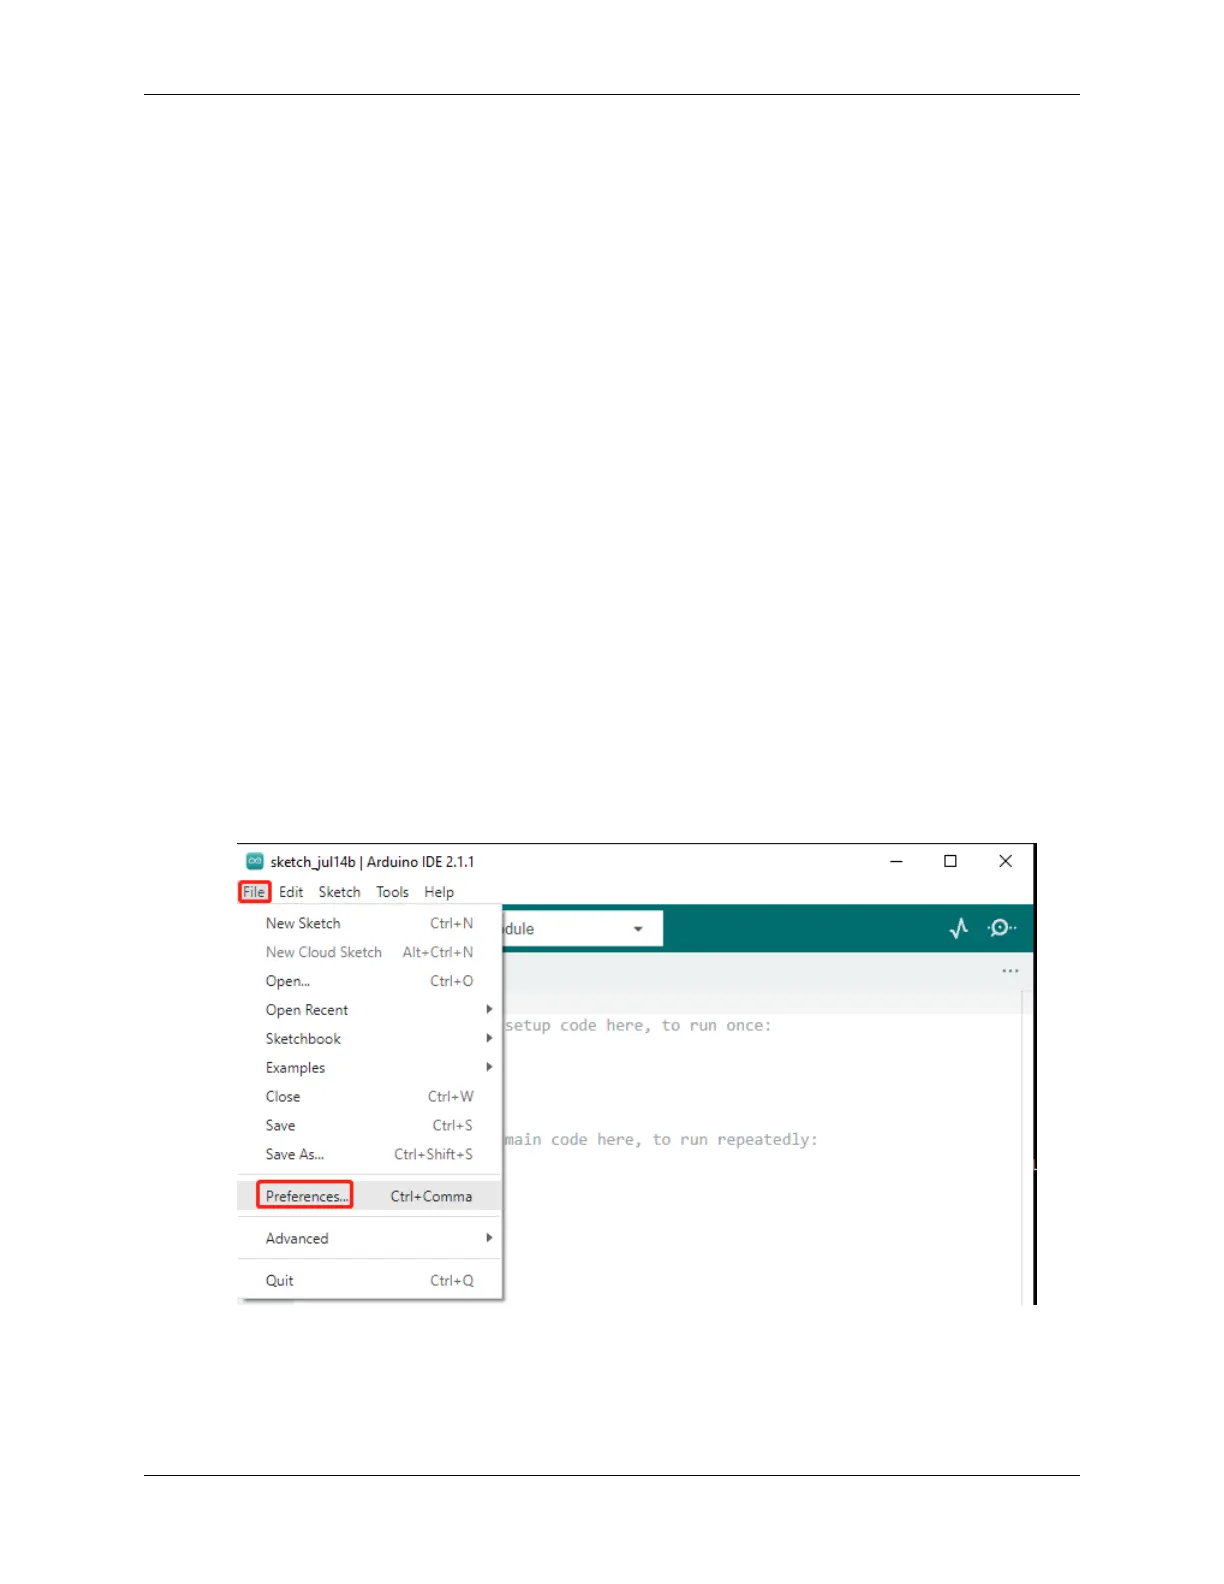
1. Open the Arduino IDE. Go to File and select Preferences from the drop-down menu.
2. In the Preferences window, locate the Additional Board Manager URLs field. Click on it to activate the text
box.
10 Chapter 1. For Arduino User