SunFounder ESP32 Starter Kit
Potentiometer is a continuously adjustable resistor. When you adjust the shaft or sliding handle of the
potentiometer, the movable contact will slide on the resistor. At this point, a voltage can be output
depending on the voltage applied onto the potentiometer and the angle the movable arm has rotated
to or the travel it has made.
2. Serving as a rheostat
When the potentiometer is used as a rheostat, connect the middle pin and one of the other 2 pins in
the circuit. Thus you can get a smoothly and continuously changed resistance value within the travel
of the moving contact.
3. Serving as a current controller
When the potentiometer acts as a current controller, the sliding contact terminal must be connected
as one of the output terminals.
If you want to know more about potentiometer, refer to: Potentiometer - Wikipedia
Example
• 5.8 Turn the Knob (Arduino Project)
• 5.8 Turn the Knob (MicroPython Project)
• 2.4 Moving Mouse (Scratch Project)
• 2.16 GAME - Breakout Clone (Scratch Project)
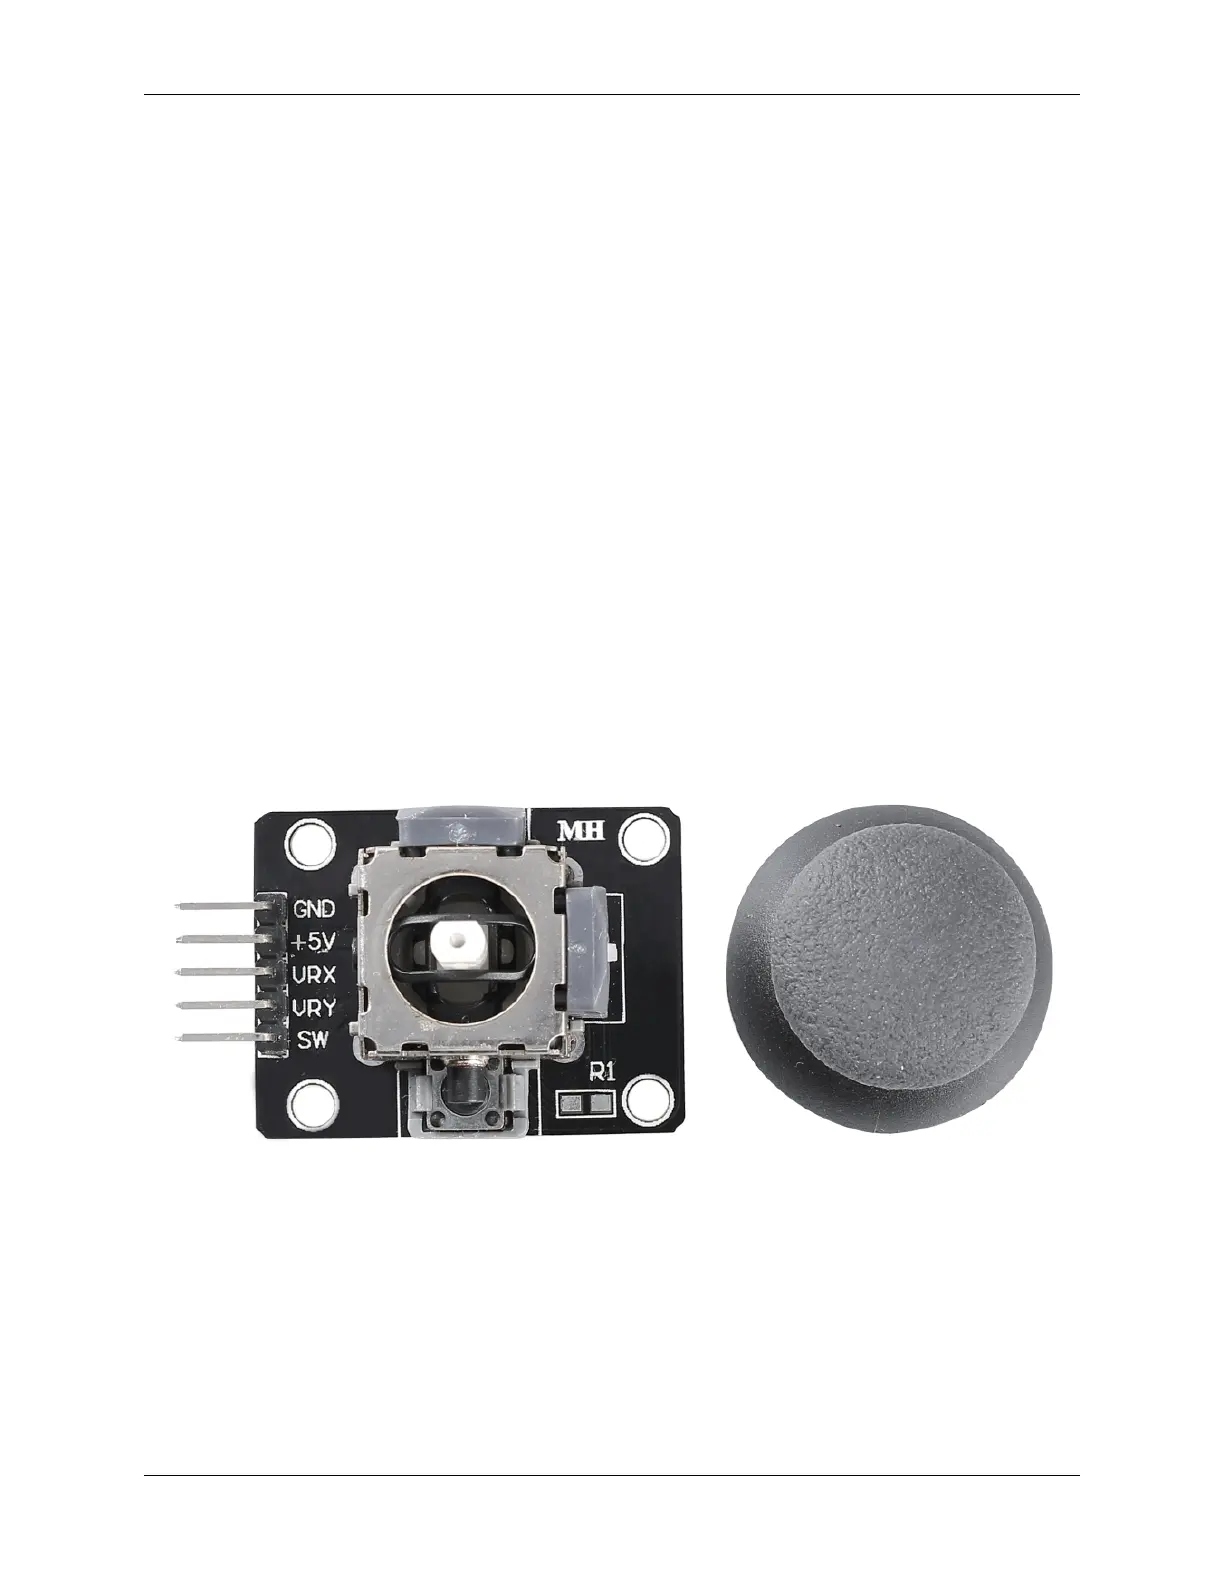
5.23 Joystick Module
• GND: Ground.
• +5V: Power supply, accepts 3.3V to 5V.
• VRX: Analog output corresponding to the joystick’s horizontal (X-axis) position.
• VRY: Analog output corresponding to the joystick’s vertical (Y-axis) position.
• SW: Button switch output, activated when the joystick is pressed down. For proper operation, an external pull-up
resistor is required. With the resistor in place, the SW pin outputs a high level when idle and goes low when the
joystick is pressed.
The basic idea of a joystick is to translate the movement of a stick into electronic information that a computer can
process.
738 Chapter 5. Learn about the Components in Your Kit