EasyManuals Logo

SunFounder ESP32 User Manual

Default Icon
771 pages
To Next Page IconTo Next Page
To Previous Page IconTo Previous Page
Page #363 background imageLoading...
Page #363 background image
SunFounder ESP32 Starter Kit
Schematic
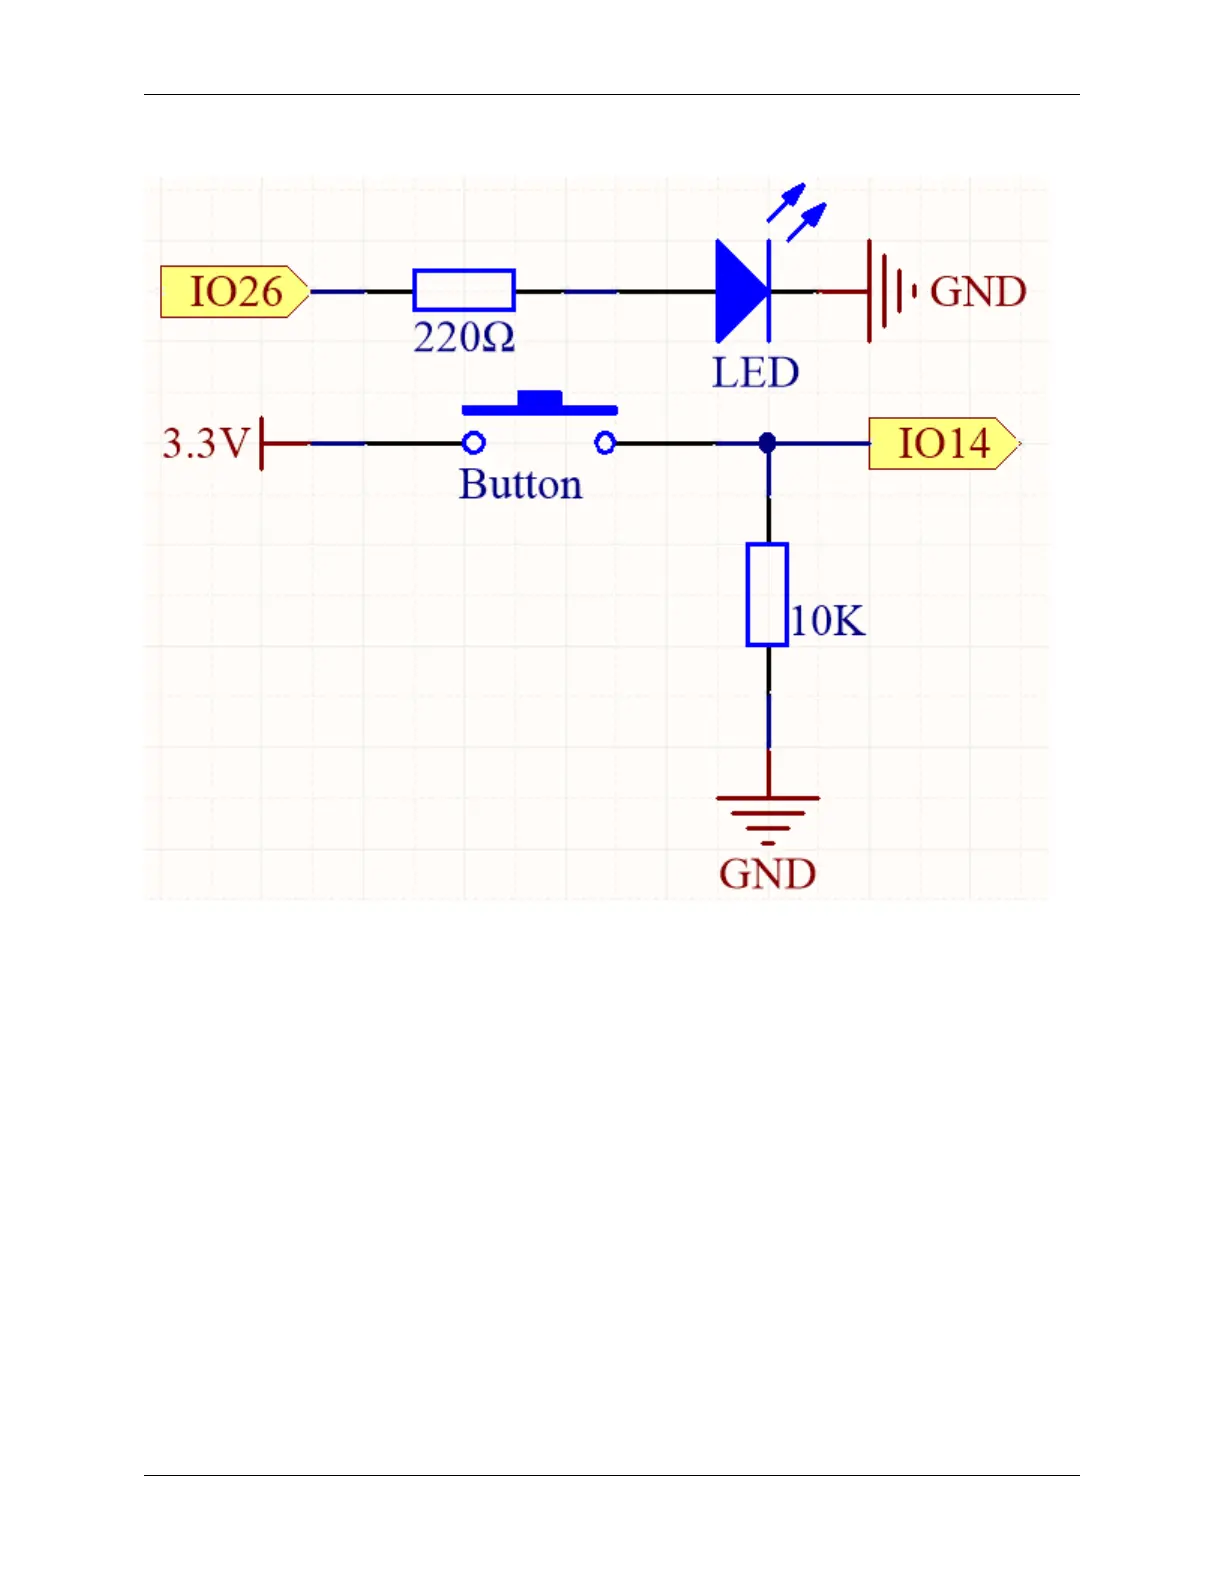
To ensure proper functionality, connect one side of the button pin to 3.3V and the other side to IO14. When the button
is pressed, IO14 will be set to high, causing the LED to light up. When the button is released, IO14 will return to its
suspended state, which may be either high or low. To ensure a stable low level when the button is not pressed, IO14
should be connected to GND through a 10K pull-down resistor.
Wiring
3.19. 5.1 Reading Button Value 357

Table of Contents

Questions and Answers:

Question and Answer IconNeed help?

Do you have a question about the SunFounder ESP32 and is the answer not in the manual?

SunFounder ESP32 Specifications

General IconGeneral
BrandSunFounder
ModelESP32
CategoryController
LanguageEnglish