SunFounder ESP32 Starter Kit
How it works
The previous projects all involved outputting signals, either in the form of digital or PWM signals.
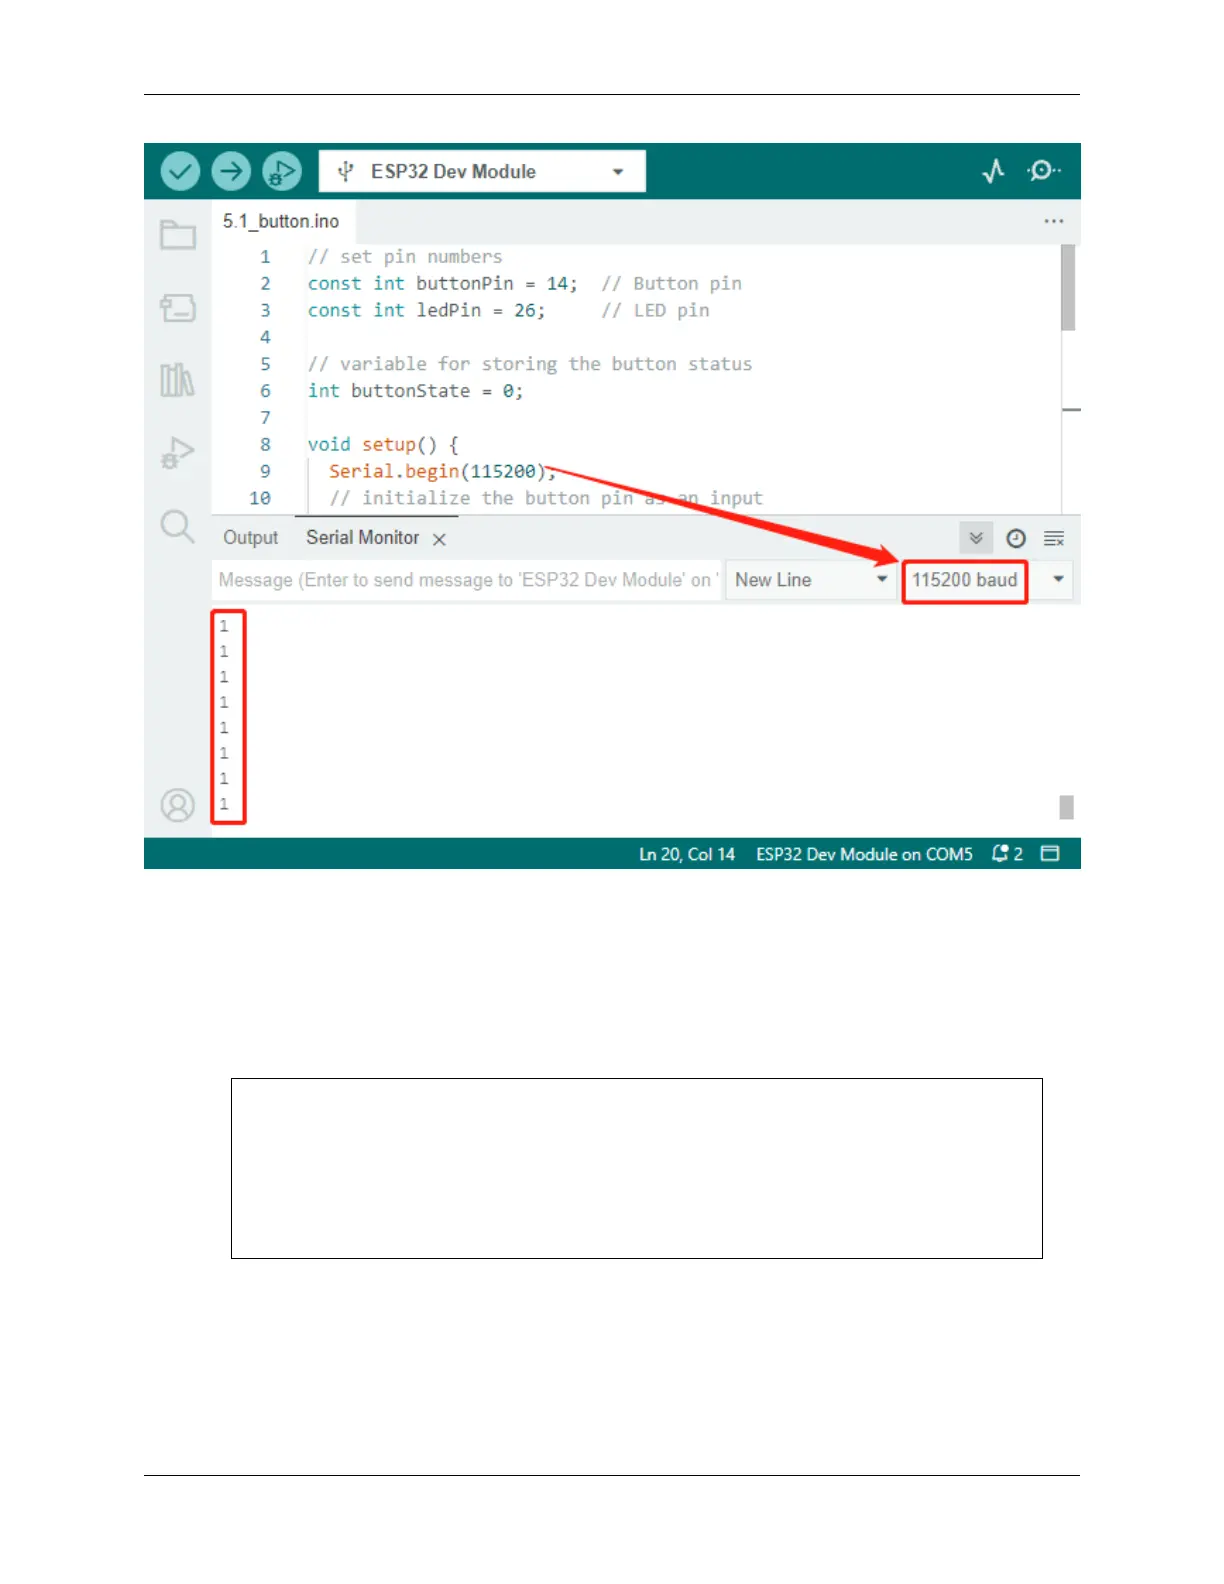
This project involves receiving input signals from external component to the ESP32 board. You can view the input
signal through the Serial Monitor in Arduino IDE.
1. In the setup() function, the button pin is initialized as an input and the LED pin is initialized as an output.
The Serial communication is also initiated with a baud rate of 115200.
void setup() {
Serial.begin(115200);
// initialize the button pin as an input
pinMode(buttonPin, INPUT);
// initialize the LED pin as an output
pinMode(ledPin, OUTPUT);
}
• Serial.begin(speed): Sets the data rate in bits per second (baud) for serial data transmission.
– speed: in bits per second (baud). Allowed data types: long.
2. In the loop() function, the state of the button is read and stored in the variable buttonState. The value of
buttonState is printed to the Serial Monitor using Serial.println().
1.17. 5.1 Reading Button Value 65