58
All power cables are equipped with water-proof direct plug-in connectors, which match the
battery terminals at the bottom of the inverter.
6.9.1.1 Assembling the SUNCLIX Connector
During assembly, be careful not to contaminate, pull out, or shift, the seal in the ca-
ble gland. A contaminated or shifted seal impairs strain relief and leak tightness.
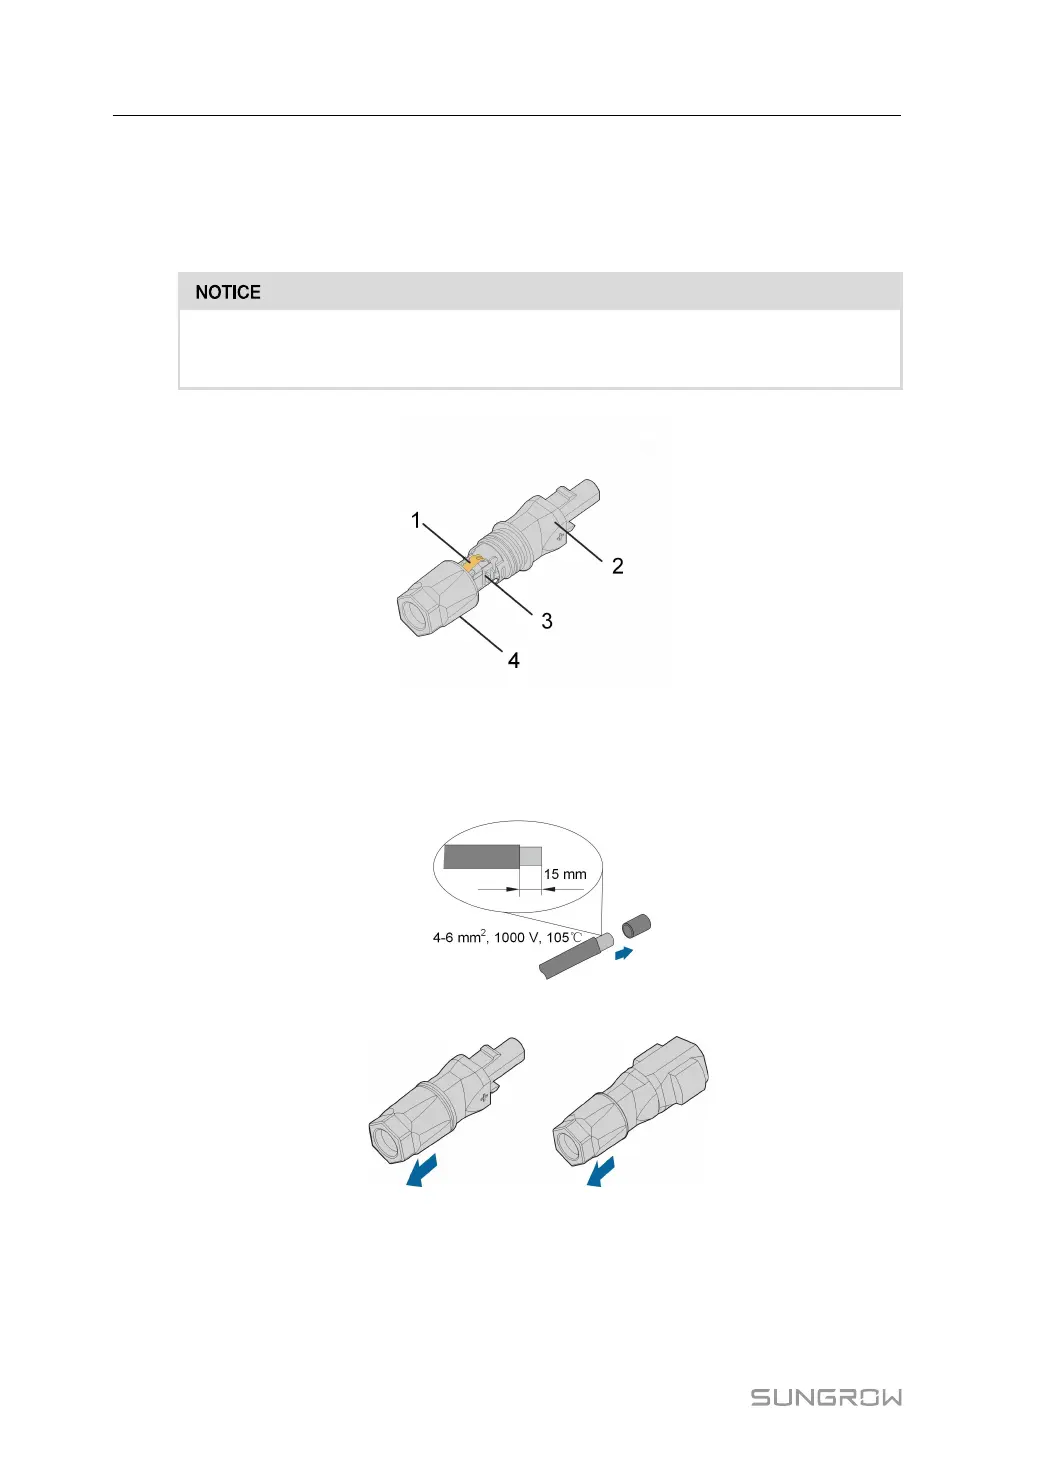
figure 6-3 SUNCLIX Connector Components
1: Spring 2: Sleeve 3: Insert 4: Cable gland
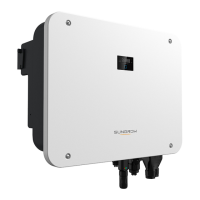
step 1 Strip the insulation from the cable by 15 mm.
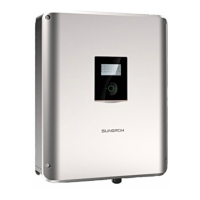
step 2 Pry the connection open and pull the sleeve and the insert apart.
step 3 Insert the stripped cable into the cable gland up to the stop. The stranded wire can be seen
inside the spring. Press the spring down until it audibly snaps into place.
6 Electrical Connection User Manual