Editing
70
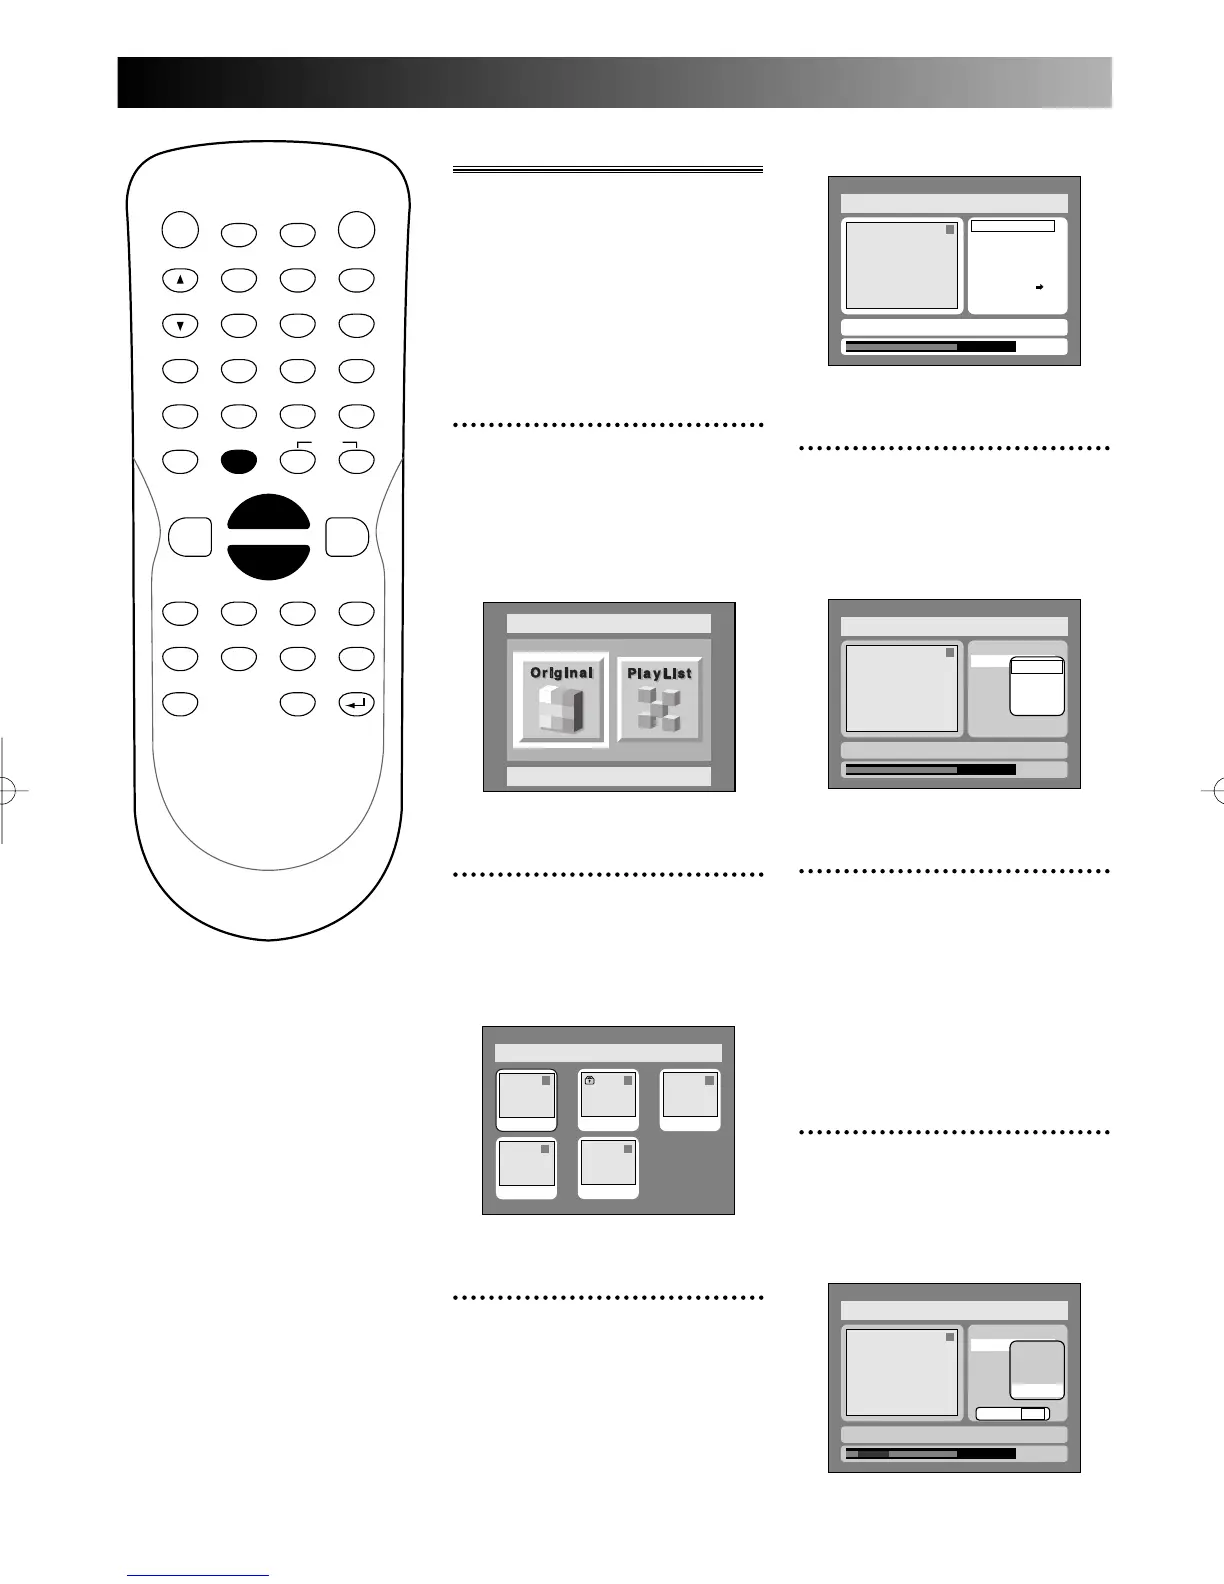
Original menu will appear.
4
Select “Scene Delete” using
K / L buttons, then press
ENTER button.
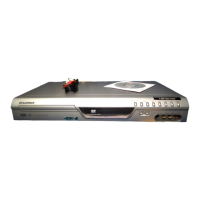
Option window will appear.
5
Press ENTER button to
decide a start point, then
press ENTER button to
decide a end point.
A cursor will move to “Preview.”
You can check a preview.
6
Select “Delete” using K / L
buttons, then press ENTER
button.
Option window will appear.
Disc > Original
1
0:01:25
Title Delete
Scene Delete
Edit Title Name
Chapter Mark
Index Picture
Protect OFF
Start
End
Preview
Delete
Yes No
JAN/ 1 1:00AM CH12 XP
Disc > Original
1
0:00:55
Title Delete
Scene Delete
Edit Title Name
Chapter Mark
Index Picture
Protect OFF
Start
End
Preview
Delete
JAN/ 1 1:00AM CH12 XP
Disc > Original
1
Title Delete
Scene Delete
Edit Title Name
Chapter Mark
Index Picture Set
Protect OFF
JAN/ 1 1:00AM CH12 XP
0:01:25
ON
POWER
DISPLAY
CH
REC MODE CLEAR
SKIP
REC
PAUSE
SETUP
REPEAT
ZOOM
ENTER
RETURN
REC
MONITOR
OPEN/CLOSE
TIMER
PROG.
1
2
3
4
5
6
7
8
9
0
k
A
K
{ B
L
FWD
g
STOP
C
PLAY
B
h
HG
CM SKIP
REV
MENU
PLAY LIST
TOP MENU/
ORIGINAL
Deleting parts of titles
You can delete a specified part of
a title, then the disc space to
record will be increased.
Be sure to know that the parts
once deleted cannot be brought
back to the disc.
1
Select “Edit” from DISC
menu using K / L buttons,
then press ENTER button.
DISC menu will appear.
Screen:
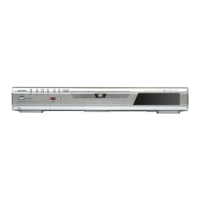
2
Select “Original” using { / B
buttons, then press ENTER
button.
Original list will appear.
3
Select a desired title using K
/ L / { / B buttons, then
press ENTER button.
Disc > Original
1 1 32
54
JAN/1 1:00AM
JAN/1 1:00AM
JAN/1 1:00AM JAN/1 1:00AM
JAN/1 1:00AM
Disc
Original
E6500UD.QX 03.12.8 19:07 Page 70