FLEXability LINE: Service & Maintenance Manual - rev. 1.0
Page 7.12
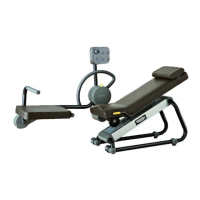
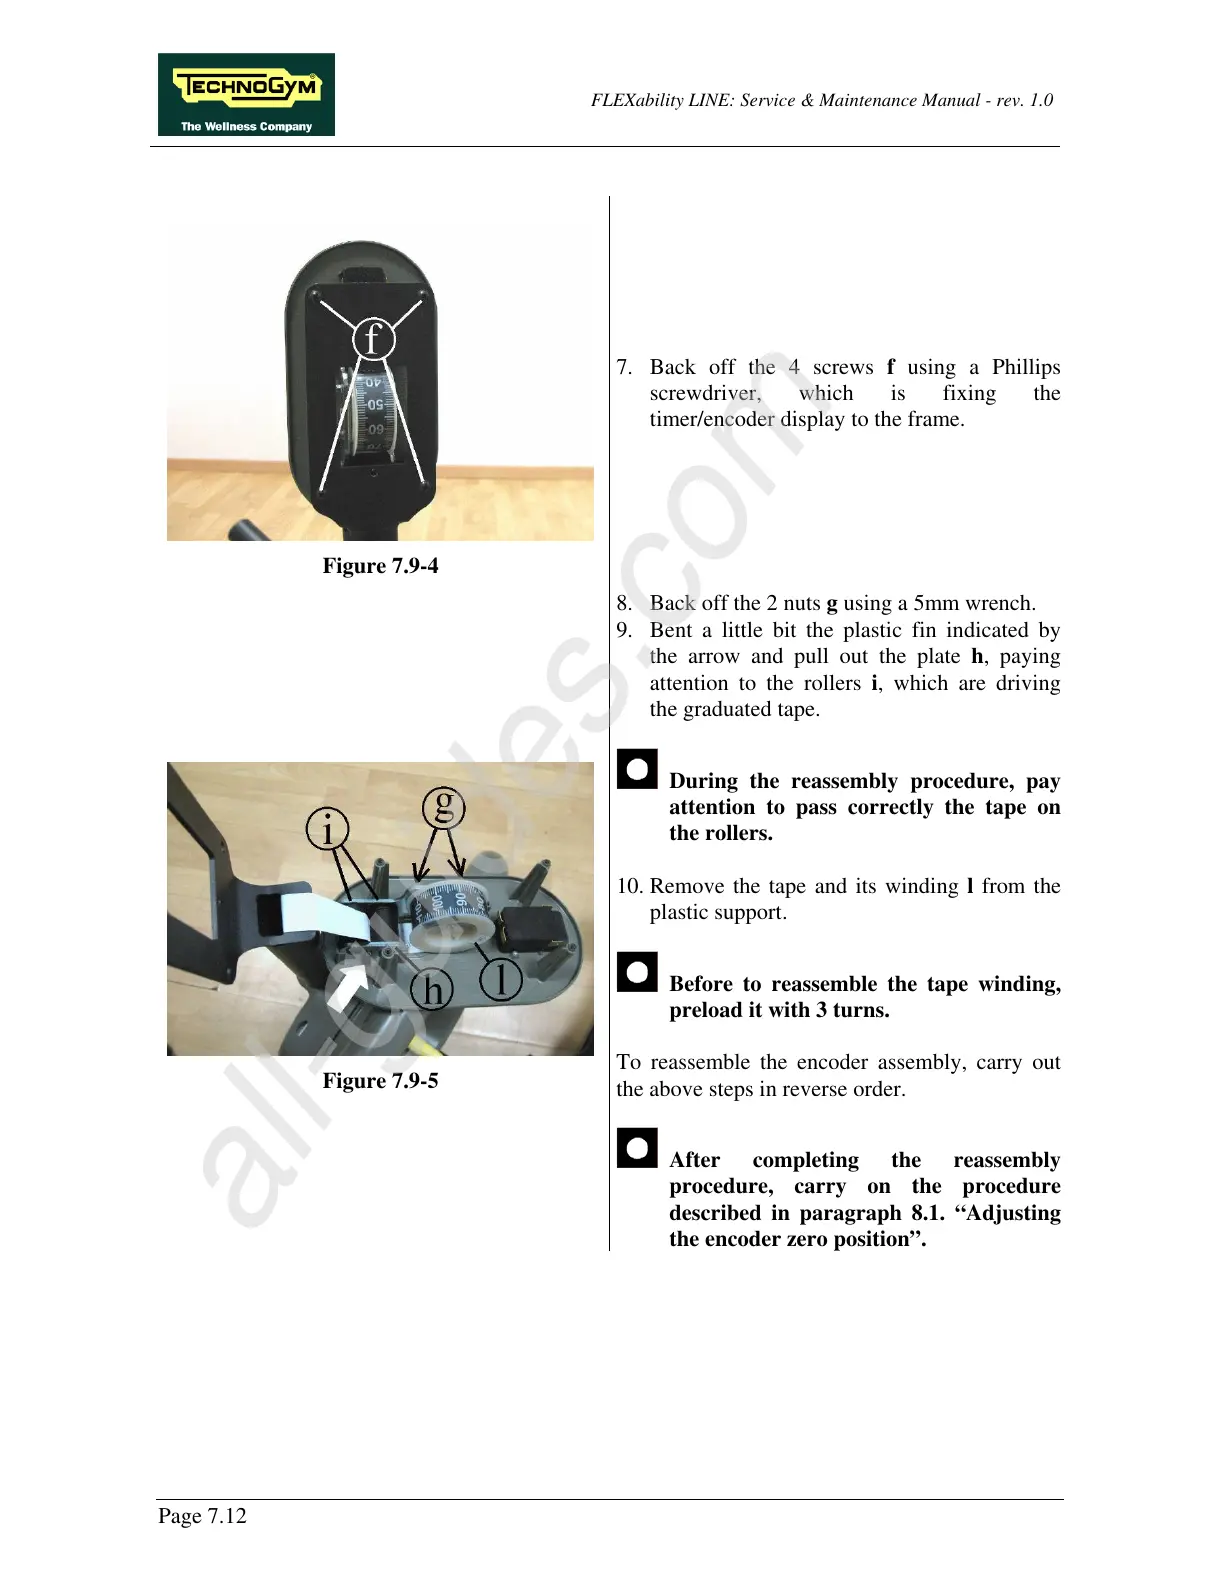
Figure 7.9-4
7. Back off the 4 screws f using a Phillips
screwdriver, which is fixing the
timer/encoder display to the frame.
Figure 7.9-5
8. Back off the 2 nuts g using a 5mm wrench.
9. Bent a little bit the plastic fin indicated by
the arrow and pull out the plate h, paying
attention to the rollers i, which are driving
the graduated tape.
During the reassembly procedure, pay
attention to pass correctly the tape on
the rollers.
10. Remove the tape and its winding l from the
plastic support.
Before to reassemble the tape winding,
preload it with 3 turns.
To reassemble the encoder assembly, carry out
the above steps in reverse order.
After completing the reassembly
procedure, carry on the procedure
described in paragraph 8.1. “Adjusting
the encoder zero position”.