Installation
4. Turn multipurpose knob a and select I/O.
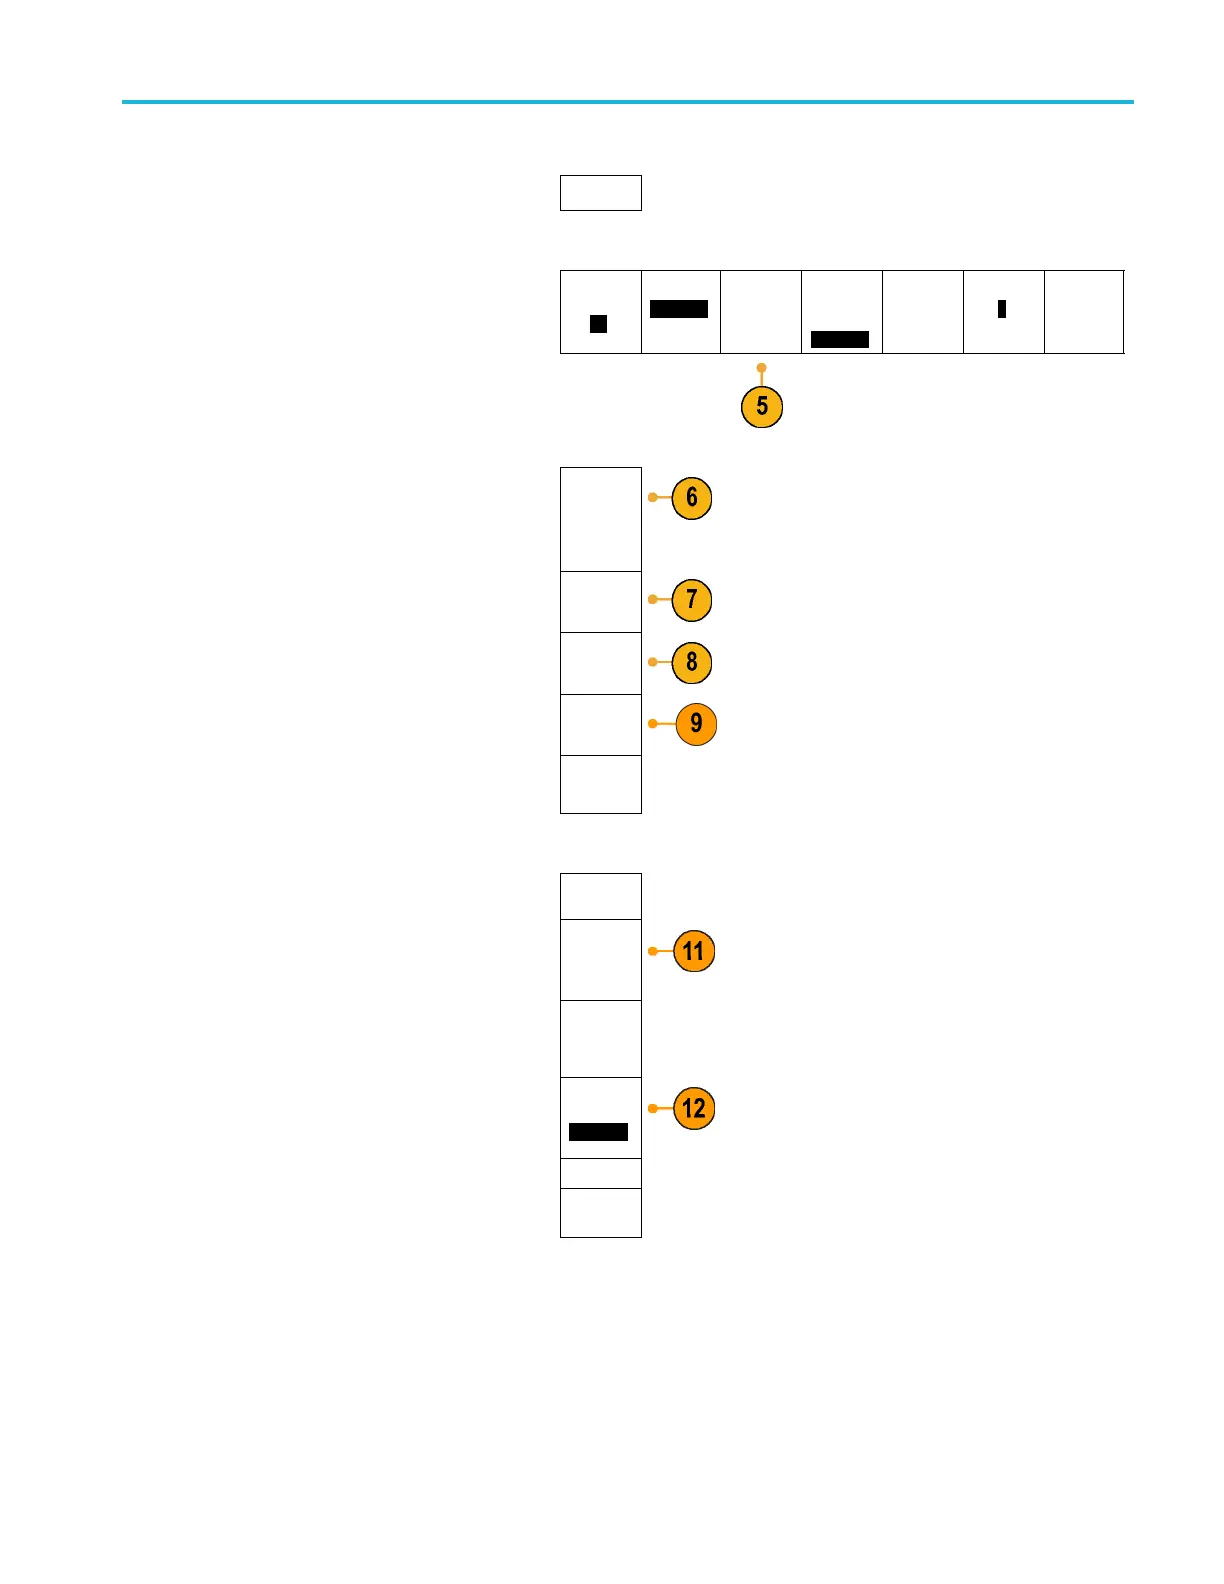
I/O
5. Push Etherne
t&LXI.
Utility
Page
I/O
USB
Computer
Ethernet &
LXI
Network
Configura-
tion
Automatic
Socket
Server
GPIB
1
6. View the top item on the side menu to
determine the condition of the LAN. An
indicator
turns green for good status and red
if the device detects a fault.
Ethernet &
LXI LAN
Status
7. Push LAN S
ettings to display the network
parameters configured on your oscilloscope.
LAN
Settings
8. Push LAN R
eset to restore the LAN defaults
to your oscilloscope.
LAN Reset
9. Push Tes
t Connection to check if your
oscilloscope can find an attached network.
Test Con-
nection
10. Push to
see another page of side menu
items.
more 1 of 2
Ethernet &
LXI
11. Push to change the name of the
oscilloscope, the network domain, or the
servi
ce name.
Change
Names
Chan
ge
e*Scope
&LXI
Pass
word
12. Push to use the LXI password to also protect
your oscilloscope from changes made to
LAN s
ettings from a Web browser.
e*Sc
ope
Password
a Enabled
more
2of
2
MSO4000B and DP O4000B Series Oscilloscopes User Manual 29
 Loading...