162
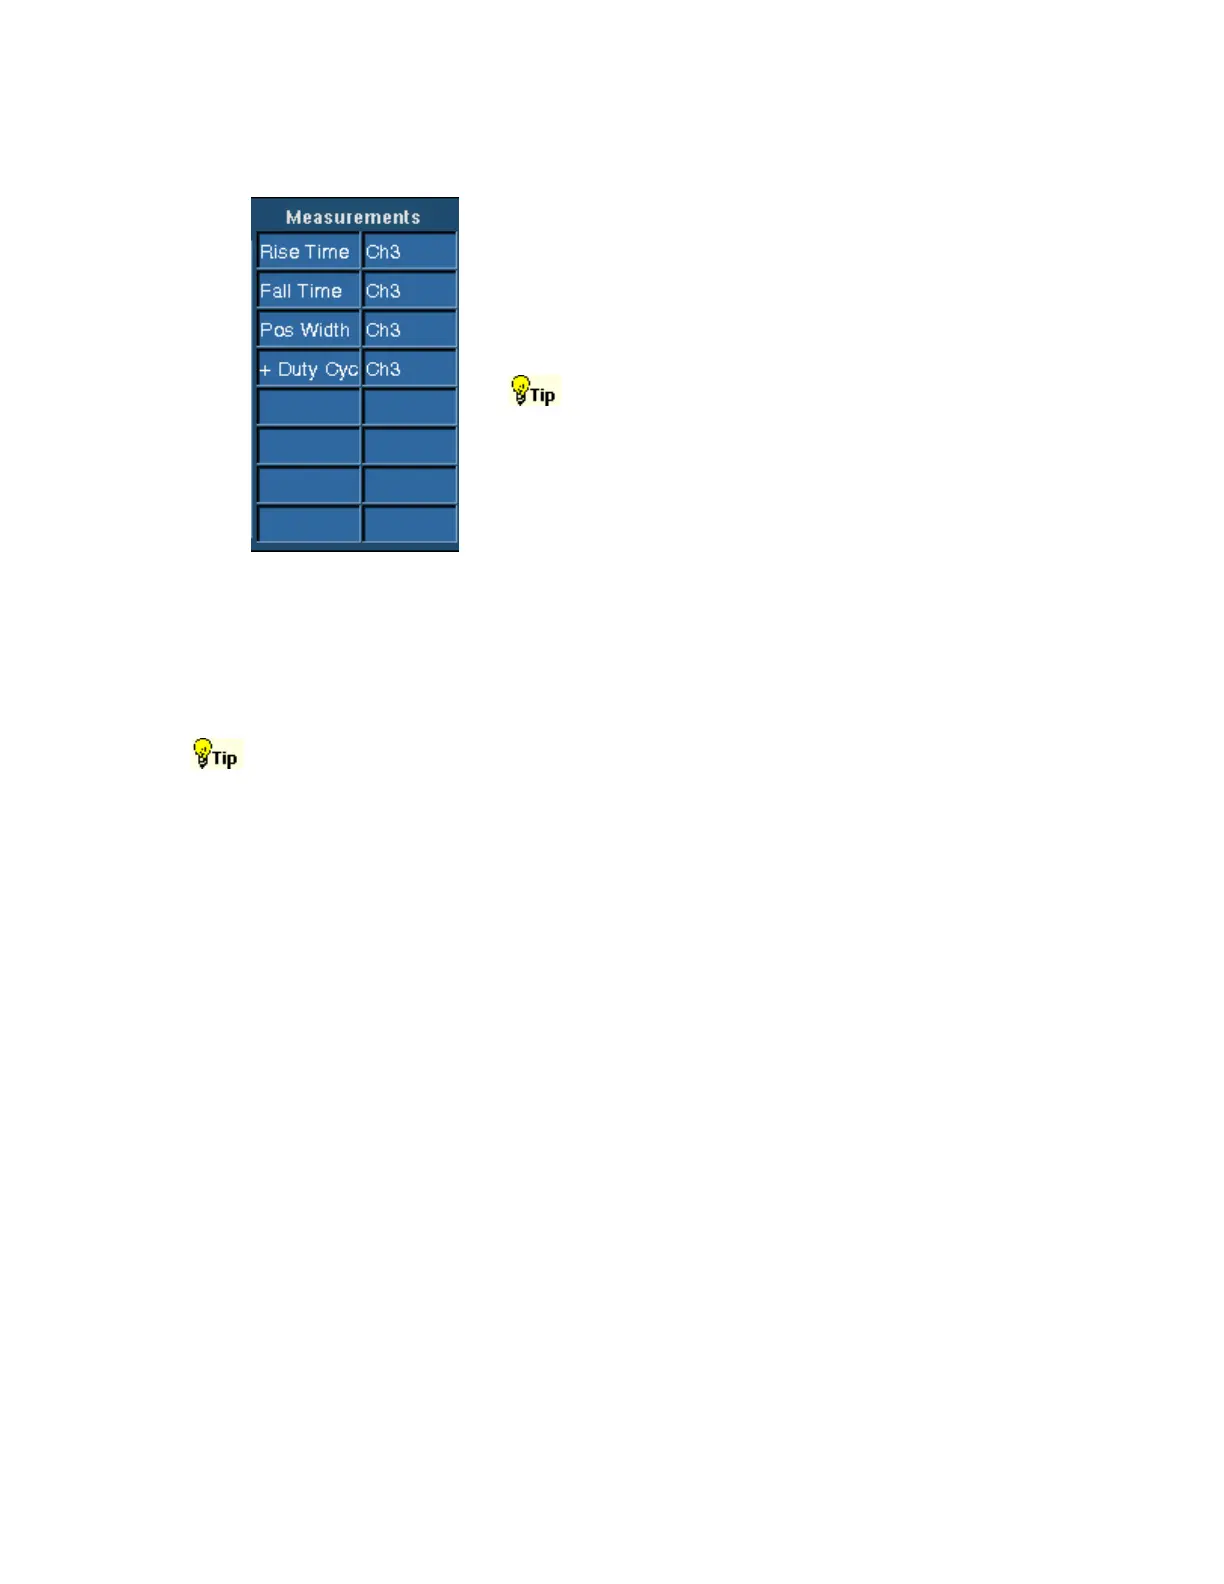
Measurements List
To Use
To add a measurement to the list, select the waveform
source, and click one of the measurement buttons. To delete
a measurement, select the measurement, and click Clear.
Click Display in the upper-right corner of the control
window to turn the measurement displays on and off.
To delete all measurements in a single step, select all of the
measurements and click Clear.
Behavior
This list contains your selected automatic measurements. You can add up to eight automatic
measurements to the list. The measurements appear on the main screen when the Display button is
On.
When you click Clear without selecting a measurement, the last measurement in the list is deleted.
To quickly move the measurements from one channel to another, select all of the measurements
in the list (click the first measurement, hold the left mouse button, and drag the mouse to the last
measurement), and then select a new channel from the Source control. Similarly, you can change
all of the measurements from one type to another if you select all the measurements in the list
and click on a single measurement button.
Measurement Snapshot Control Window
Access this control window from the Measure menu Snapshot command, or from the Measurement
Setup control window.
Overview
The Measurement Snapshot lets you see all of the automated measurements for a selected
waveform at once.
To Use
Select the waveform for which you want to take a snapshot. Click the Snapshot button in the
Measurement control window, or select Snapshot from the Measure menu. Click either General or
Comm under Snapshot Type to begin the snapshot. You can also copy the snapshot data to the
clipboard for use in another program, such as Excel.
Behavior
When the instrument has completed all of the measurements, the snapshot window is updated with
the measurements.
 Loading...


