Introduction
Functional Check
After you have i
nstalled the battery or connected external power, perform this
quick functional check to verify that your instrument is operating correctly. See
the THS3000 Series Oscilloscopes Installation and Safety Instructions for battery
installation and power information.
Perform this adjustment to match your probe to the input channel. This should be
done whenever you attach a passive probe for the first time to any input channel.
The calibration c onsists of a high frequency adjustment and a DC calibration for
10:1 probes and 100:1 probes. Yo u can also read more about probe calibration.
(See page 1
03
,
Probe Compensation and Compatible Maximum Voltages.)
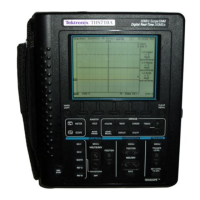
1. Press the power button on the front panel to turn on the instrument.
2. After a few seconds, you should see a colored trace on the display screen. The
color of the trace corresponds to the color of the channel input button on
the fron
t panel.
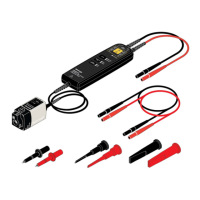
3. Connect a voltage probe to the Ch 1 input BNC on the instrument top panel.
The col
or at the base of each BNC matches the color of the associated channel
button and the color of the probe.
4. Attac
h the probe tip and reference lead to the probe calibration connector
located above the USB port on the left side of the instrument.
NOTE. Connect the probe tip to the smallest metal connector (on the top) and the
reference lead to the larger metal connector (on the bottom).
5. Press the Ch 1 button to view the menu.
6. Select PROBE 1 and then use the arrow keys and the Enter button to choose
the appropriate attenuation from the menu.
7. Return to the PROBE 1 menu and select PROBE CAL.
8
.
S
elect Ye s .
9. You will see the rising edge of a square wave on the display (approximately
5
00 Hz). This is the signal used to calibrate the probe. (See Figure 2.) (See
page 103, Probe Compensation and Compatible Maximum Voltages.)
THS3000 Series Oscilloscopes User Manual 11

 Loading...