Operating Basics
If the frequenc
yrangeissetto1 Hz and up, the instrument is instructed to
analyze low frequency components for automatic triggering.
5. Select Unchan
ged or Set to DC under Input coupling. Selecting the former
retains the coupling setting as it is set in the channel button menu of the
active input.
6. Select Unchanged or Set to on under Display glitches. Selecting the former
retains the glitch setting as it is set in the Acquire > ACQUIRE OPTIONS
menu.
7. Exit the menu.
NOTE. The Autoset option for the signal frequency is similar to the automatic
trigger option for the signal frequency. However, the Autoset option determines
the behavior of the Autoset function and effects show only when you press the
Autoset
button.
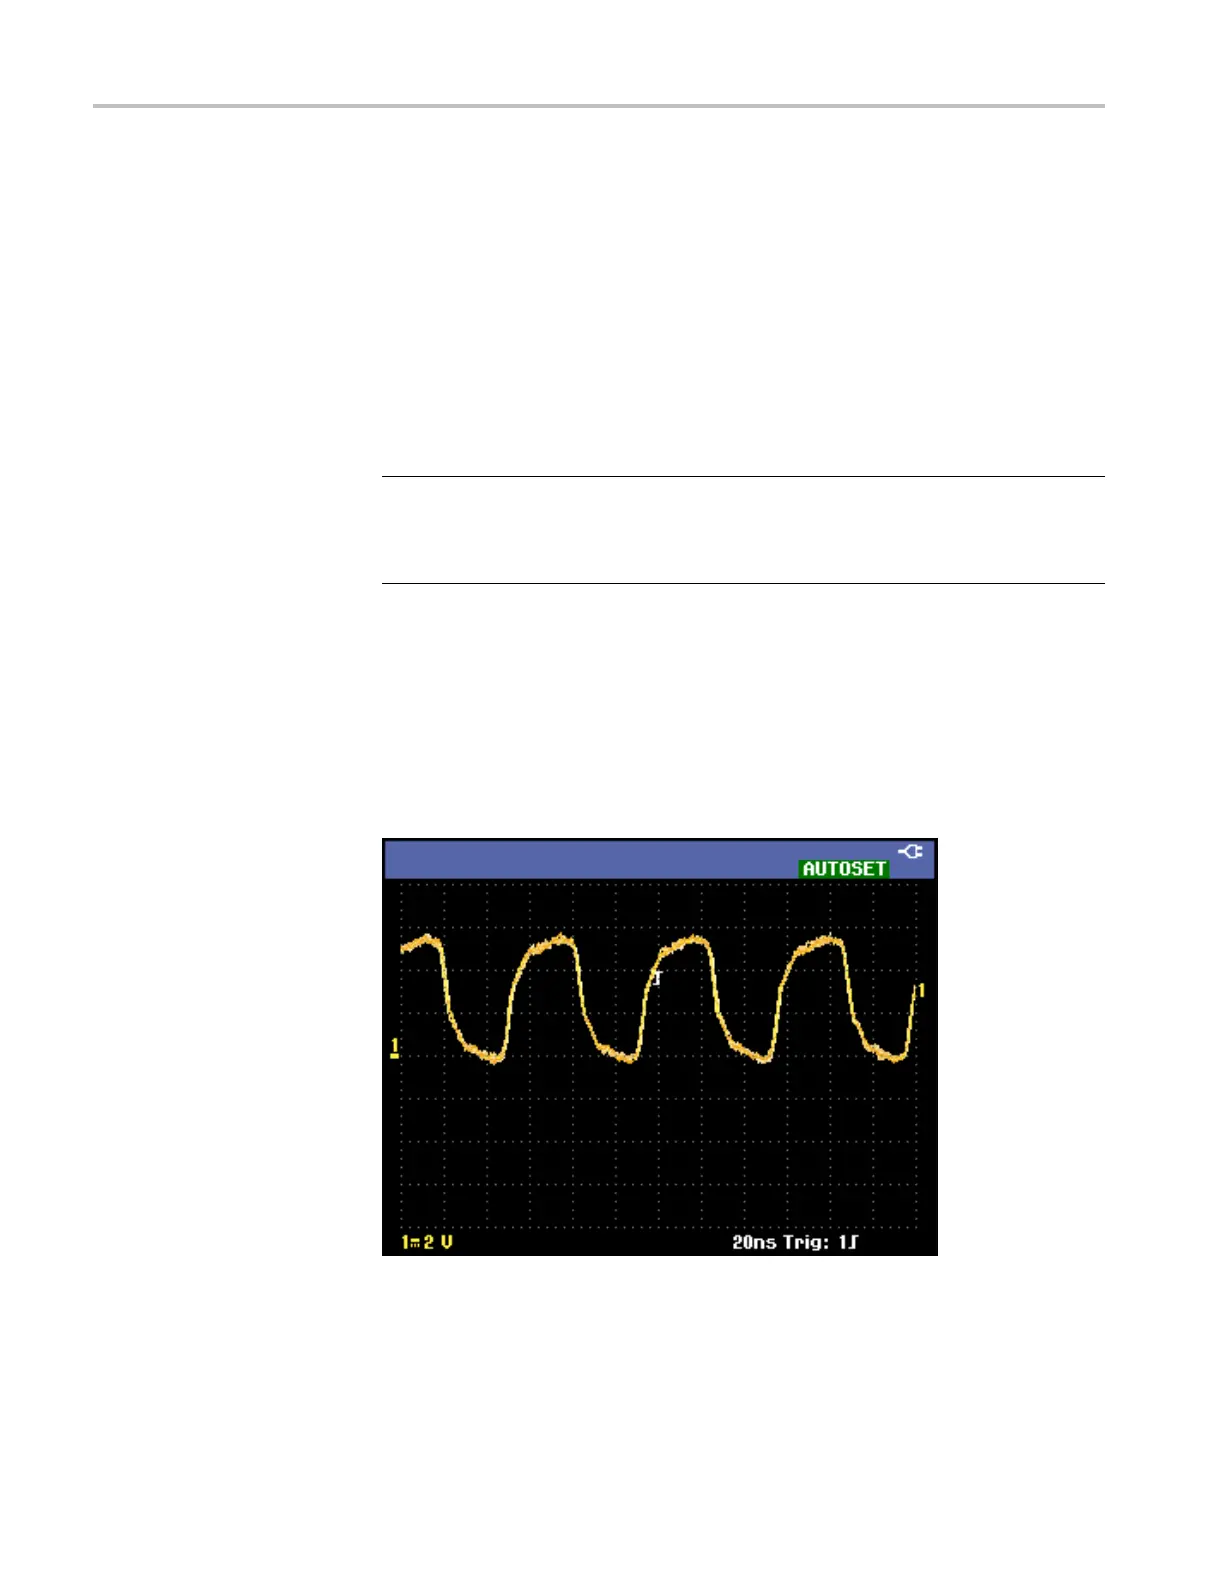
The second involves enabling Autoset as follows:
1. Press the Autoset button. AUTOSET will appear in the top right portion of
the display screen showing you that Autoset is now active.
The waveform identifier (1, 2, 3, or 4) is visible on the right side of the screen.
The zero icon (-) beneath the waveform identifier on the left side of the screen
identifies the ground level of the waveform. (See Figure 17.)
Figure 17: Display with Autoset
30 THS3000 Series Oscilloscopes User Manual

 Loading...