5.
Clip: use the clip to attach the receiver to your clothes or belts.
6.
Battery: to change the battery, unfasten the screws at the bottom of the receiver.
7.
Headphone connector: plug in the headphone to switch on the receiver.
Keep the top part of the receiver free at all times. This part holds the infrared sensitve diode and
placing objects (like stickers or headphone cords) on top of the LED will block the infrared signal
and prevent you from receiving the audio.
For optimal reception of the IR signal, aim the back of the receiver towards the radiator. All
objects between the receiver and the radiator will block the infrared signal from reaching the
receiver.
When you press different buttons at the same time you can see additional information on the
receiver screen. The following combinations are possible:
> For application, bootloader, VHDL and hardware version: press and hold the top buttons
on each side of the receiver and plug in the headphone.
> For logging: press and hold the top button on one side and the bottom button on the other side
and plug in the headphone. Press the right button to reset the logging
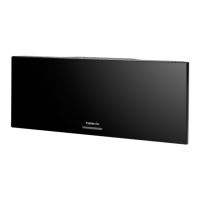
Receiver Variants
Different variants are available for the Lingua IR receiver with different amounts of channels. The amount of
channels is hard coded into the devices, which means you cannot upgrade the receiver when you need
additional channels.
Receiver Information
On the OLED screen of the receiver different information can be displayed. You can see the channel and
the language (ISO) , and the volume of the receiver. There are also different icons availabe that have a
specific meaning:
Icon Description
Shows the remaining battery life of the receiver (5%, 25%, 50%,
75%, 100%).
The receiver will indicate when the battery is almost empty
LING UA IR RECEIV ER 28