Now link the output of the conference system to the input channels of the transmitter using the
matrix (3). Do this by checking the box where the input and output intersect. A checkmark appears when
the routing was successful.
Once you finish the configuration of the routing, this configuration is remembered on every Dante™ device.
Therefore you can remove the network switch and connect the transmitter to the central engine directly.
Set Up Dante™ Routing With More Than 11 Languages
In Plixus Core it is only possible to configure up to 11 languages. If your setup requires more than 11
languages you need CoCon Interpretation and CoCon Audio Routing to configure the languages that
will be available on the Dante™ channels. Use CoCon Interpretation to set up your languages and
booths.
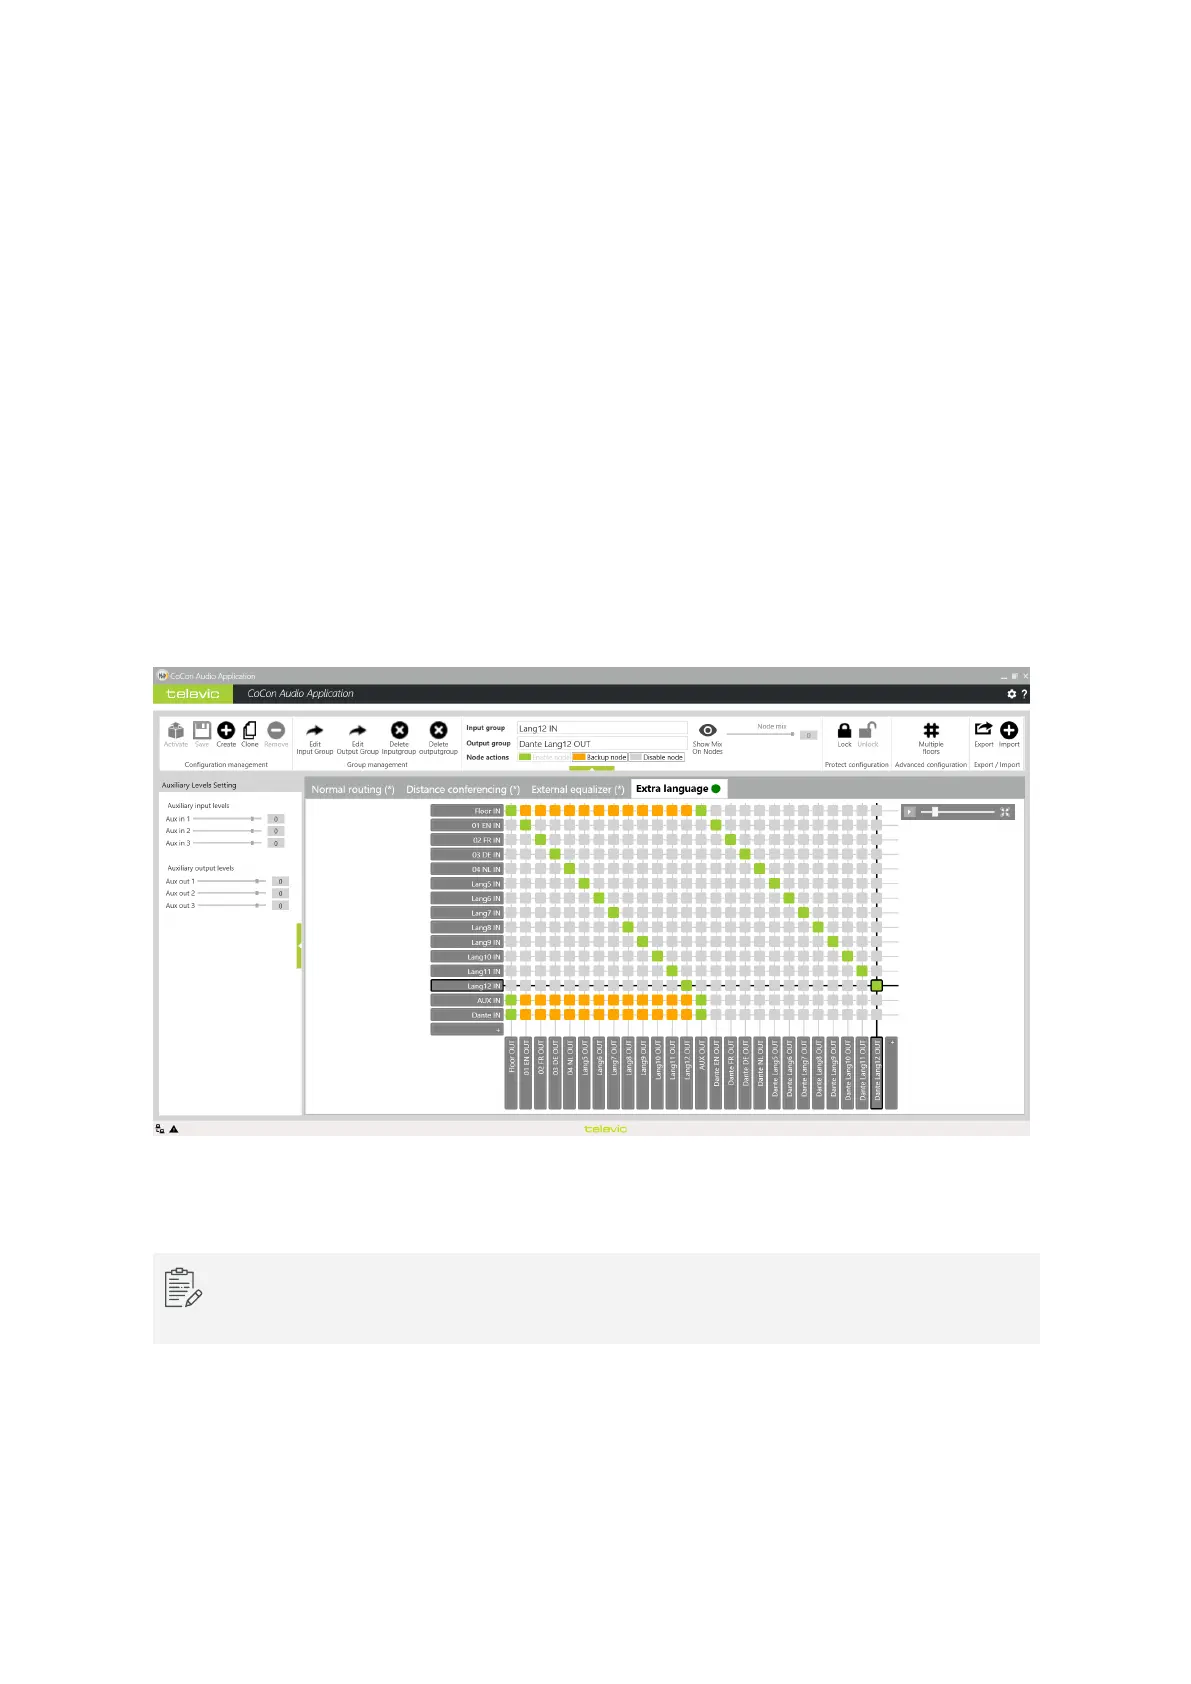
In CoCon Audio Routing you can configure which input language to route to which output channel of the
microphone unit. Every input language you then also need to route to a Dante™ output channel, these will
then be available on the receivers.
Figure 1-30 How to route the audio input to the Dante™ output channels in CoCon Audio Routing
For more information on the CoCon Interpretation and CoCon Audio Routing applications see the
CoCon Core user guide.
SET UP DANTE™ 59
 Loading...