31
Intercom Auto-Answerback (Set-Up)
To Set-Up or Change Intercom Auto-Answerback:
1. Press M
UTE/SAVE. Hear the
confirmation tone.
2. Press M
ENU. (Optional) Hear the
confirmation tone.
3. Press option 2. Hear the confirmation
tone.
4. Select option 1, 2, or 3 (see
explanations below).
5. Press M
UTE/SAVE.
Note:
Unless you press M
UTE/SAVE after making your selection, the previous
mode is restored.
To view the current COM set-up, press VIEW > M
ENU > 3. See “Self-Status
Inquiry” on page 63.
OPTION DESCRIPTION
1 - RING
RING is the default option. It disables Intercom
Auto-Answerback.
2 - MUTE
The MUTE option answers Intercom Calls after
a single ring and mutes your extension’s micro-
phone. To use the microphone, press
MUTE/
S
AVE or lift the handset.
3 - SPEAKER
The SPEAKER option automatically answers
Intercom Calls after a single ring, enabling a
two-way conversation over the speakerphone.
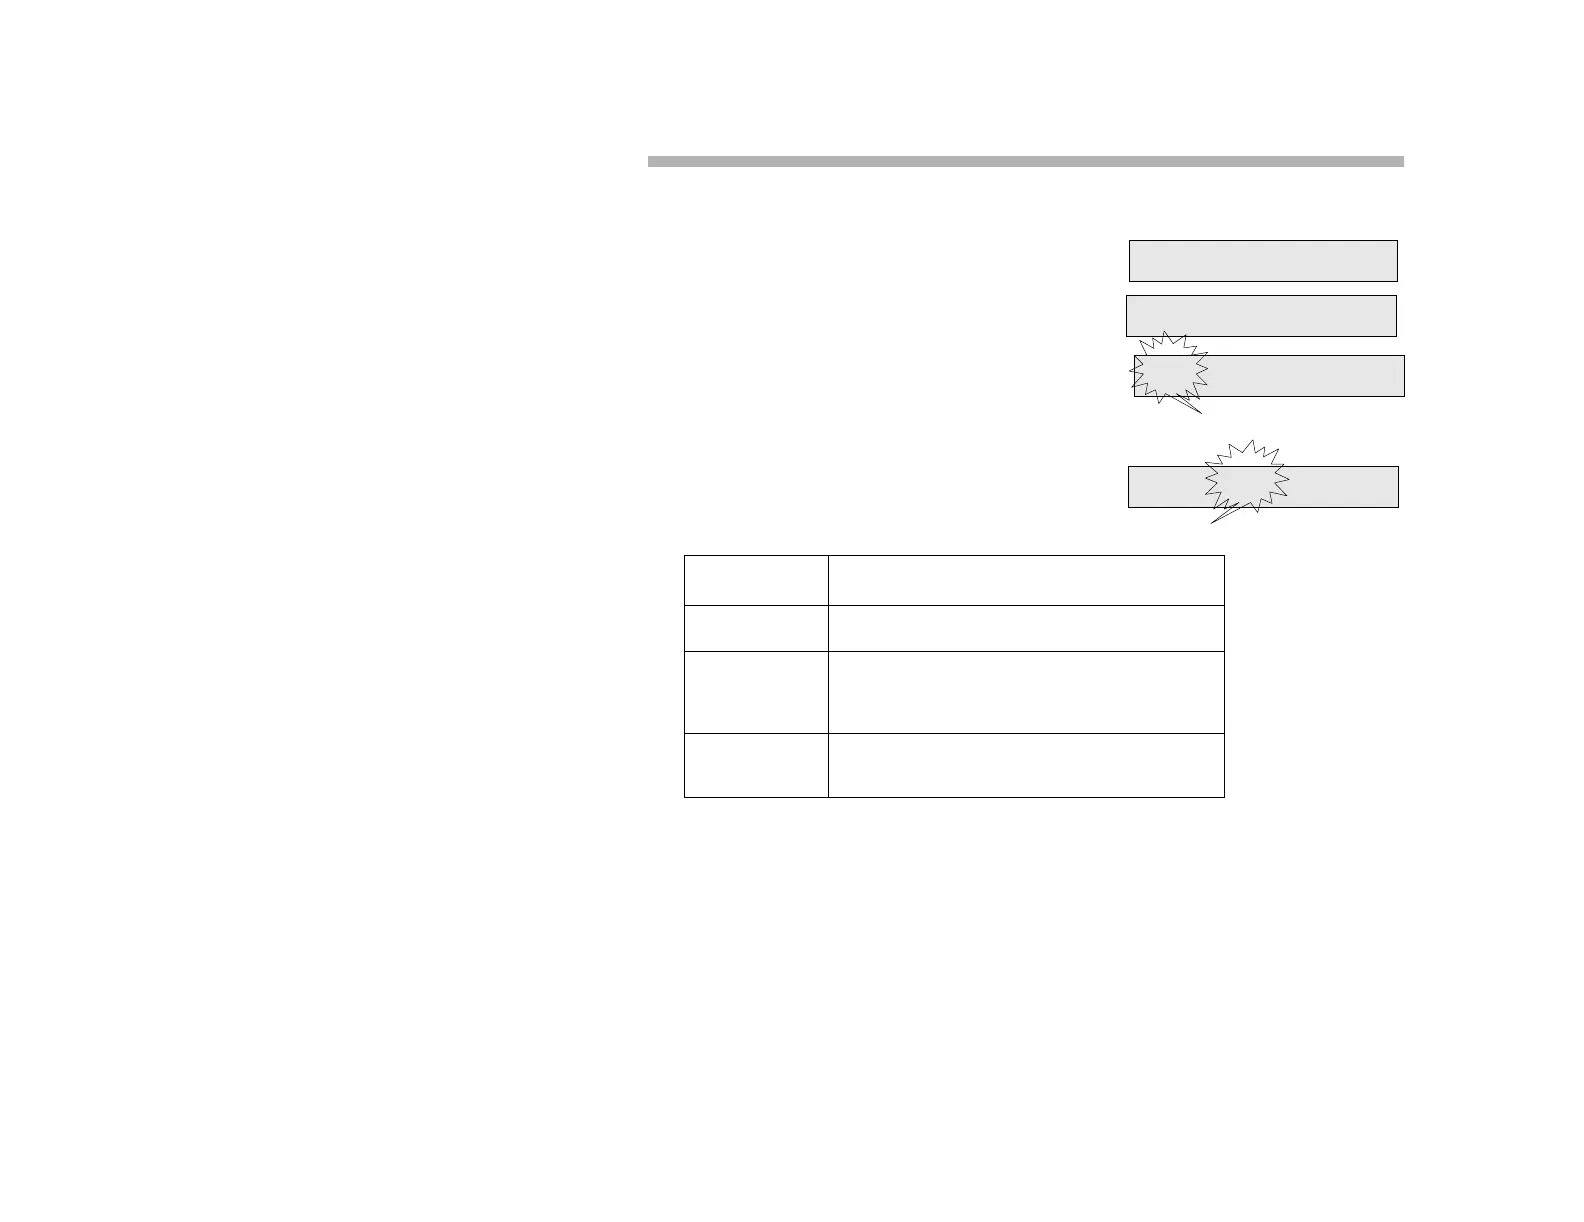
1-RING 2-MUTE 3-SPEAKER
SELECT SAVE FUNCTION
OR PRESS MENU KEY
1-RING 2-MUTE 3-SPEAKER
1-RING 2-ANSWERBACK
CURRENT CHOICE FLASHES
NEW CHOICE FLASHES