Service and Repair Manual August 2021
Scissor Components
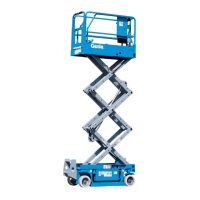
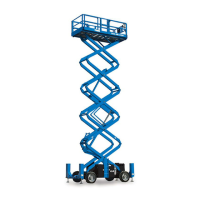
100 GS
™
-30m • 32m • 30 • 32 • 46 • 55 Part No. 1309020GT
9-5
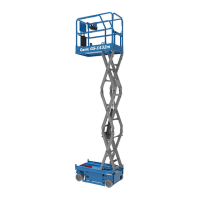
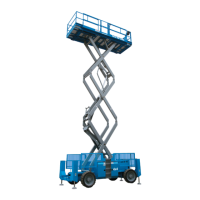
Scissor Assembly - GS-1932m,
GS-1932m Lite, GS-1932m XH
How to Disassemble the Scissor
Assembly
Bodily injury hazard. The
procedures in this section
require specific repair skills,
lifting equipment and a suitable
workshop. Attempting this
procedure without these skills
and tools could result in death or
serious injury and significant
component damage. Dealer
service is required.
Note: When removing a hose assembly or fitting,
the O-ring (if equipped) on the fitting and/or hose
end must be replaced. All connections must be
torqued to specification during installation. Refer to
Specifications, Hydraulic Hose and Fitting Torque
Specifications.
1 Turn the key switch to ground controls and
pull out the red Emergency Stop button to the
on position at both ground and platform
controls.
2 Raise the platform 7 to 9 feet / 2,1 to 2,8 m.
3 Raise the safety arm from the drive chassis to
a vertical position.
4 Lower the platform onto the safety arm.
Crushing hazard. Keep hands
clear of the safety arm when
lowering the platform.
5 At the ground controls, turn the key switch to
the off position and push in the red
Emergency Stop button to the off position.
6 Remove all cable ties securing the cable from
the ground controls to the platform.
7 Remove the retaining fasteners and plates
securing the lift cylinder barrel and rod end
pivot pins.
8 Raise the platform slightly and return the
safety arm to the stowed position.
9 Lower the platform to the stowed position.
10 Remove the platform. Refer to Repair
Procedure, How to Remove the Platform.
11 Remove the cables from the number 4 inner
arm.
Component damage hazard.
Cables can be damaged if they
are kinked or pinched.
12 Support the number 4 inner and outer arms
with an overhead supporting device.
13 Remove the pivot pins securing the number
4 arm assembly to the scissor stack. Remove
the arm assembly.
Crushing hazard. The linkage
assembly could become
unbalanced and fall if not
properly supported when
removed from the mach
ine.
14 Remove the cables from the number 3 inner
arm.
15 Attach a lifting strap from an overhead
supporting device to the rod-end of the lift
cylinder.
16 Using a soft metal drift, remove the rod end
pivot pin and set aside.
17 Lower the lift cylinder and remove the strap.
18 Support the number 3 inner and outer arms
with an overhead supporting device.
19 Remove the pivot pins securing the number
3 arm assembly to the scissor stack. Remove
the arm assembly.
20 Remove the cables from the number 2 inner
arm.
21 Support the number 2 inner and outer arms
with an overhead supporting device.
 Loading...