7-5
dummyheaddummyhead
CHARGING SYSTEM
ALTERNATOR REMOVAL/
INSTALLATION
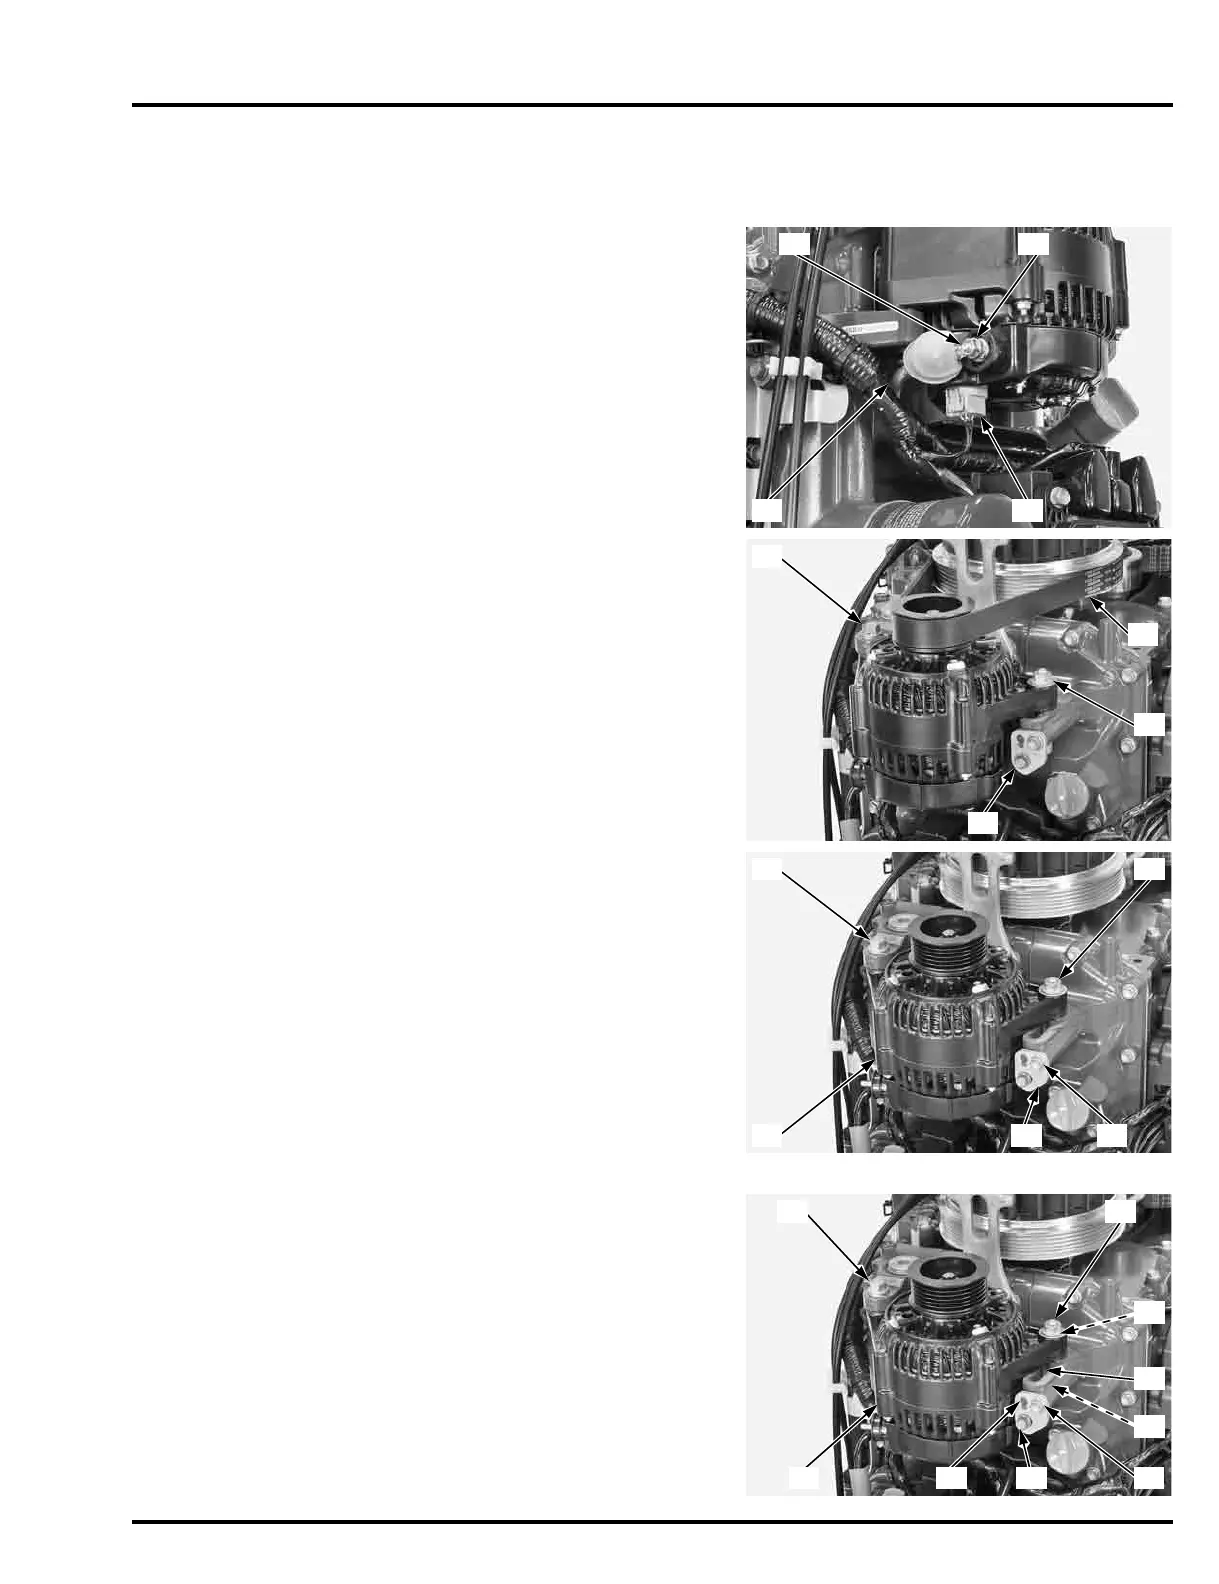
REMOVAL
Disconnect the battery negative (–) cable.
Remove the cooling fan cover (page 5-68).
Disconnect the 4P connector [1] from the alternator.
Remove the alternator B terminal nut [2] and ACG cable
[3] from the alternator B terminal [4].
Loosen the alternator bolt [1] and nut [2].
Loosen the special adjuster bolt [3].
Move the alternator to the engine side as far as it goes,
and remove the alternator belt [4].
• Do not contaminate the alternator belt with oil and
grease after removal.
• Do not bend the alternator belt. Store the belt by
hanging it on the wall.
Remove the alternator bolt [1] and nut [2].
Remove the bolt (6 x 16 mm) [3], bracket [4], and
remove the alternator [5].
INSTALLATION
Install the alternator [1] and loosely tighten the bolt [2].
Install the alternator by aligning its hole [3] with the hole
[4] of the alternator stay and then loosely tighten the
tensioner bolt [5] and alternator nut [6].
Align the hole [7] of the bracket with the boss of the
engine stay and tighten the bolt (6 x 16 mm) [8].
Loosely install the special adjuster bolt [9].
[2] [6]
[1] [9] [8][7]
[4]
[3]
[5]
 Loading...