4–26
The gauge can store measurement results in files (memory
locations) called projects. For information on creating and
activating project files, refer to Chapter 8. Upon completion of a
measurement, the results can be stored either automatically by
enabling the Auto-Store function (see page 8–12) or manually by
using the Store function (see page 8–14).
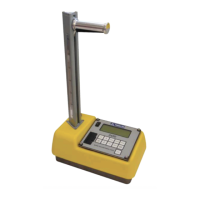
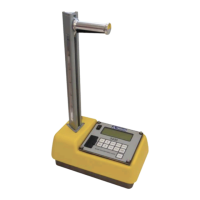
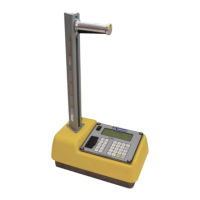
To take a measurement:
Select the soil mode (see Error! Reference source not
found. on page 3–14).
Enter or change the Proctor value, if desired (see Chapter 6).
Prepare the test site (see page 4–22)
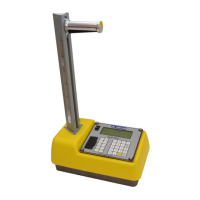
Place the gauge on the test area.
Lower the source rod into the hole made by the drill rod.
Use care when inserting the source rod. Try not to disturb
the soil around the hole.
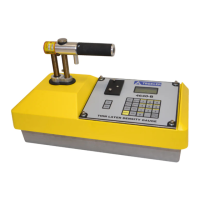
Ensure that the handle stops in the notch designated for the
proper measurement depth.
Gently slide the gauge to the right (towards the keypad) so
the source rod makes contact with the wall of the hole.
Press ¢ENTER/START².
f In the Manual depth mode (see page 5–3), the gauge
prompts for the source rod depth. Enter the source rod
depth using the number keys. For example, with the
source rod in the backscatter position, press ¢0², and
then press ¢ENTER/START².
f In the Automatic depth mode, the gauge software
determines the source rod depth automatically.
f Note that the Proctor value is based on soil particles
3/8” or less in diameter (or those passing a #4 sieve). If
an unusual reading is obtained and oversize particles
are suspected, rotate the gauge 90q. Use the same drill
hole to take a second reading.