DE35-ST Operating Instructions
D292469I 79
Die Eject System
Adjusting the Die Ejector
It is important that Eject Head Needle Pattern aligns squarely with the Front/Back Axis
of the machine, as shown below.
1. The Eject Head can be screwed up against the O-ring as far as necessary to
align the needle pattern. This is the only function of the O-ring. It is not
required for sealing.
2. Rotate fully counter clockwise the Micrometer speed control, then rotate the
control counter clockwise by about half a turn. This will set the die plunge up
speed at the lower end of its speed range.
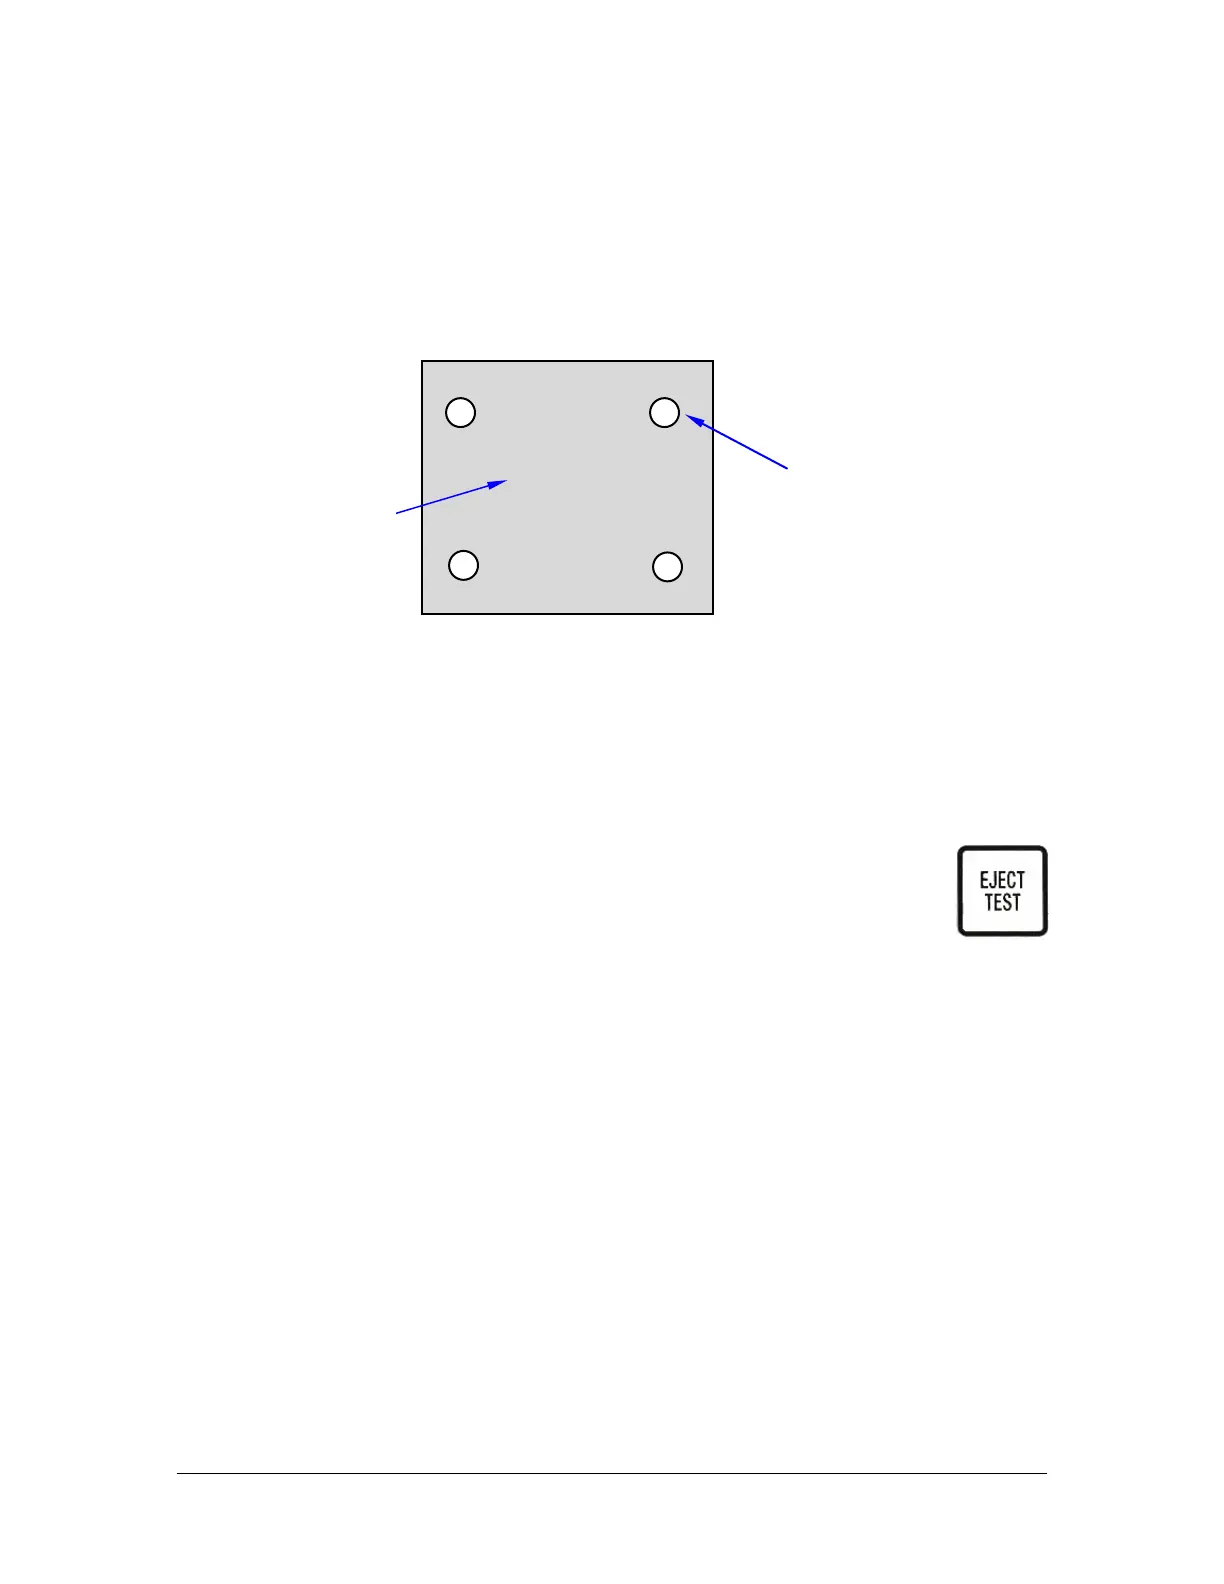
3. Press the EJECT TEST key. You will hear a click as the Die-Eject
Vacuum Solenoid Valve turns ON, followed by a short delay and
another click as the Die-Eject Compressed Air Solenoid Valve
turns ON. You will now see the Eject Needles emerge from the
top of the plunge up Head Assembly.
Although not a critical adjustment, the needles should emerge at least 0.050
in. as a starting point.
NOTE: If the needles are left in the up position, there is a danger of moving the
Film Frame Holder and tearing the film. To minimize this possibility, the system
will drop the needles after about 60 seconds. You can toggle the needles on and
off in Single Step Mode when the pickup arm is actually over the top of the Eject
Head. This is a handy way of verifying head/needle alignment.
If the needles do not appear, ensure that the compressed air supply is turned
ON and that the Eject Speed Control is not screwed fully clockwise.
Note: Pneumatic Ejectors only, see Motorized Ejector section on page 94 for
details.