Installation vacon • 37
Local contacts: http://drives.danfoss.com/danfoss-drives/local-contacts/
5
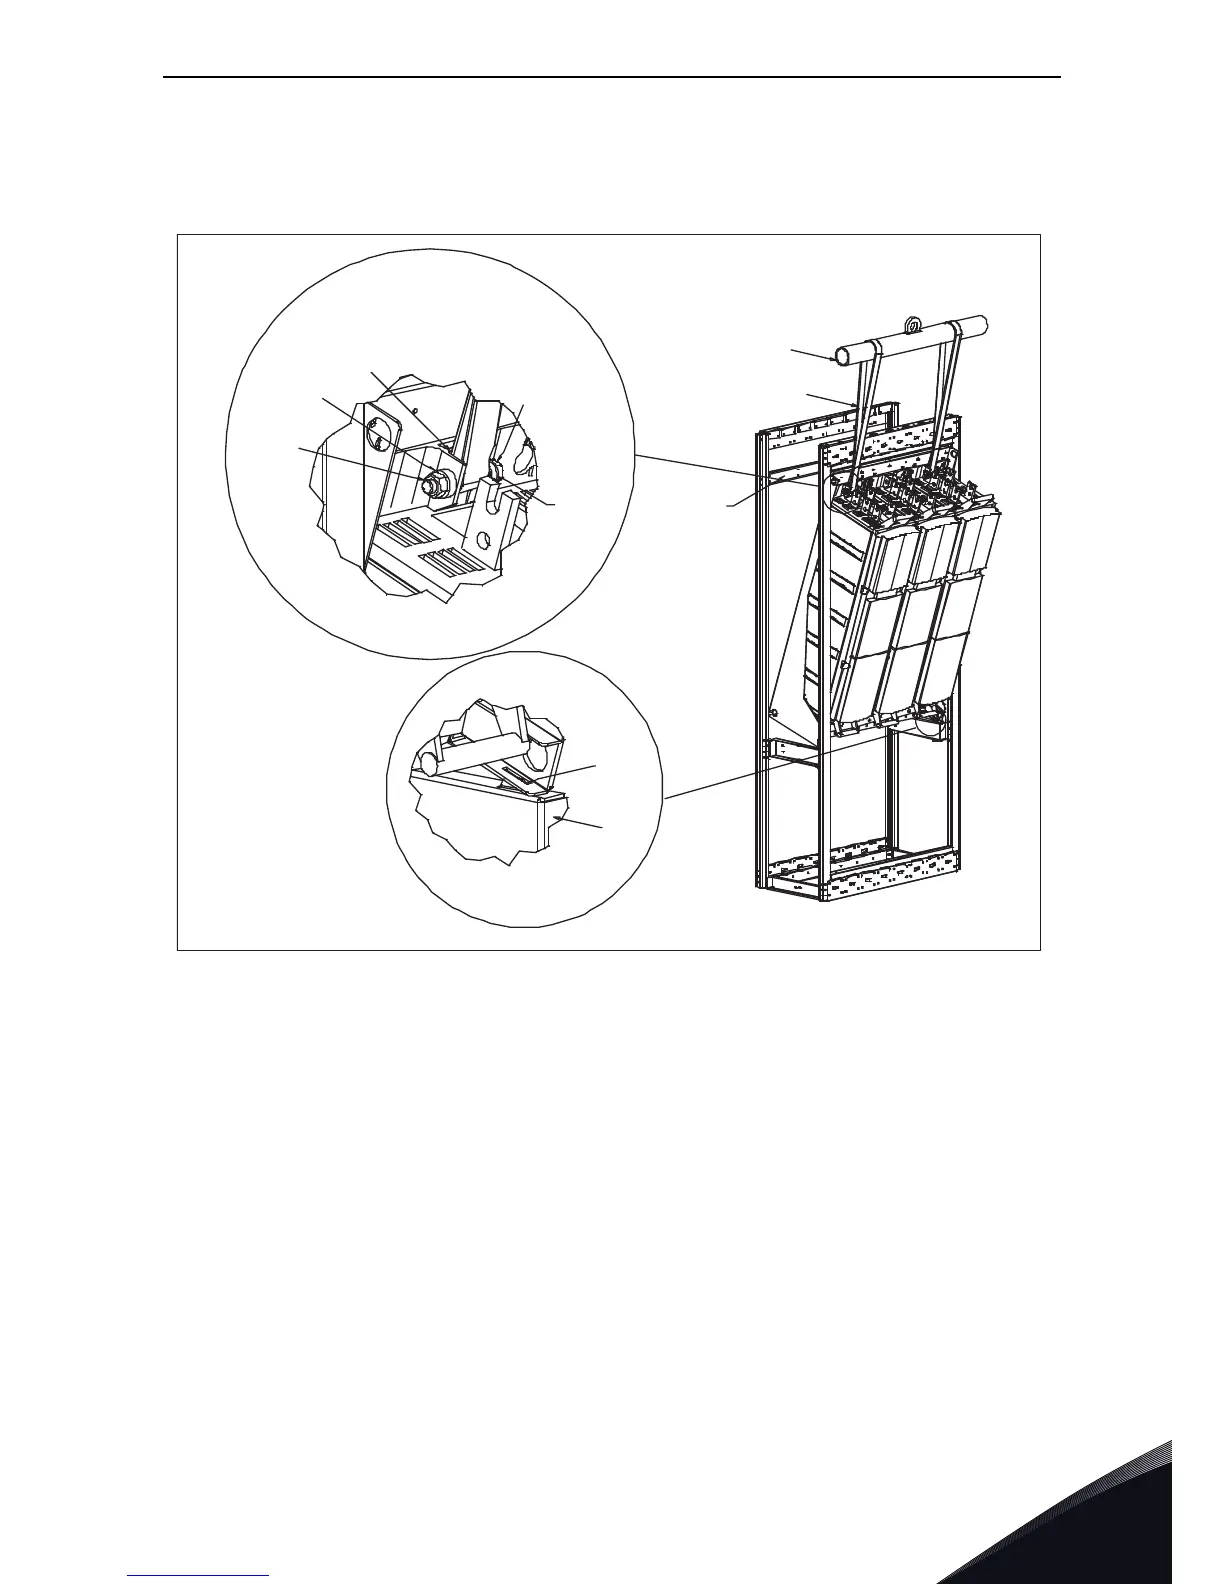
In such case, follow the lifting procedure described in Figure 4. The mounting becomes easier and
safer if the drive can be laid on a supporting girder fixed on the cabinet frame. We also recommend
to use an aligning stud to guarantee an easy and safe mounting.
Figure 4. Lifting of drive into a narrow mounting space
To additionally stabilize the cabinet with the drive, we recommend to mount a fixing rail on the back
of the cabinet, to which the top of the drive can be fastened with 5 or 6 M5 screws. The cut-out is
compatible with Rittal or Veda cabinets. Also secure the drive with M8 nuts and studs to the
supporting girder. See Figure 4 and Figure 5.
The VACON
®
NX Liquid-Cooled drives are equipped with plastic handles and these handles can be
used to move and lift drives consisting of one power module (CH61, CH62, & CH72) by hand.
NOTE! Never lift a drive from the plastic handle or handles with an elevating device, such as jib
crane or hoist. Recommended lifting procedure for these units are as described in Figure 3 and
Figure 4.