4. Installation
4.1 Installation overview
To install the display, perform the following procedures in the order presented:
1. Selecting location (page 15)
2. Unpacking (page 17)
3. Removing covers (page 18)
4. Connecting cables and grounding (page 20)
5. Installing display (page 25)
6. Powering (page 28)
7. Verification (page 28)
8. Calibration (page 28)
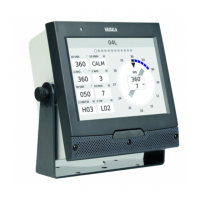
When the power supply is connected, the display is ready for operation. The device does
not have a power switch.
4.2 Installation safety
When installing the display and removing the back cover, you come into
contact with ESD sensitive components marked with the following symbol:
Handle ESD sensitive components on a properly grounded and protected ESD
workbench. If this is not possible, ground yourself to the equipment chassis before
touching the boards.
CAUTION!
To import or export configuration files using the USB Flash memory, you do NOT need to
remove the back cover of the display.
More information
‣
ESD protection (page 10)
‣
Removing covers (page 18)
‣
Editing configuration files (page 56)
‣
Opening and closing display panels (page 83)
WID511 User Guide M211109EN-L
14