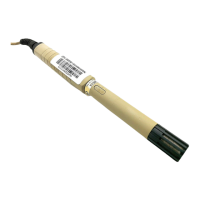
The steps below describe how to connect to the probe using the PuTTY terminal application
for Windows and a USB computer connection cable. Connecting with a computer allows you
to configure and troubleshoot your probe using serial line commands.
1. If you have not used the Vaisala USB cable before, install the driver before attempting
to use the cable.
2. Connect the USB serial interface cable between your computer and the M12 connector
of the probe.
3. Start the PuTTY application.
4. Select Connection > Serial & USB and check that the correct COM port is selected in
the Serial or USB line to connect to
field. If you are using the PuTTY terminal
application supplied by Vaisala, you can press the USB Finder button to open the
Vaisala USB Instrument Finder program.
5. Check that the other serial settings are correct for your connection, and change if
necessary. Flow control should be set to None unless you have a reason to change it.
6. Select Terminal. Use the following settings:
Local Echo: Select Force on. This setting ensures that your typing is shown on the
session window.
Make sure that the Send line ends with line feeds (CR+LF) option is
not selected. Enabling this option can cause issues with the terminal connection.
CAUTION!
7. To open the connection window and start using the serial line, select Open.
If PuTTY is unable to open the serial port you selected, it shows you an error
message instead. If this happens, restart PuTTY and check the settings.
GMP252 User Guide M211897EN-D
28
 Loading...
