9
Verathon Service Partner Manual: Annual Certification
SETUP
1. Make a copy of the "Certificate of Calibration & Compliance" on page 8. As you progress through
this procedure, complete the certificate.
2. If you have not done so already, ensure that the console is operating in configuration mode, as
documented in the procedure Enter Configuration Mode on page6.
CHECK THE COSMETIC APPEARANCE
3. Inspect the console and probe to ensure that it meets the requirements outlined in the section
Workmanship Standards on page74.
4. Verify that all visible screws, feet, and surfaces are seated well.
5. Verify that the printer door can fully open and close.
6. Verify that the battery is easily inserted and removed.
7. Hold the printer paper roll in place, and then gently shake the console to ensure there are no loose parts.
CHECK POWER & BACKLIGHT FUNCTIONS
8. If you replaced the EPROM or the PCB assembly, ensure that you have completed the procedure Program
the Console on page65.
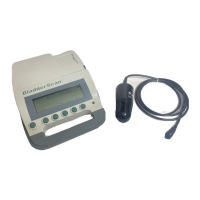
9. Attach the probe to the console, and then insert a fully charged battery.
10. Press the Power button. The console turns on. Because the console is in configuration mode, the
message “This Unit is Not Setup” appears on the console screen.
11. On the Main Configuration screen, press the RUN button. The console enters standard operating mode.
CABLE
TEST
PROG
PROBE
MFG
TEST
SETUP
NOW RUN
THIS UNIT IS NOT SETUP
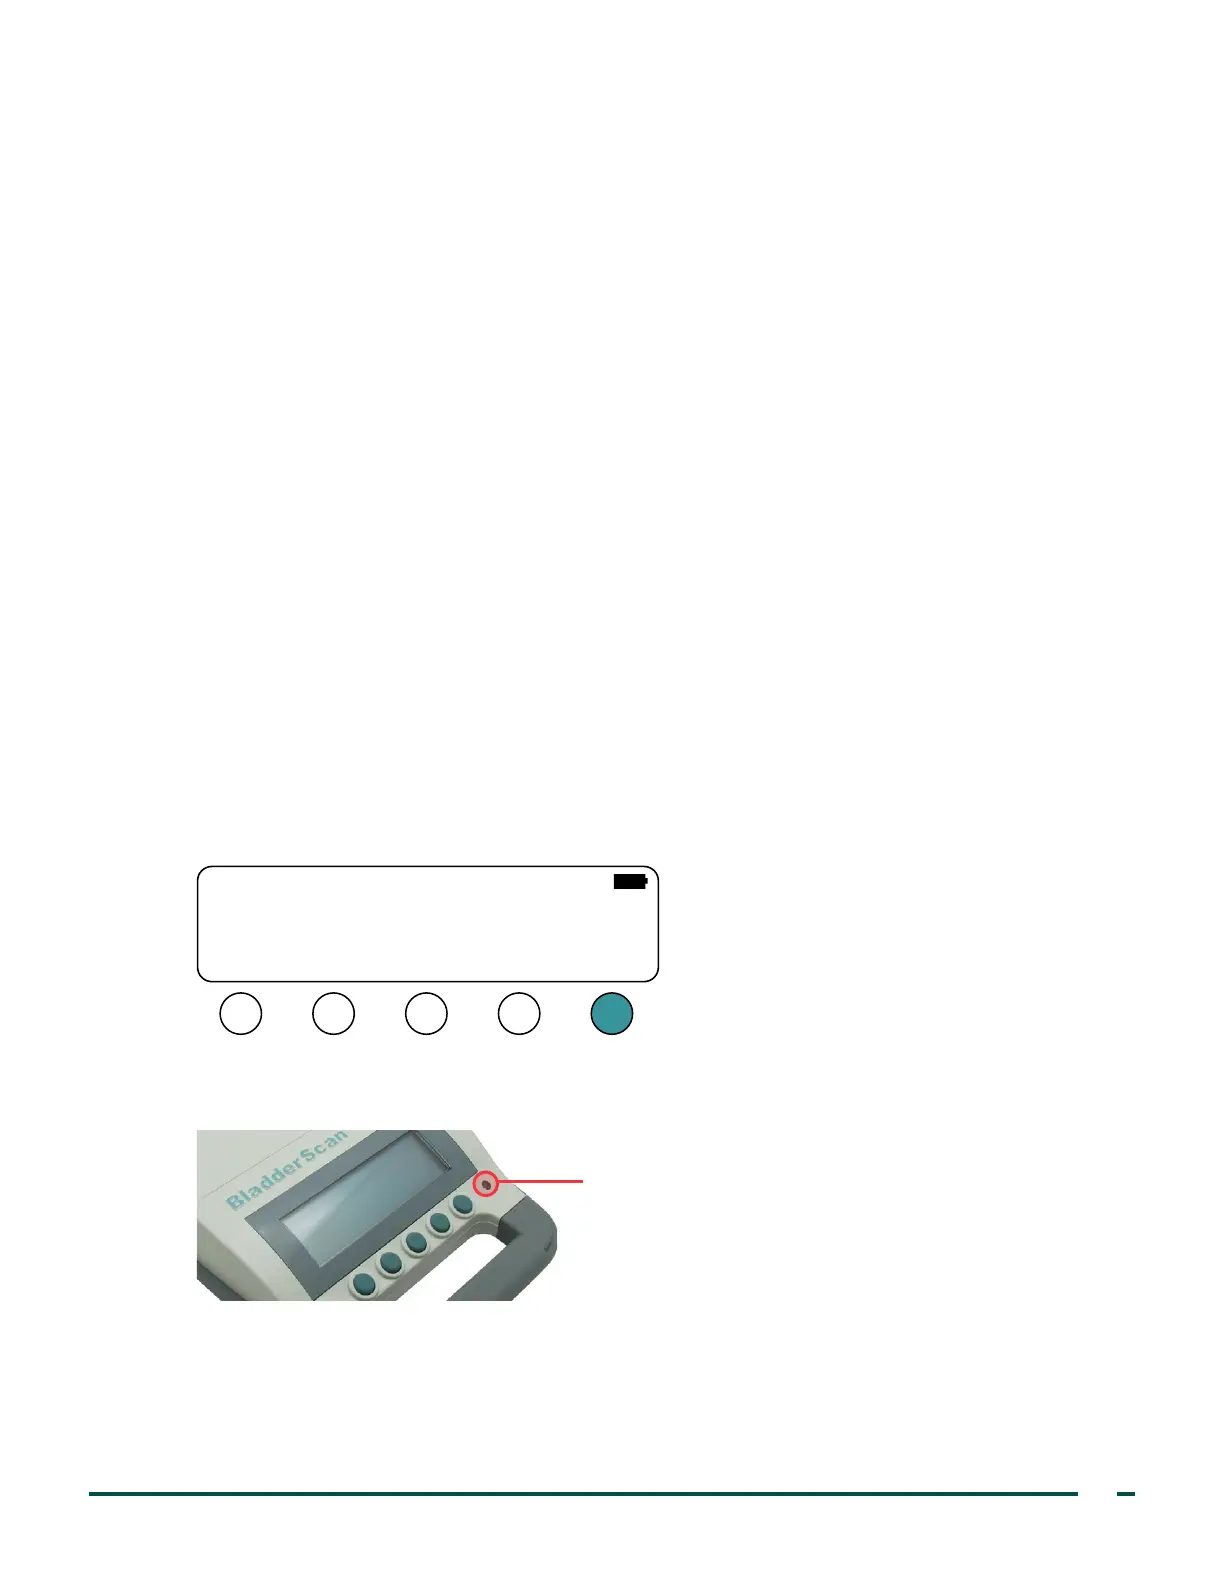
12. On the console, place your finger over the light sensor. Confirm that the screen backlight turns on.
Note: The change in lighting may be subtle and difficult to see in a bright room.
Light sensor
13. Remove your finger from the sensor. Confirm that the screen backlight turns off.
Note: The change in lighting may be subtle and difficult to see in a bright room.
 Loading...