10
VERIFY CONSOLE SETTINGS
14. Ensure that the battery icon indicates an accurate representation of the battery’s charge level.
Note: Ensure you that you used a fully charged battery in Step9.
15. Verify the text BVI3000 is displayed on the console screen.
16. Verify the correct date is displayed on the screen.
17. On the Main Menu screen, press the ALT button.
SCAN ALT
VERATHON
PRINT NOTES
13:2705/22/14
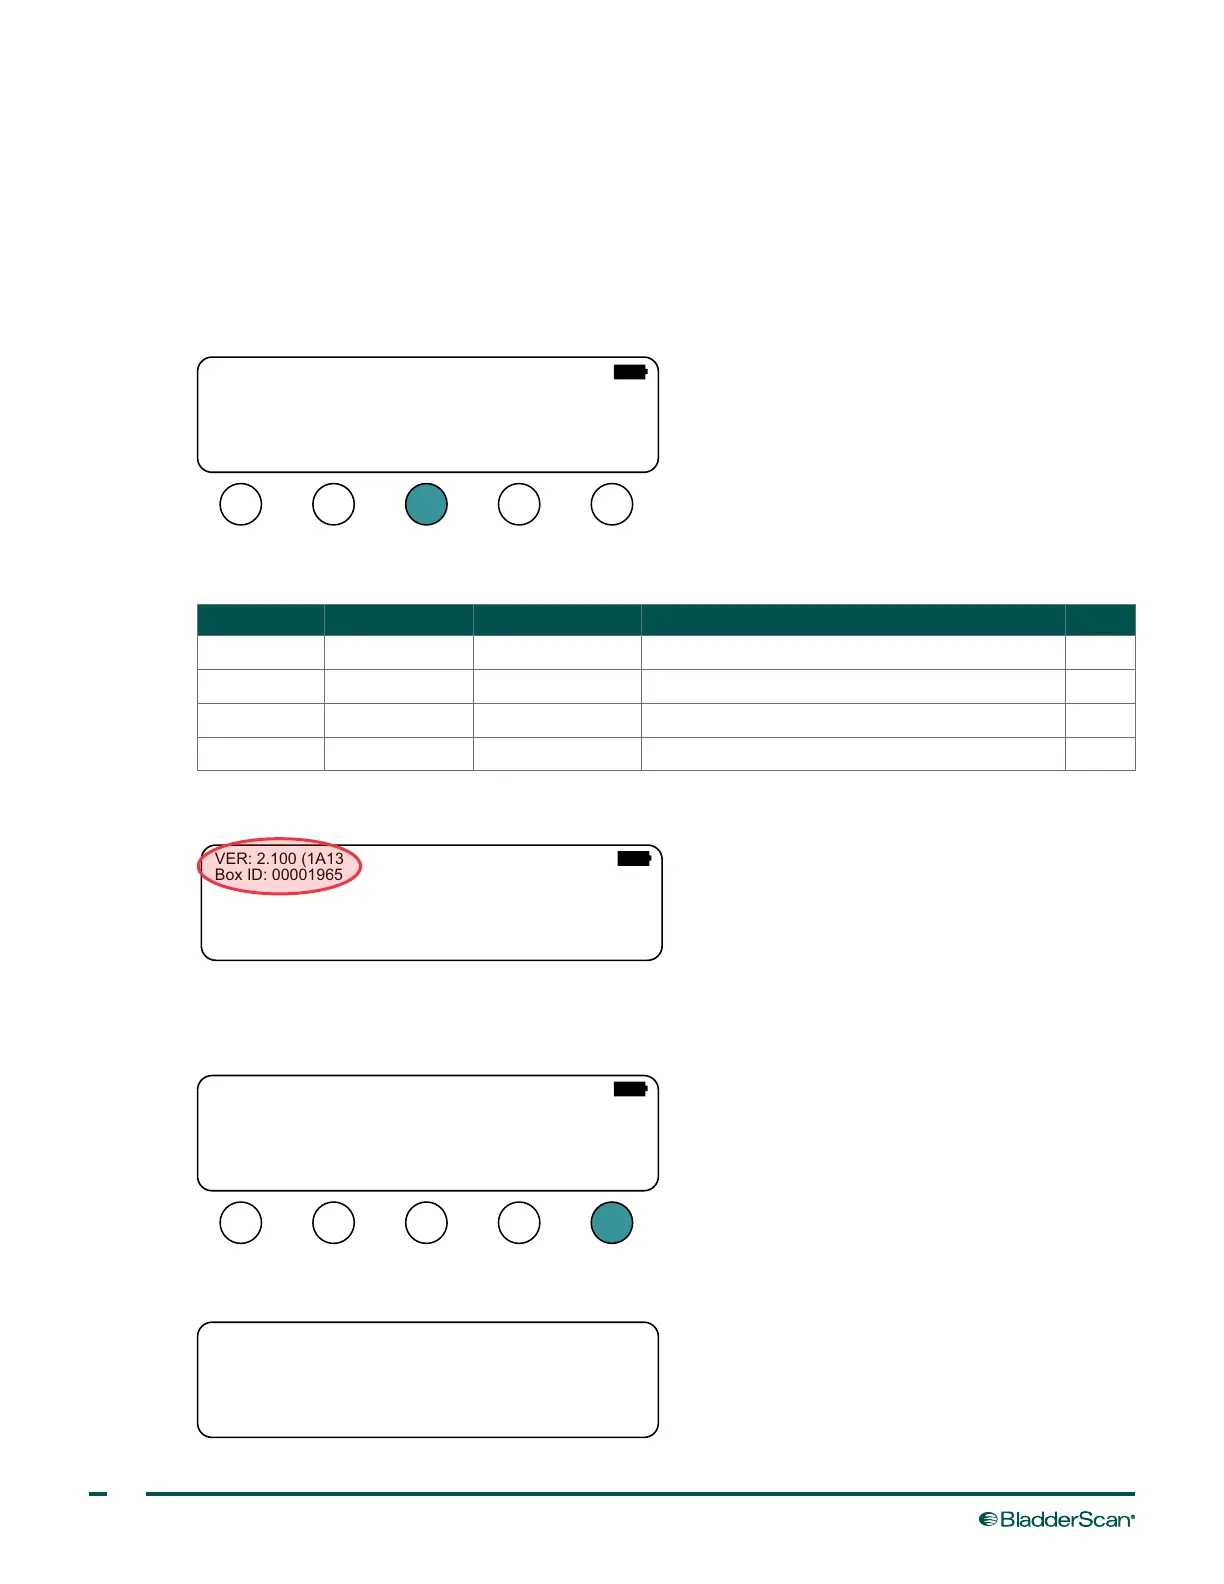
18. On the Alternate Menu screen, verify the version number and that the Box ID matches the serial number
of the console. Update the version according to the following table:
PCBA TYPE VERSIONS UPDATE CORRECTIVE PROCEDURE PAGE
EPROM ≤ 2.034
*
Required Replace the EPROM 37
EPROM ≥ 2.100 Optional Replace the EPROM 37
EEPROM 3.000–3.010
*
Recommended Return the system to Verathon for update —
EEPROM ≥ 3.020 Optional Return the system to Verathon for update —
*
Software version has a maximum calendar date of December 31, 2019. If the software is not updated, the date on exam printouts
may be inaccurate.
NAME TIMEDATE
Copyright 2013 by
VERATHON Corporation
VER: 2.100 (1A13)
Box ID: 00001965
PREF
SELF
TEST
PERFORM A SELF‑TEST
19. On the Alternate Menu screen, press the SELF TEST button. The instrument begins the self‑test.
NAME TIMEDATE
Copyright 2013 by
VERATHON Corporation
VER: 2.100 (1A13)
Box ID: 00001965
PREF
SELF
TEST
As the test is completed, the Self Test screen displays the status of the systems tested. Confirm all of the
self‑test systems passed. When the test is complete, the instrument returns to the Main Menu screen.
ROM Te st PASSED
Bus Te st PASSED
NVRAM Te st PASSED
SRAM Te st PASSED
FLASH Te st PASSED
 Loading...