42
Visionix EyeRefract User Guide
42
Overview of the Software
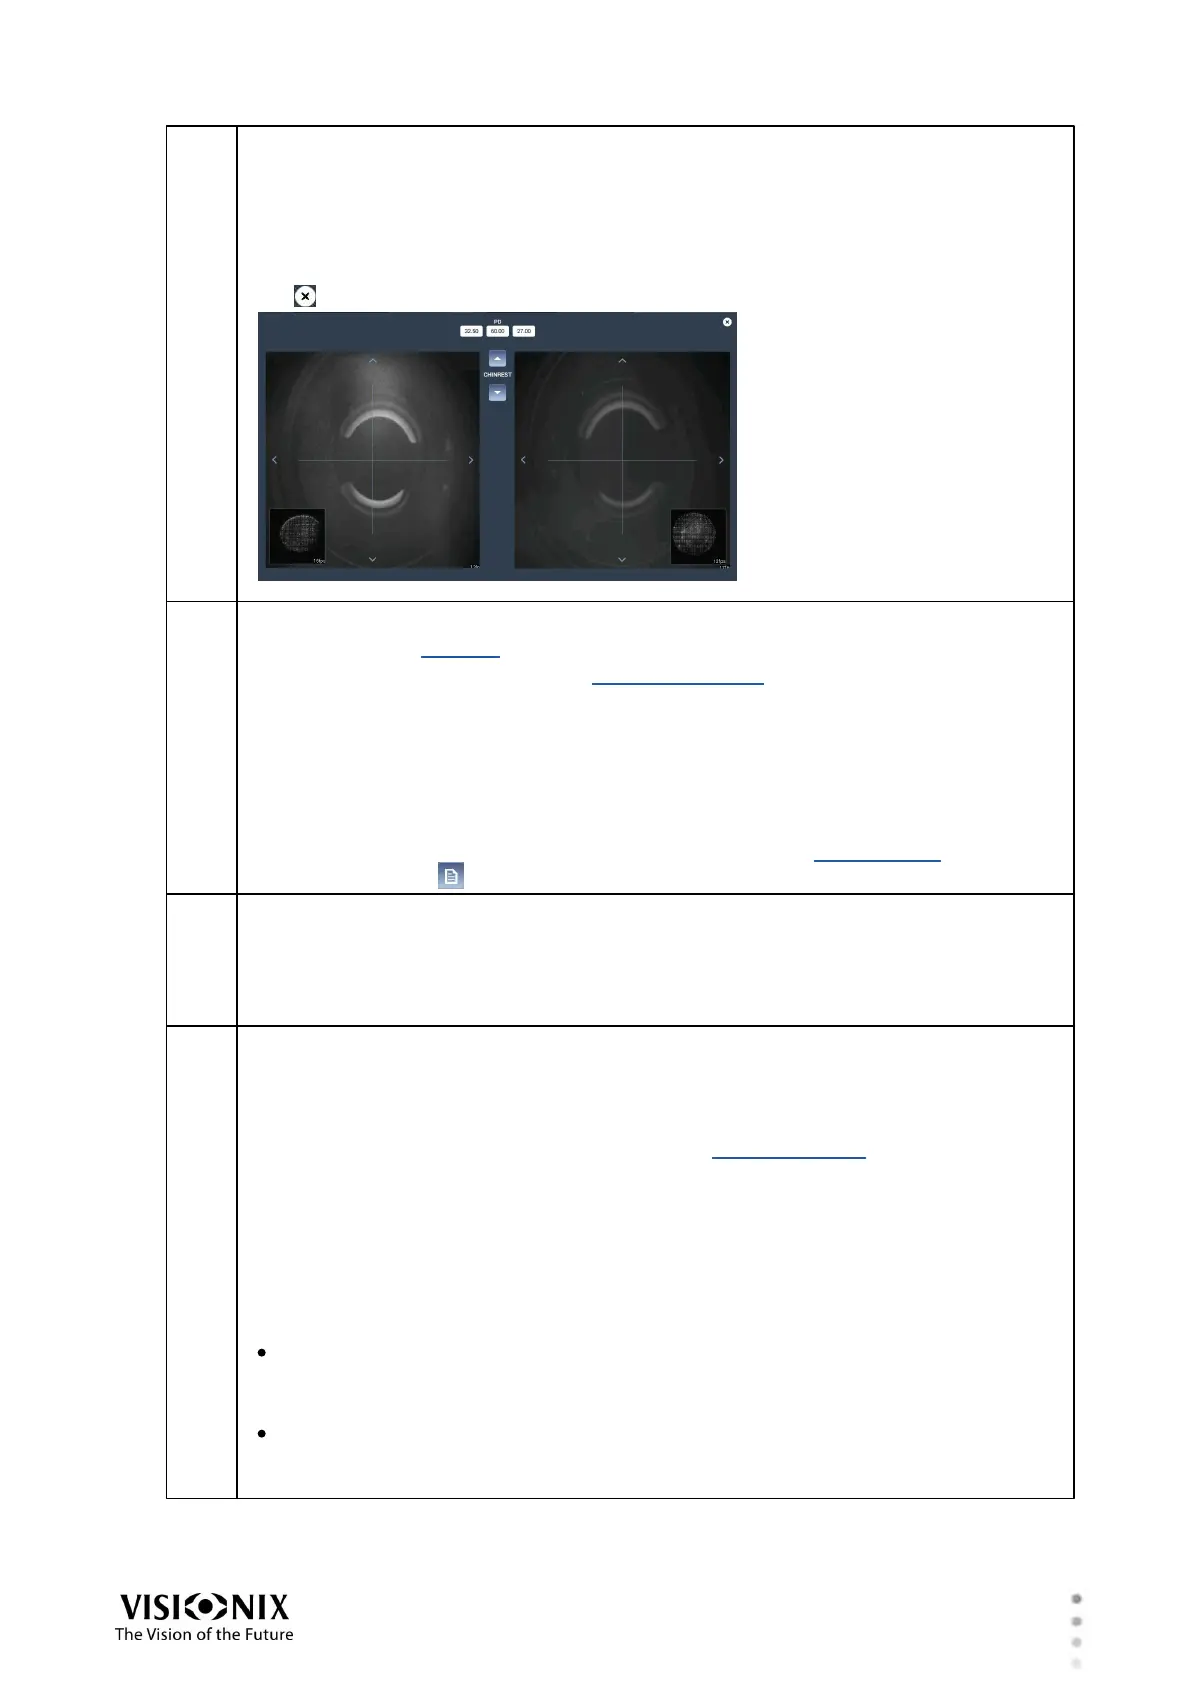
PD
Displays the pupillary distance . The value displayed is the sum of the right PD and
the left PD.
To modify the PD, tap its value. A window opens, in which you can see the camera
view, and the PD values (right, left, and total) appear at the top of the window. Tap
the centers of the patient's eyes and the PD values are adjusted accordingly. Tap
the to close the window.
Selected data-set
The name of the data set that is currently active.
When a data set is selected in the Exam File screen, its settings are implemented
on the phoropter. Normally, this is the data set called Final. Initially, the settings in
this data set are copied from the results of the wavefront analysis. As you progress
through the subjective refraction, its settings are updated based on the patient's
reported preferences.
During the subjective refraction process, you can choose to reset the values to
those of any of the available data sets. To choose a different data-set, or copy the
data from one of the data sets to the Final data set, in the heading area, tap the
Open Exam File ( ) button to open the Exam File screen.
VA
Displays the patient's visual acuity
Three values are displayed: the VA of the right eye, of the left eye, and, between
them, the binocular VA.
These fields are filled in during steps 2 (binocular), 3 (right eye), and 5 (left eye).
Current settings
Displays the current settings of the phoropter
If the Final data-set is active (see #4), these values can be modified manually. If
one of the other data-sets is active, these values cannot be modified, and the fields
are unavailable. For additional information, see Data-Set Types.
In the illustration, the Sphere, Cylinder, and Axis values of the right eye are
highlighted. This indicates that these are the values that are currently being fine-
tuned. The values in the left column (column "1") are similarly highlighted, because
this is the data set currently being called #1.
To manually adjust a value, select it as follows, and then use the dial (#12) and/or
the buttons (#10 and #13) to increase or decrease the values. The phoropter
settings are modified accordingly.
To select the values for both eyes at once, tap the label between the values (e.g.,
tap S to select the sphere value for both eyes). Note that the patient view (#1) of
both eyes must be open in order for both values to be selected.
To select the value for one eye, tap the value (e.g., in the illustration above, to
adjust the sphere of the right eye, tap the value +3.75). Note that the patient view
(#1) of the selected eye must be open in order for the value to be selected.