Visionix EyeRefract User Guide
65
Overview of the Software
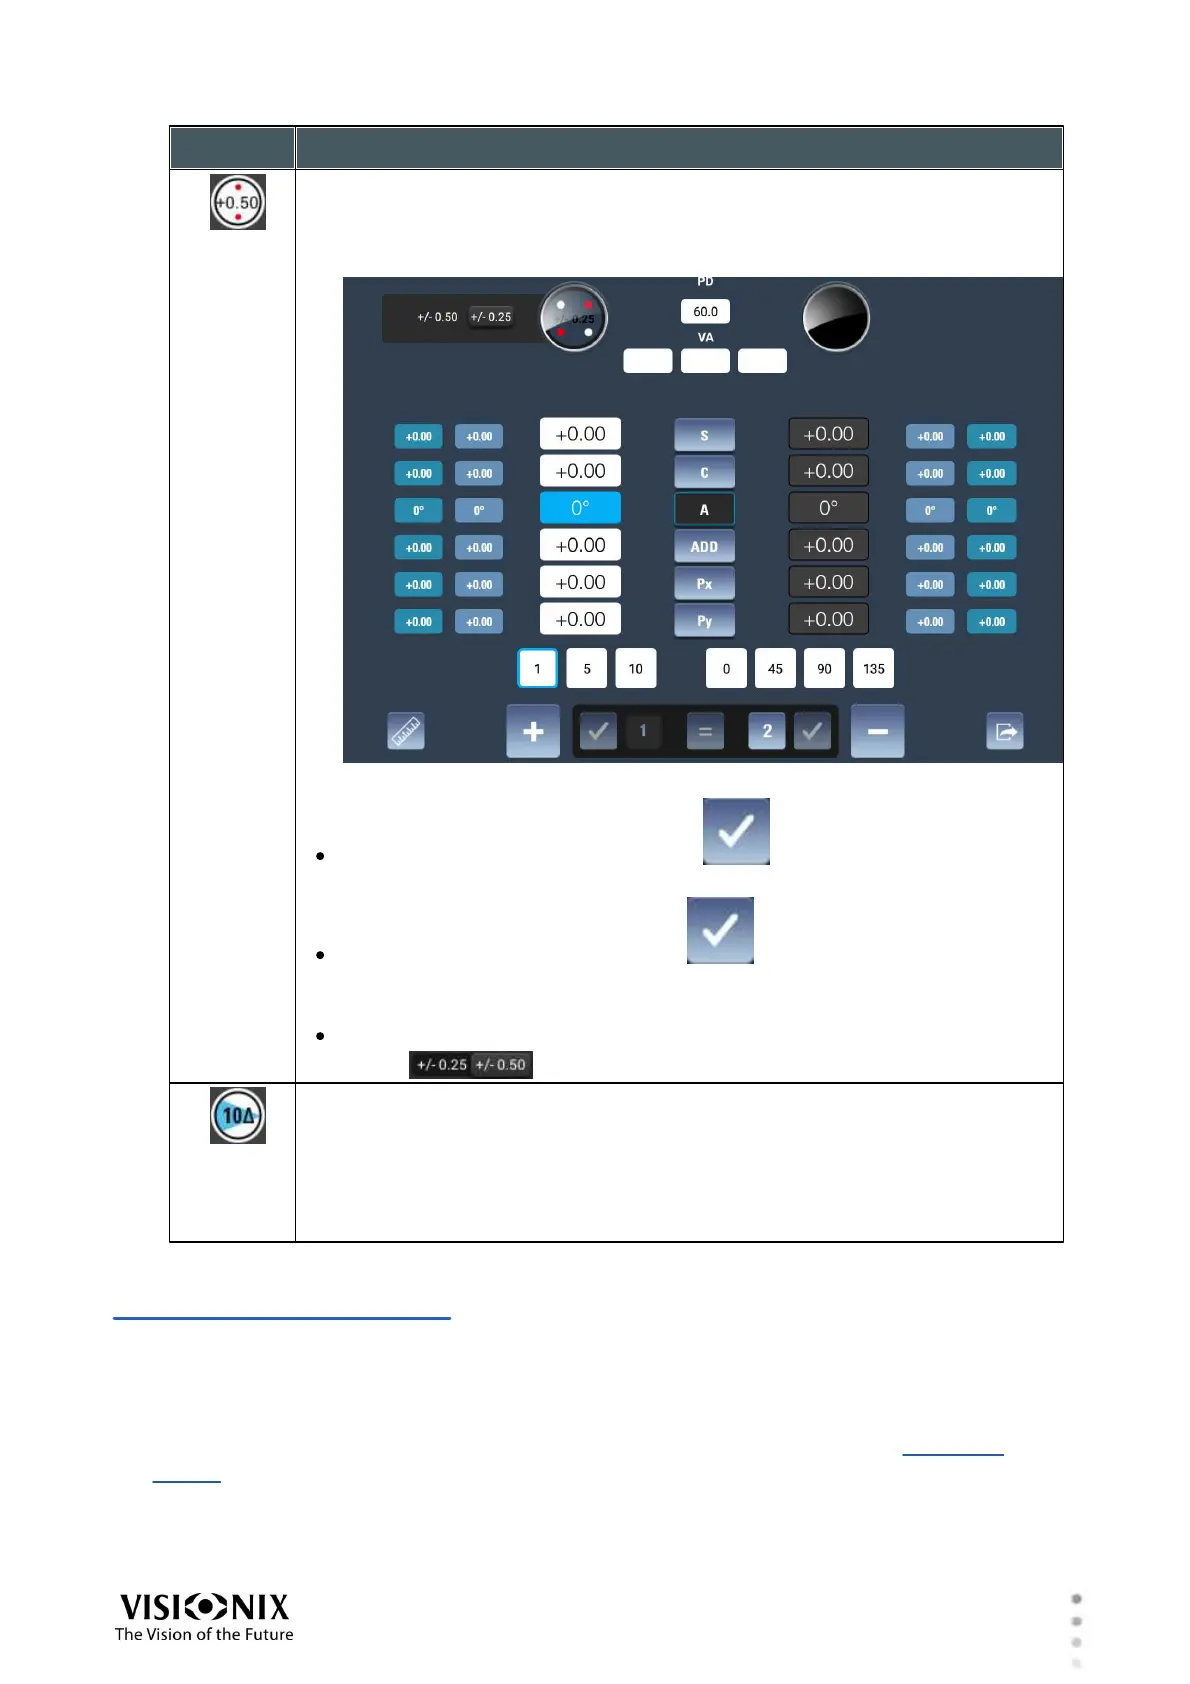
Cross Cylinder button
Enables you to adjust the astigmatism of the selected eye by changing its
axis and cylinder.
When this option is selected, a sub-menu opens beside it:
Selection of 1 or 2
Clicking on position 1 and clicking on increases the axis value by
the value chosen (1,5,10) .
Clicking on position 2 and clicking on increases the axis value by the
value chosen (1,5,10) .
Select the increment by which the cross cylinder should be changed: 0.25
or 0.50 .
Prism of Dissociation button
Adds a prism of dissociation
To adjust the prisms, modify the values in the Px and Py fields as required.
Note: Before adjusting the prisms, you must engage them manually by
pushing down the levers on the sides of the unit's heads; see #4 in the
illustration above.
4. 7 Exam File Screen
The Exam File screen is used to manage the data-sets of the current refraction session. The
screen shows the various refraction data-sets currently available for the patient, as well as the
patient's visual acuity and keratometry measurements, if they are available. During the
refraction process, you can choose which of these data-sets to display in the Refraction
screen. You can also import lens measurements from a connected lens meter, copy one data-
set to another, and reset the values of those data-sets that can be manually modified. When
the refraction process is finished, you can print or export the results from this screen.