LTC Repair Lombardini Engine Troubleshooting
wc_tx000364gb.fm 71
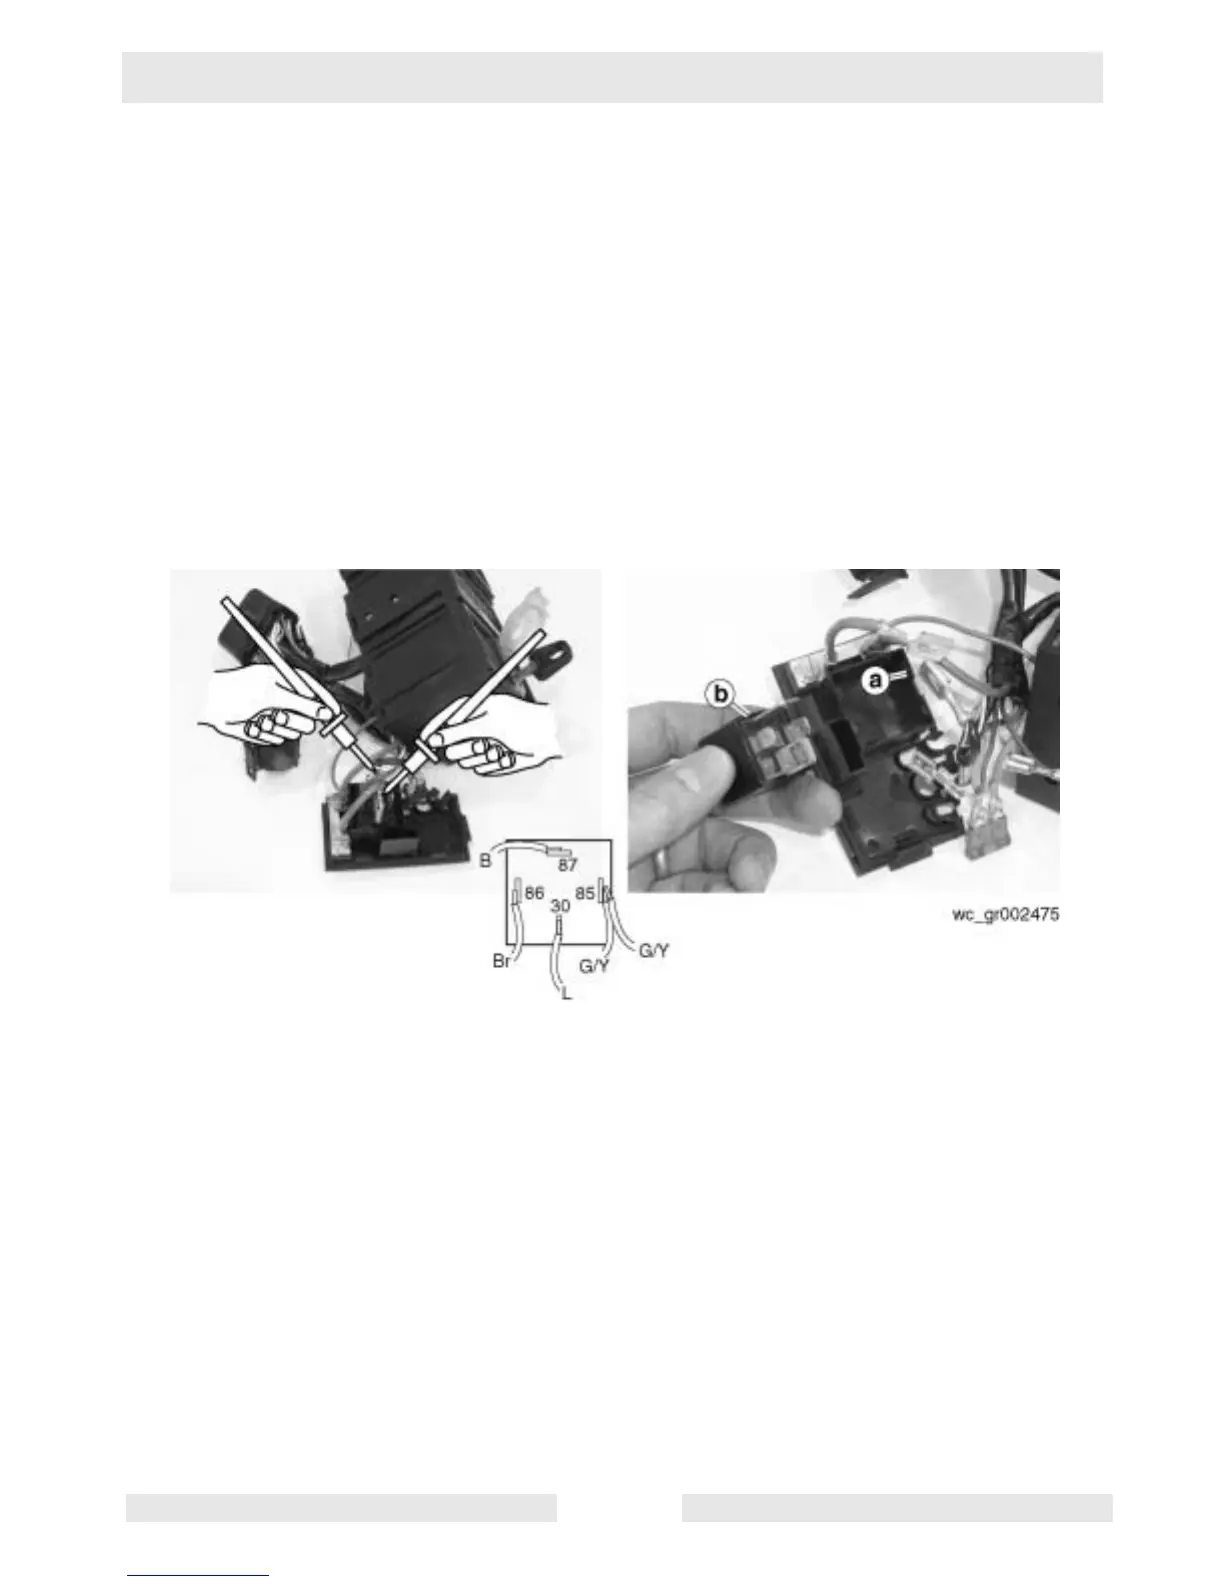
5.9 Checking Glow Plug Relay
See Graphic: wc_gr002475
5.9.1 Remove the screws securing the engine control panel. Leave all wiring
connected to the control panel.
5.9.2 Rotate the control panel to gain access to the rear of the control panel.
Remove the enclosure cover to access the glow plug relay.
5.9.3 Place the keyswitch in the START position. A working relay will “click”
when the keyswitch is in the START position.
Check the continuity across the blue (L) and black (B) wires when the
keyswitch is in the START position. If there is no continuity, the relay
is faulty; replace it.
5.10 Replacing Glow Plug Relay
See Graphic: wc_gr002475
5.10.1 Make note of the wire positions and disconnect all wires from the glow
plug relay.
5.10.2 Bend back the tabs (a) securing the glow plug relay (b) and pull the
glow plug relay from the enclosure.