28
Wegaconcept
Technical manual
Carry out the washing operations on the other groups,
following the same procedures indicated above.
If desired, the washing request can be
forced by pressing and holding the () key of
the programming selector for 5 seconds.
t remove the lter holder from delivery group 1 and
press the “PROG/STOP” key.
t wait for the rinse cycle to be carried out (this takes
roughly 30 seconds), and the following messages will
appear on the display:
t at the end of the rinse cycle, the following messages
will appear on the display:
22 Cleaning
For perfect cleaning and eciency of the appliance,
several simple cleaning operations are necessary on
the functional parts and accessories as well as the body
panels. The indications given here are applicable for
normal use of the coee machine. If the machine is used
continuously, then cleaning should be performed more
frequently.
Before cleaning the machine, turn it o the machine
and let it cool o.
Cleaning
Daily
Weekly
Monthly
CAPPUCCINO MAKER
Clean it several times a day as indicated in chap.
14.2, especially if used continuously
XXX
FILTERS and FILTER HOLDERS
Use a screwdriver to detach the lter from the lter
holder.
Let the lters and lter holders soak in hot water
for a few hours so that the fatty coee deposits can
dissolve.
It is advisable to add special detergent to the water
and then rinse with clean water.
Caution: soak only the lter Cup.
Do not immerse in water the handle.
XXX
FILTERS and FILTER HOLDERS
Use a screwdriver to detach the lter from the lter
holder.
Clean the inside of the lter holder with a brush and
wash the lter and lter holder with hot water.
Failure to clean the lters and lter holders may
compromise the quality of the coee and cause
problems such as bad delivery and coee grounds at
the bottom of the cup.
X
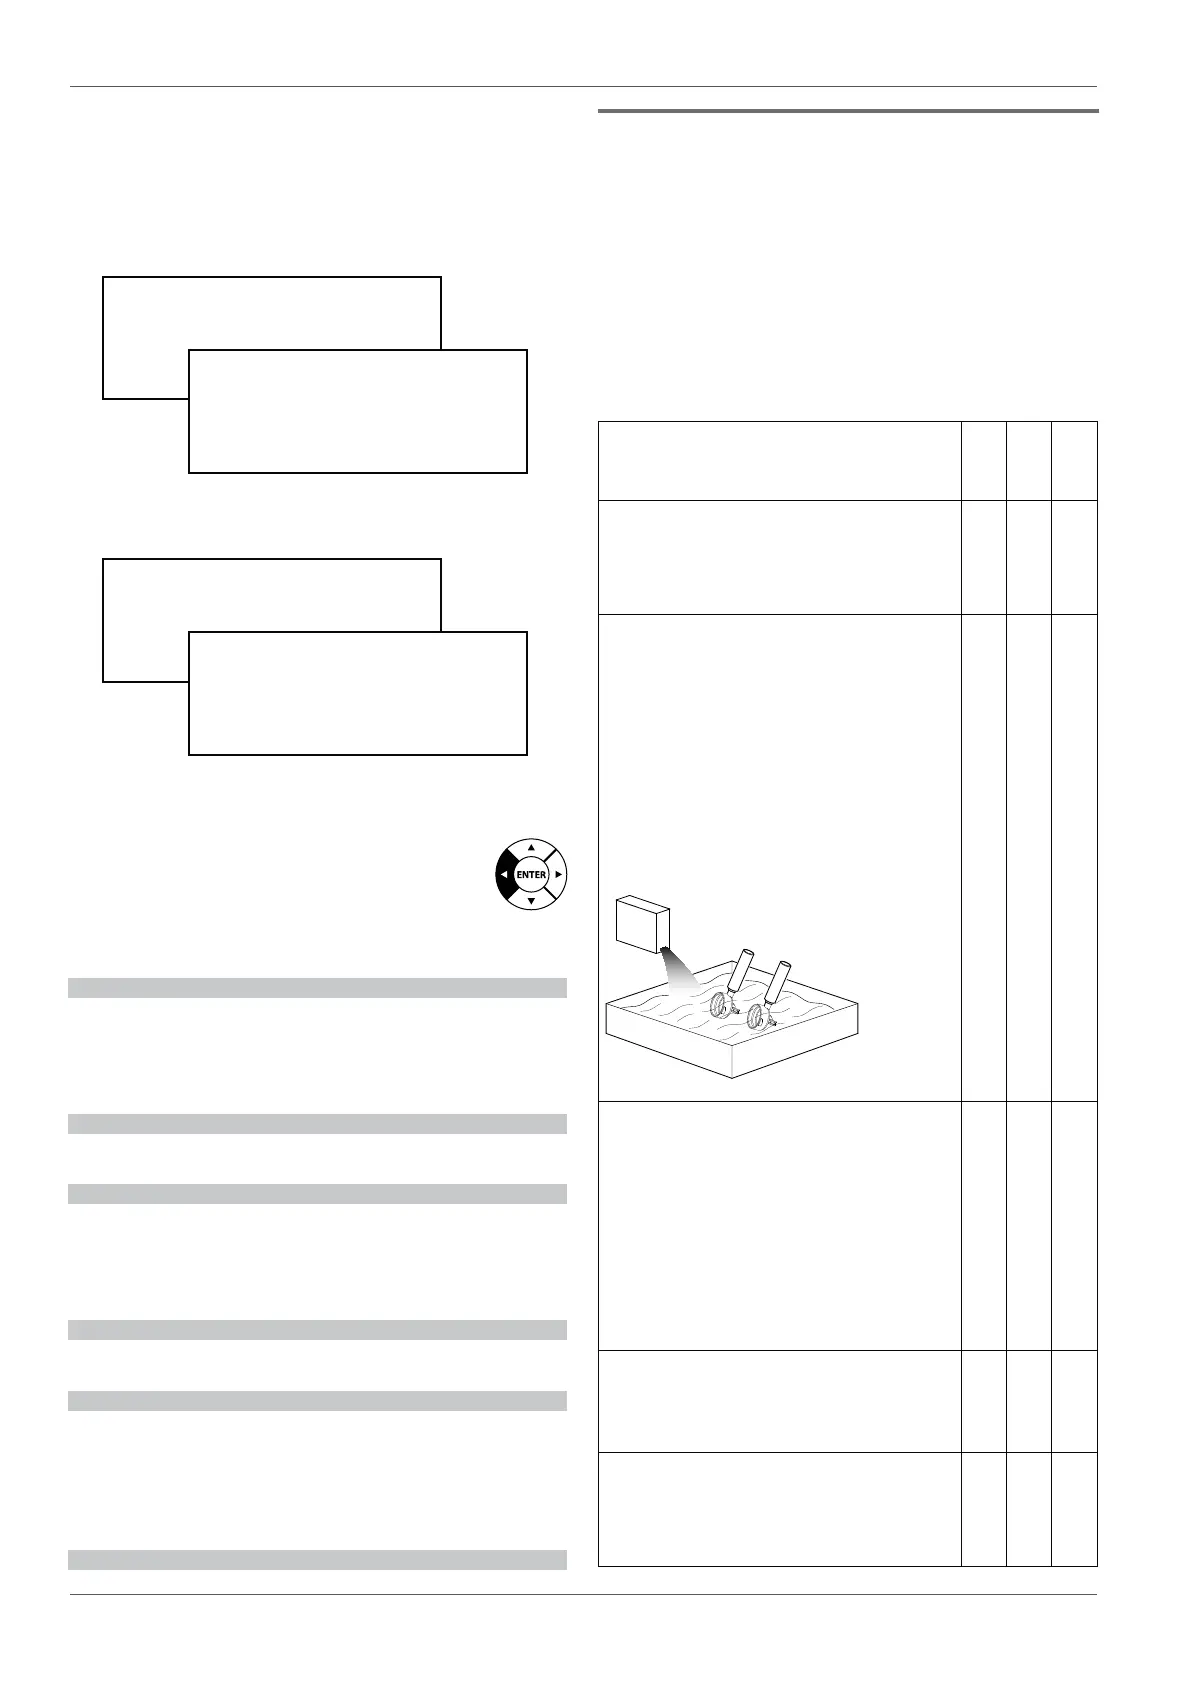
STEAM NOZZLE - MILK FOAMER - AUTOSTEAMER
Keep the nozzle clean at all times using a cloth
dampened in lukewarm water.
X
STEAM NOZZLE - MILK FOAMER - AUTOSTEAMER
TIPS
Check and clean the tips of the nozzle, clearing out
the steam outlet holes with a small needle.
X
GR.1 RINSE
GR.2 ADD DETERGENT
GR.3 ADD DETERGENT
GR.4 ADD DETERGENT
GR.1 END WASHING OK
GR.2 ADD DETERGENT
GR.3 ADD DETERGENT
GR.4 ADD DETERGENT
GR.1 RINSE
GR.2 STOP/PROG KEY
GR.3 STOP/PROG KEY
GR.4 STOP/PROG KEY
GR.1 END WASHING OK
GR.2 STOP/PROG KEY
GR.3 STOP/PROG KEY
GR.4 STOP/PROG KEY
i
The washing operations can also be carried out
simultaneously on several delivery groups. To exit
the washing phase, the washing must be completed
on all the groups.
i
To disable automatic signalling on the display of the
wash request or to modify the time of activation of
the message, see the chapter on "Programming".
i
Before conrming the start of washing with the
PROG/STOP key, you can delete the operation by
pressing the key (). To exit a washing phase
that is already in progress, the washing must be
completed of all the groups.