Motor groups are to be configured in:
1. Controlling smoke zones
2. Comfort open position
3. Comfort open close time
4. Use ‘safety‘ from smoke zone
5. Wind directions where to close during alarm
The appendix contains all the items that can be configured
- see appendix for detailed explanation.
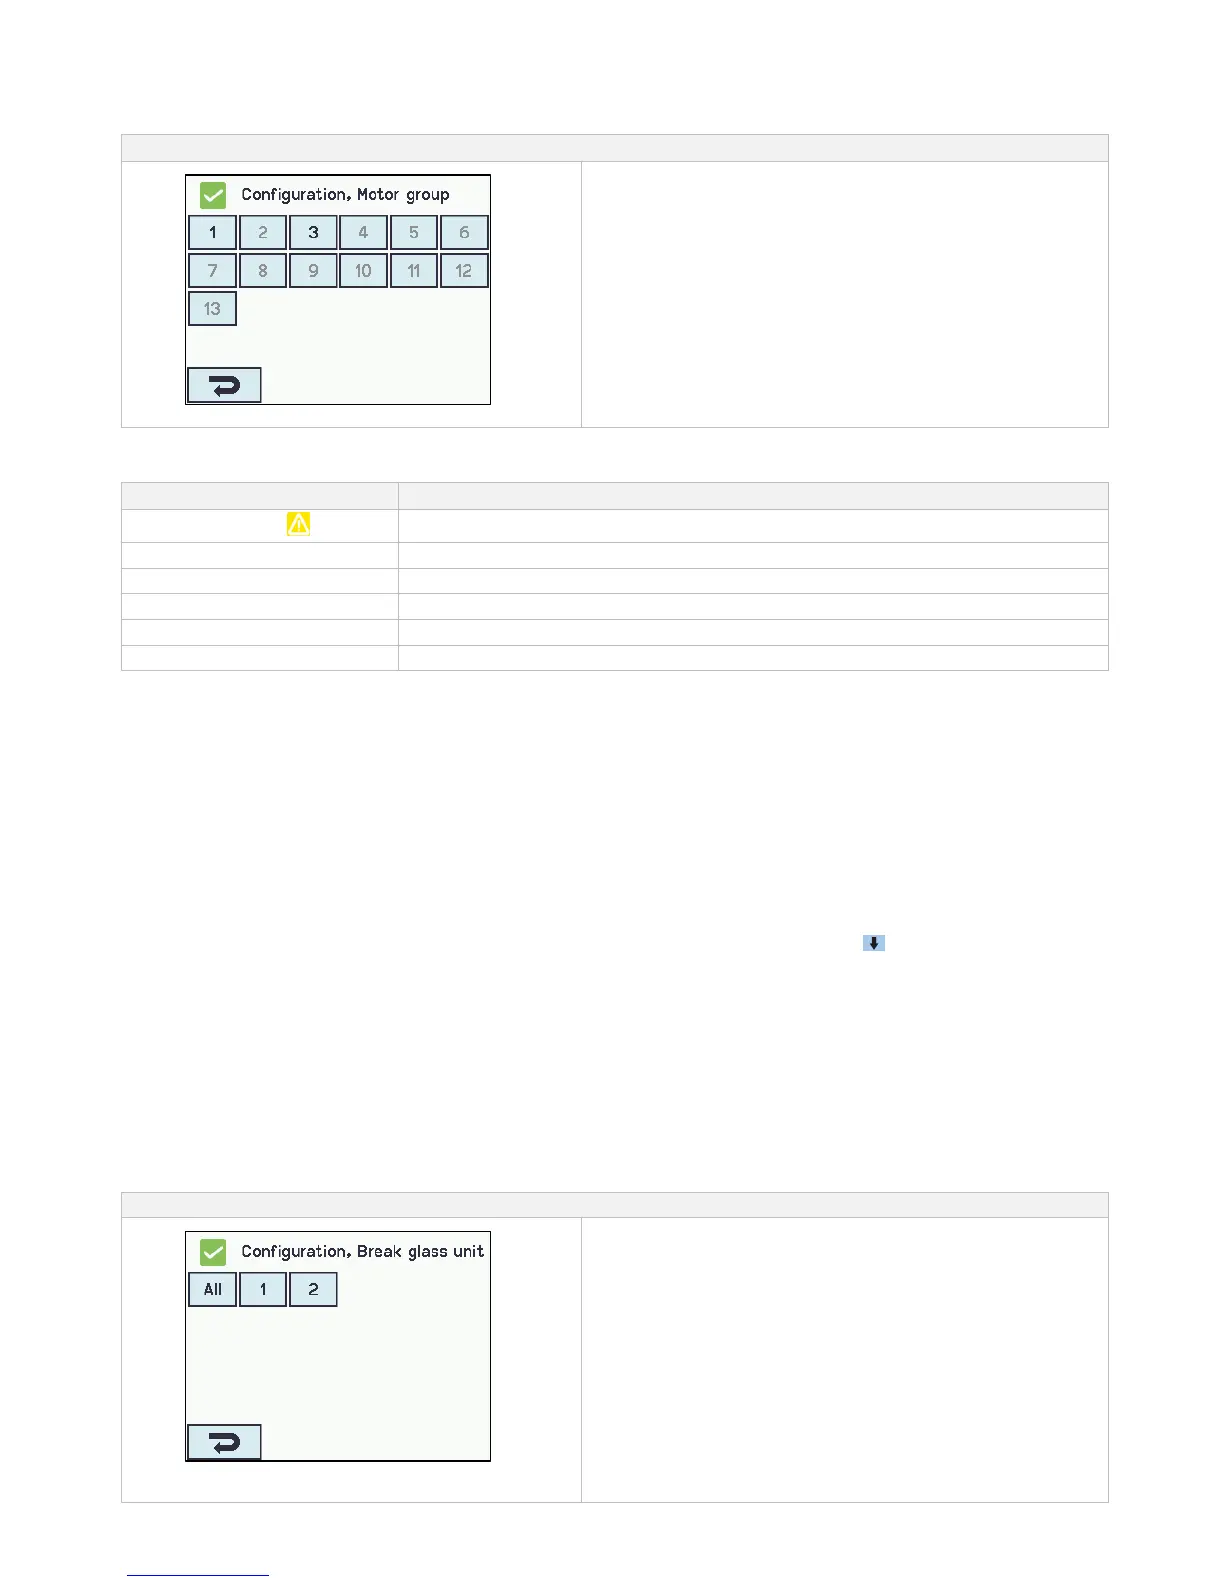
14.4 Break glass unit
A break glass unit shall be assigned to a smoke zone and multiple break glass units can be assigned to the same smoke zone.
See the example "Example of motor lines / motor groups / smoke zones" in the beginning of this chapter for further details.
14.4.1 Break glass unit – configuration
First the break glass units must be configured according to the topology (if they are connected one by one or in a ring) and then
follow the individual configuration of the break glass units according to smoke zones, comfort motor groups etc.
To be sure it is the right glass break unit that is configured; it is possible to locate the break glass unit in one of two ways:
1. Press the reset button and a blue speech bubble will appear in the selected break glass unit in the overview of the break
glass units.
2. Press the number of the selected break glass unit on the overview on the touch screen → press until the menu point
appears – “bip 1min for locating” is shown → press ”No” → select ”Yes”. The selected break glass unit will now beep if the door
on the break glass unit is closed.
Topology
The break glass units are monitored and the connection of the break glass units to the smoke ventilation panel depends of the
number of smoke zones:
1. when 1 smoke zone the break glass units are connected in series and connected directly to the WSA 5MC module
2. when 2 smoke zones the break glass units are connected in each their series and connected directly to the WSA 5MC module
3. when 3 or more smoke zones the break glass units are coupled in a ring
See section ”10.2 WSA 5MC overall control module” item ”X1” for further information on connection of break glass units.
Note: The break glass unit must be set in ring and the setting to "Yes" to have the error indication on the ‘All’ (group field) on the
overview of the break glass units.