2-10
Chapter 2: Installation and Setup
Aug 2012
Installing
CPU-NXT 3.2
Complete the following steps to install CPU-NXT 3.2:
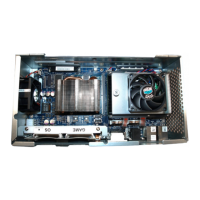
1 With the Logic Door open or removed, Figure 2-20 (A), slide CPU-NXT 3.2 Enclosure onto the
four mounting hooks, Figure 2-20 (B).
WARNING: Do not attempt to seat the CPU into the Bulkhead without removing the Logic Door.
Doing so may damage the CPU and/or the Bulkhead.
Figure 2-20 CPU-NXT 3.2 with Logic Door removed (left) and mounting hooks in BB2 (right).
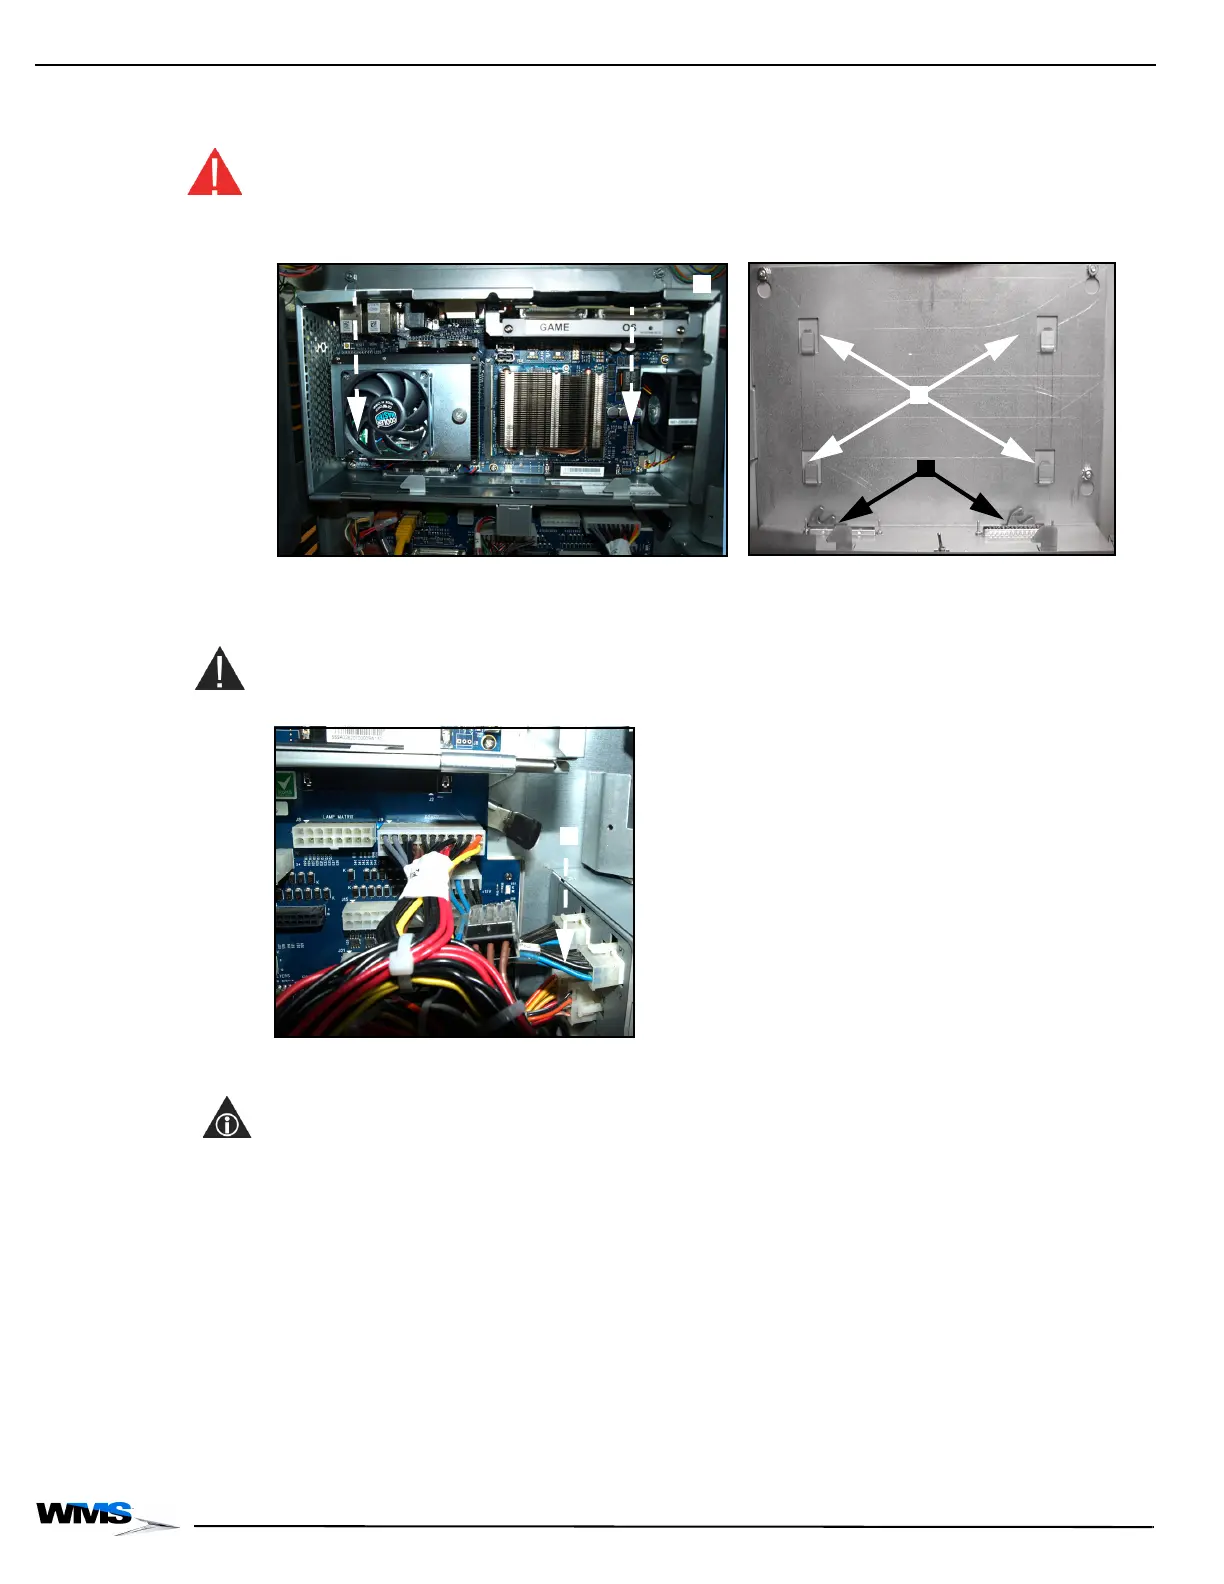
2 On the bottom right corner of CPU-NXT 3.2, push down on the black mounting tab,
Figure 2-21 (A), making sure to latch the tab on the mechanical hook, to lock the enclosure into
the blind mate connectors on the top of the Bulkhead Board, Figure 2-20 (C).
CAUTION: This step is critical to the proper function of the CPU.
Figure 2-21 Pushing down on mounting tab.
3 Install the two CompactFlash® cards by gently pushing down on the center of the cards,
Figure 2-22.
NOTE: The front of the Compact Flash cards face the video card heatsink, and the back of the
CompactFlash cards face the CPU faceplate.
Install the game software card into the left CompactFlash slot above the GAME label located
on the SSD bracket, Figure 2-22 (A).
Install the Operating System (OS) card into the right CompactFlash slot above the OS label
located on the SSD bracket, Figure 2-22 (B).
 Loading...