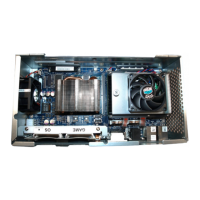
2-17Installation: CPU-NXT 3.2 into the BBxD
16-1408348
3 Remove the ESD Wrist Strap from inside the cabinet and close (without locking) the Hatch
Door.
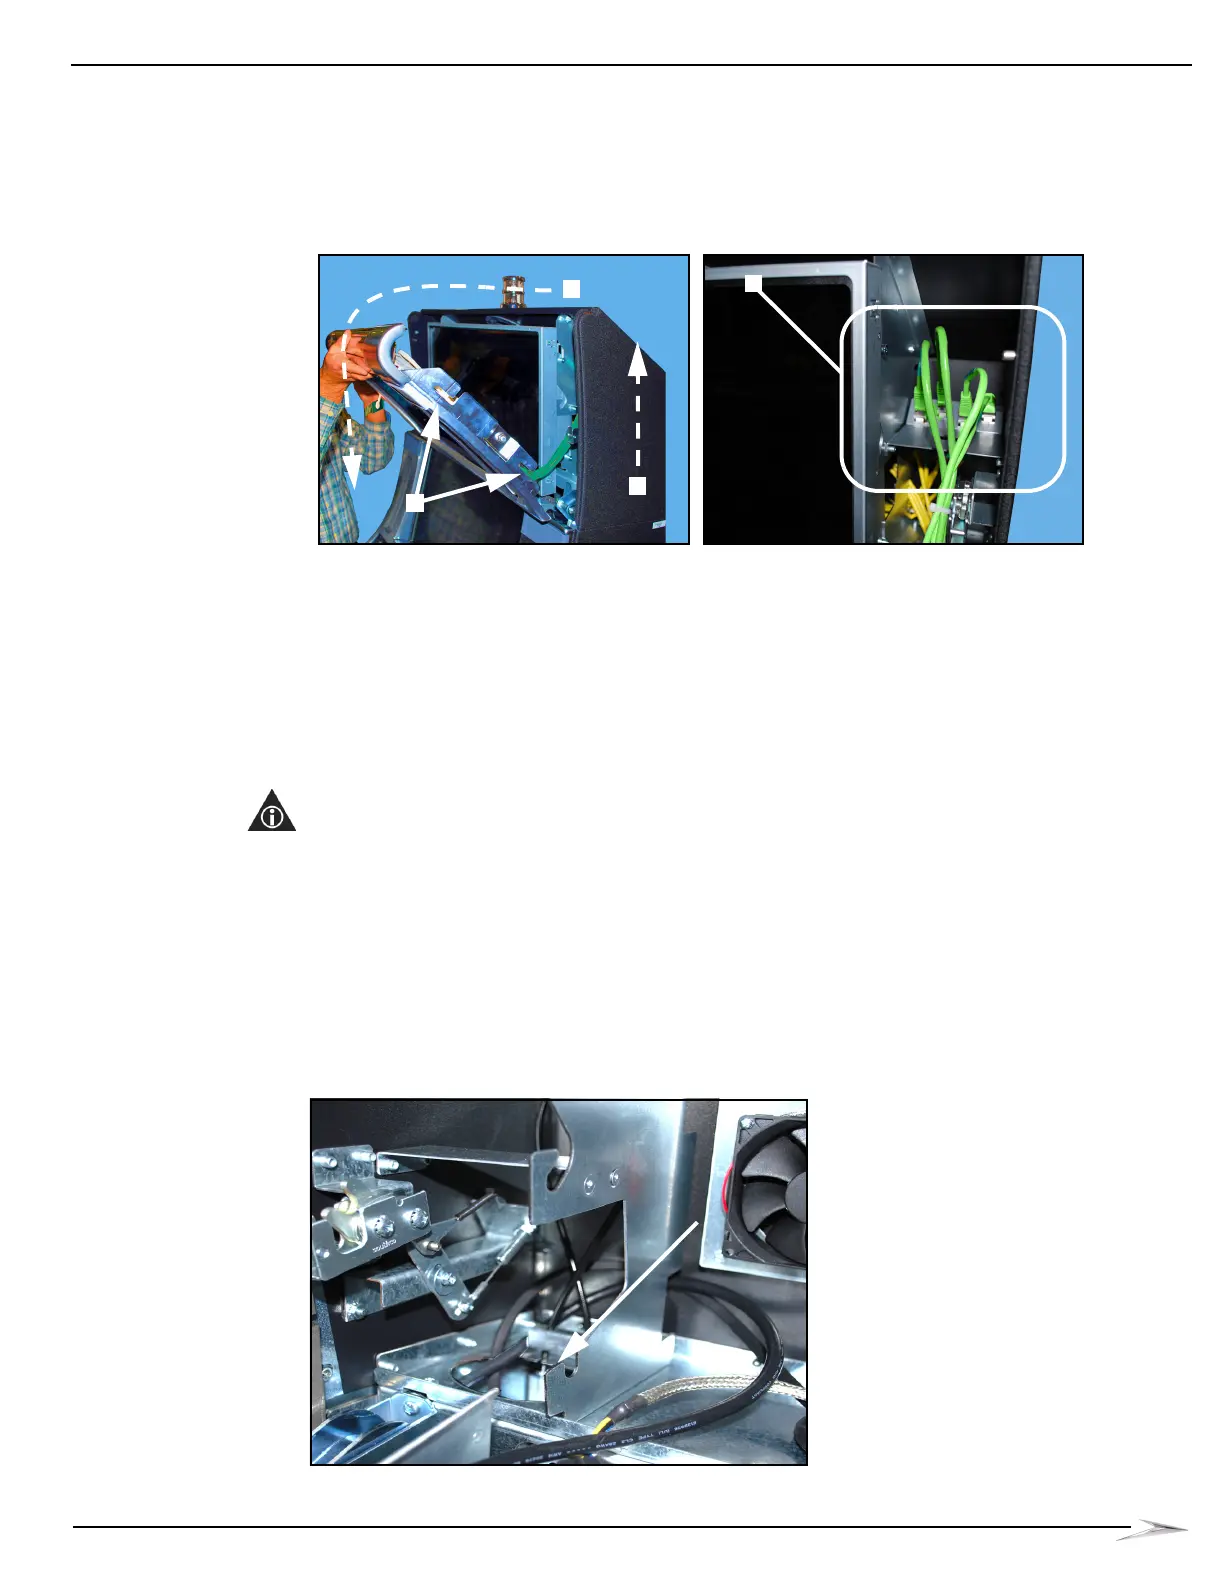
4 Lift the Accessory/Top Box Crown Door straight up, Figure 2-33 (A), to disengage the four
mounting hooks (two on each side), Figure 2-33 (B), and then pivot the top of the Accessory
Top Box Crown Door down towards the front of the cabinet, Figure 2-33 (C).
Figure 2-33 Opening Accessory/Top Box Crown Door (left) and disconnect Emotive Lighting Cables (right).
5 While holding the Accessory/Top Box Crown Door with one hand (which is still attached to the
game via cables), attach an ESD Wrist Strap to an unpainted piece of metal inside the
Accessory/Top Box Crown.
6 On the right side of the Accessory/Top Box Crown LCD, disconnect the four green Cat5E
Emotive Lighting cables to the Accessory/Top Box Crown Door, Figure 2-33 (D).
7 Pull the Accessory/Top Box Crown Door away from the cabinet and set it aside on a flat, non-
abrasive surface.
8 Disconnect the Power and VGA cables from the Accessory/Top Box LCD.
NOTE: After the VGA Cable is disconnected from the Accessory/Top Box LCD, it is to remain in the
game.
9 Set the Accessory/Top Box LCD aside on a flat, non-abrasive surface.
10 Disconnect the VGA Cable from the CPU.
11 Remove the VGA Cable from the game.
12 Connect DVI Cable to Accessory/Top Box Crown LCD.
13 Route any excess DVI Cable through the left cable access hole and down the channel,
Figure 2-34.
Figure 2-34 Routing excess DVI Cable through cable access hole.
 Loading...