January 2016
4-109
WorkCentre WorkCentre 4150/4250/42604150/4250/4260WorkCentre 4150/
REP 7.2
Repairs and Adjustments
NOTE: The Tray Assembly removal for Trays 2, 3 and 4 is identical. For illustration purposes,
Tray 2 will be used.
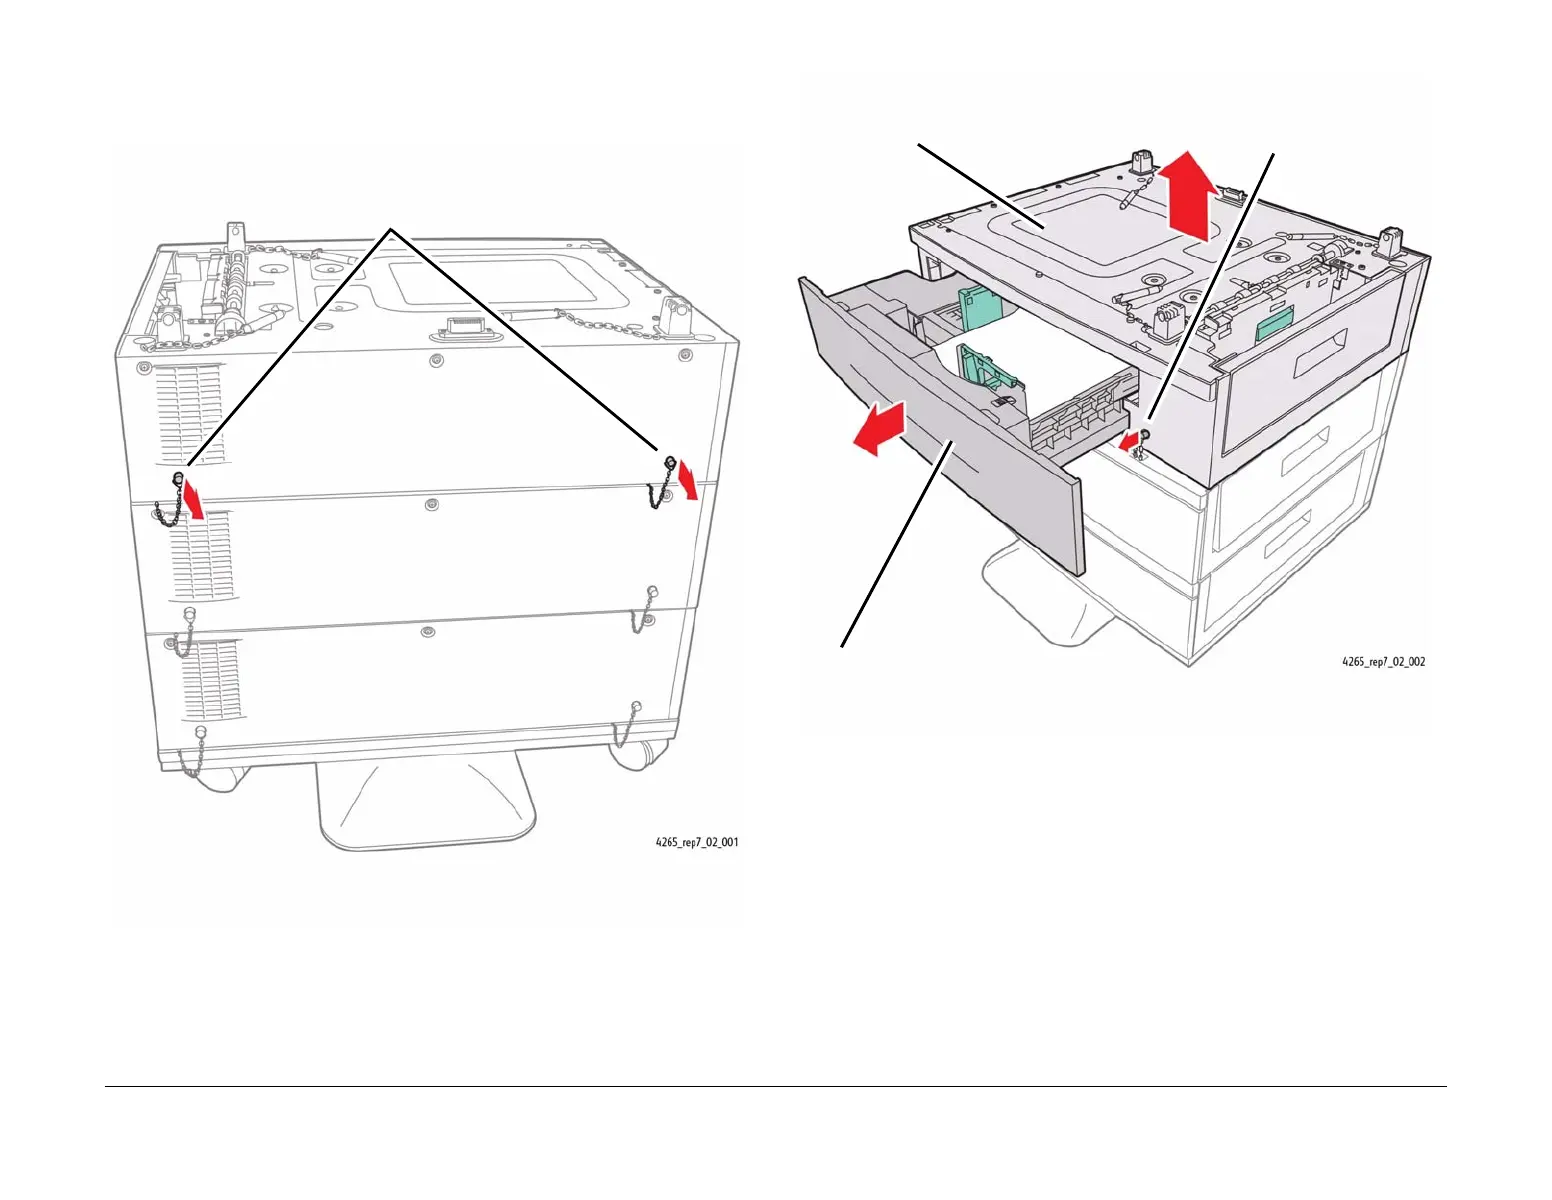
4. Remove the damaged tray assembly from the stack of trays (Figure 1) (Figure 2).
Figure 1 Removing the Rear Locating Pins
Figure 2 Removing the Front Locating Pin
5. Remove the paper tray from the damaged tray assembly.
6. Remove the tray rear cover, PL 7.20 Item 10.
NOTE: The paper transport assembly and tray feed assembly are removed as a unit.
1
Remove the two rear locating pins for the Tray
Assembly to be removed.
2
Remove the front
drawer locating pin.
1
Open the paper tray drawer for the
Tray Assembly to be removed.
3
Lift the Tray Assembly off of
the stack of trays.

 Loading...


