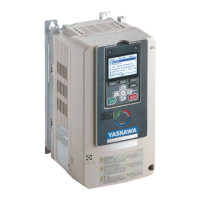
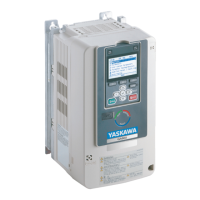
Mechanical Installation
2
2.6 Install the Keypad in a Control Panel or Another Device
YASKAWA SIEPC71061737B GA800 Drive Technical Reference 43
1. Use the panel cut-out dimensions in Figure 2.15 and Table 2.4 to cut an opening in the control panel for the
keypad.
Figure 2.15 Panel Cut-Out Dimensions to Attach Inside Control Panel
Table 2.4 Panel Cut-out Dimensions mm (in)
W H W1 H1 d
64 + 0.5 (2.52 + 0.02) 130 (5.12) 45 (1.77) 105 + 0.5 (4.13 + 0.02) 4.8 (0.12)
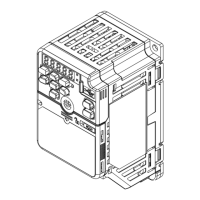
2. Remove the keypad and put the keypad connector in the holder on the front cover.
Note:
Insert the end of the keypad connector that has the tab.
A - Keypad
B - Keypad connector
C - Holder
Figure 2.16 Remove the Keypad
3. Use the screws supplied with the mounting bracket, and attach the keypad to the mounting bracket.
Use the screws supplied with the installation support set, and tighten them to a tightening torque of 0.49 to
0.73 N∙m (4.34 to 6.46 in∙lb).
 Loading...