<Toc> < 3. Operations >
3-7
IM 05D01C02-41E 3rd Edition: May 31, 2006-00
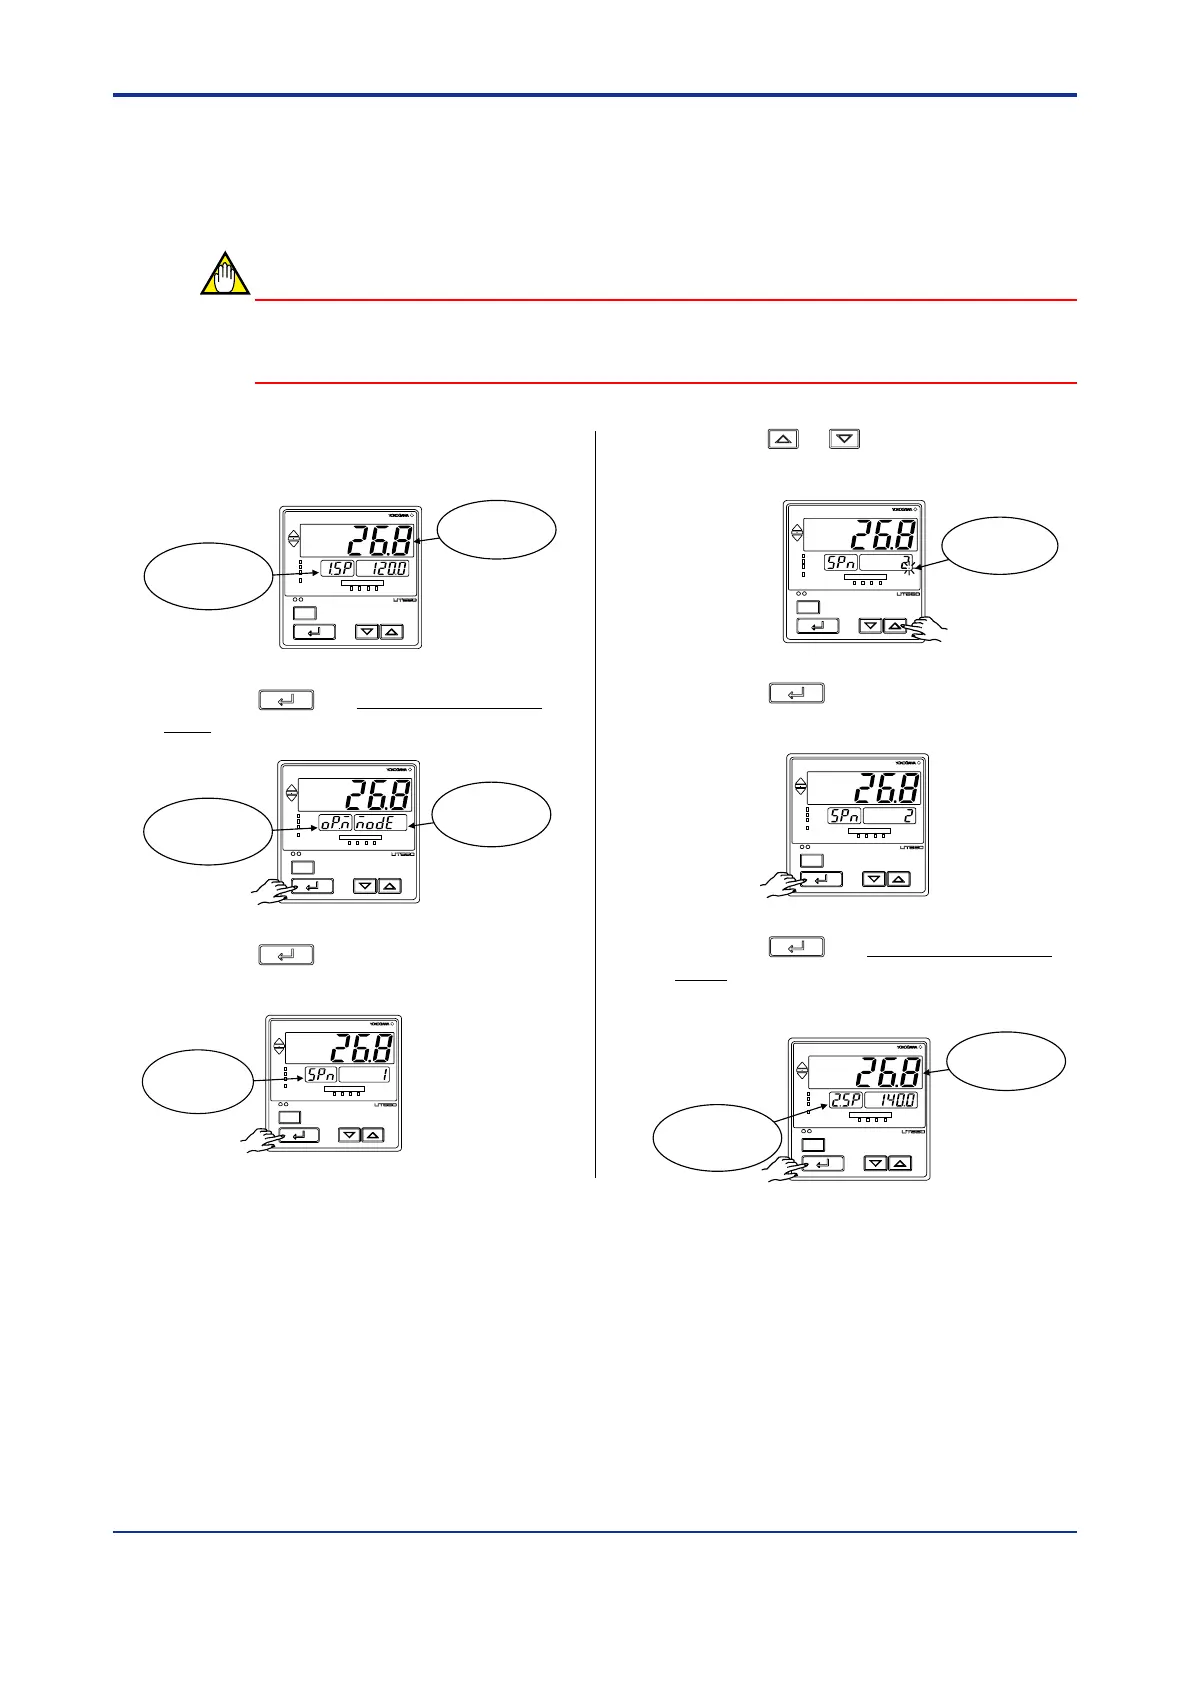
3.6 Selecting Target Setpoint Numbers (SPN)
The following operating procedure describes an example of changing a target setpoint
number (SPN) from 1 to 2.
NOTE
If a target setpoint number has been switched using contact input, when the contact input is
on, that number cannot be selected by keystroke.
1. Bring the operating display into view
(display appears at power on).
SET/ENT
A/M
PV
AL1 2 3 4
REM
CAS
MAN
LP2
Displays PV.
Displays
target setpoint-1
“1.SP”.
2. Press the
SET/ENT
key for more than 3 sec-
onds to call up the main menu “MODE”.
SET/ENT
A/M
PV
AL1 2 3 4
REM
CAS
MAN
LP2
Displays
main menu
“MODE”.
Displays symbol
“OP.M”.
3. Press the
SET/ENT
key several times to
display the parameter “SPN”.
SET/ENT
A/M
PV
AL1 2 3 4
REM
CAS
MAN
LP2
Displays
parameter
“SPN”.
4. Press the or key to display the
required setpoint.
SET/ENT
A/M
PV
AL1 2 3 4
REM
CAS
MAN
LP2
Blinks during
change.
5. Press the
SET/ENT
key once to register the
setpoint.
SET/ENT
A/M
PV
AL1 2 3 4
REM
CAS
MAN
LP2
6. Press the
SET/ENT
key for more than 3 sec-
onds. This returns you to the display
shown at power-on (figure below).
SET/ENT
A/M
PV
AL1 2 3 4
REM
CAS
MAN
LP2
Displays
target setpoint-2
“2.SP”.
Displays PV.

 Loading...


