NOTE:
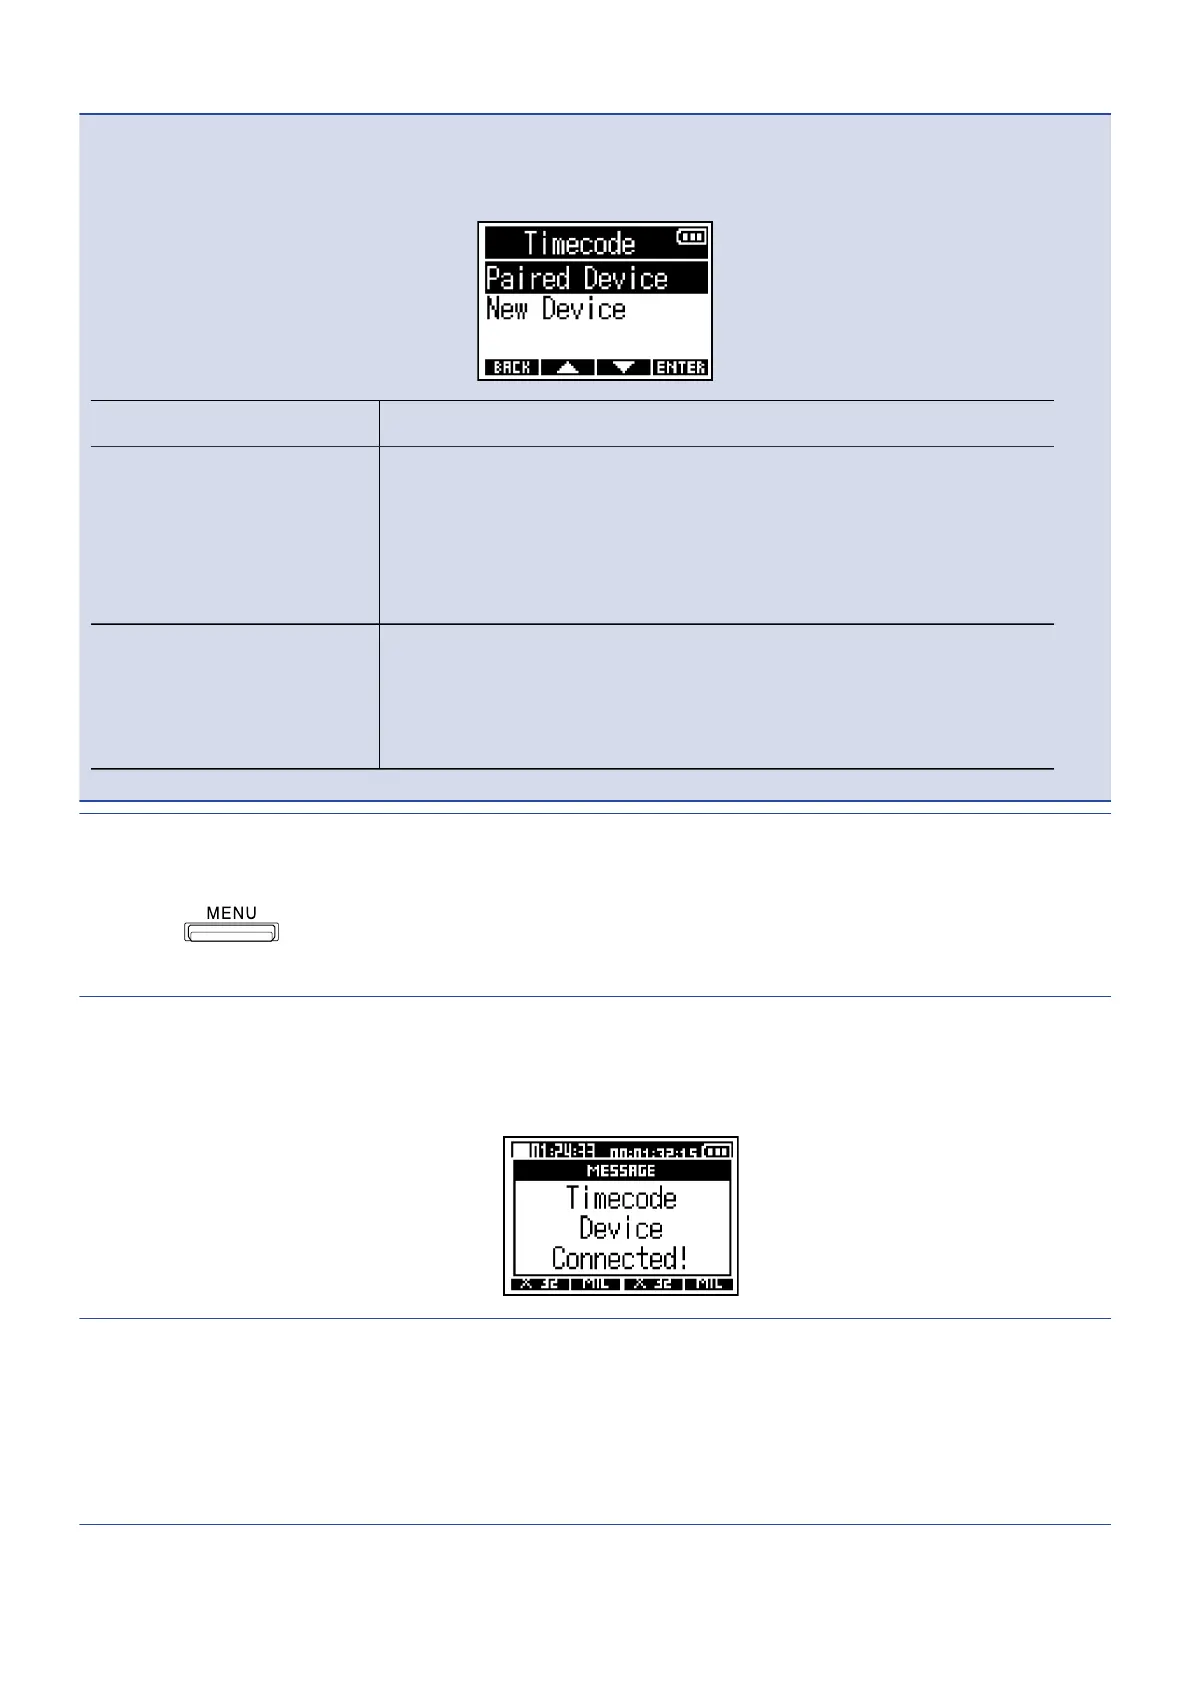
If the F3 and an UltraSync BLUE have been connected before, the following screen will appear where an
option can be selected.
Setting Explanation
Paired Device Select this to connect with the previously connected UltraSync
BLUE.
In this case, the UltraSync BLUE will be connected and
the operation on the UltraSync BLUE in step 4 becomes
unnecessary.
New Device Select this to connect to an UltraSync BLUE other than the one
that was previously connected.
If a new device is selected, previous device pairing data will be
erased. In this case, proceed to step 4.
HINT:
• Searching can be canceled by pressing any button.
• Select > System > Bluetooth Function > Timecode to search for and connect with devices as
well as to switch connected devices.
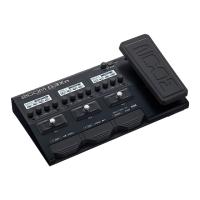
4. On the UltraSync BLUE, select the F3 as the connected device.
This starts pairing.
When pairing completes, “Timecode Device Connected!” will appear on the F3 display.
HINT:
• See the UltraSync BLUE manual for the procedures to select connected devices.
• Use the F3 and the UltraSync BLUE as close together as possible to make communication more reliable.
• If communication with the UltraSync BLUE is interrupted during recording, timecode data will not be
added for the rest of the recording.
86