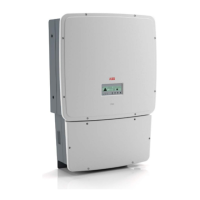
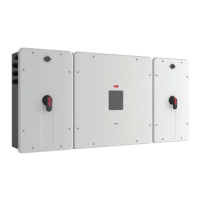
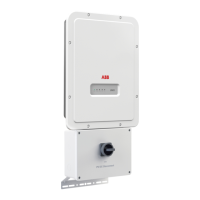
01
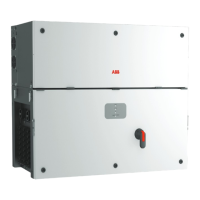
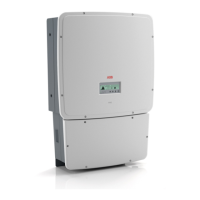
04
04
05
09
02
08
07
• Remove the front cover 08 from
the wiring box.
• Install the wiring box 02 onto the
bracket by inserting the heads of
the rear screws into the slots in
the bracket.
Note: it is not necessary to
install the inverter 03 at this
time.
• Unscrew the connector screws
07 and remove the wiring box-
to-inverter cover 04 so that
the connector can be reached
between the wiring box and the
inverter.
• Put the wiring box-to-inverter
cover in the special pocket
provided at the back of the wiring
box.
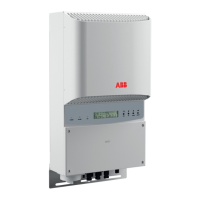
• Locate the four bolts protruding
from the rear of the inverter
chassis; these are used as
mounting studs and are inserted
into the four associated slots on
the mounting bracket.
• Lift the inverter using two people
and orient it to the bracket so the
four studs are just above their
associated slots.
• Once aligned, lower the inverter
unit into position, ensuring all
four studs are seated in their
respective bracket slots.
• For ease of lifting, the optional
lifting kit is recommended (part #
3M2200HNDK0). The kit includes
both handles and eye bolts which
screw into the inverter heatsink.
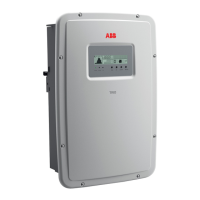
POWER ALARM GFI ESC UP DOWN ENTER
TRIO
01
09
02
07
03
 Loading...