CHAPTER 4
140
Editing Video
To customize the Timeline window:
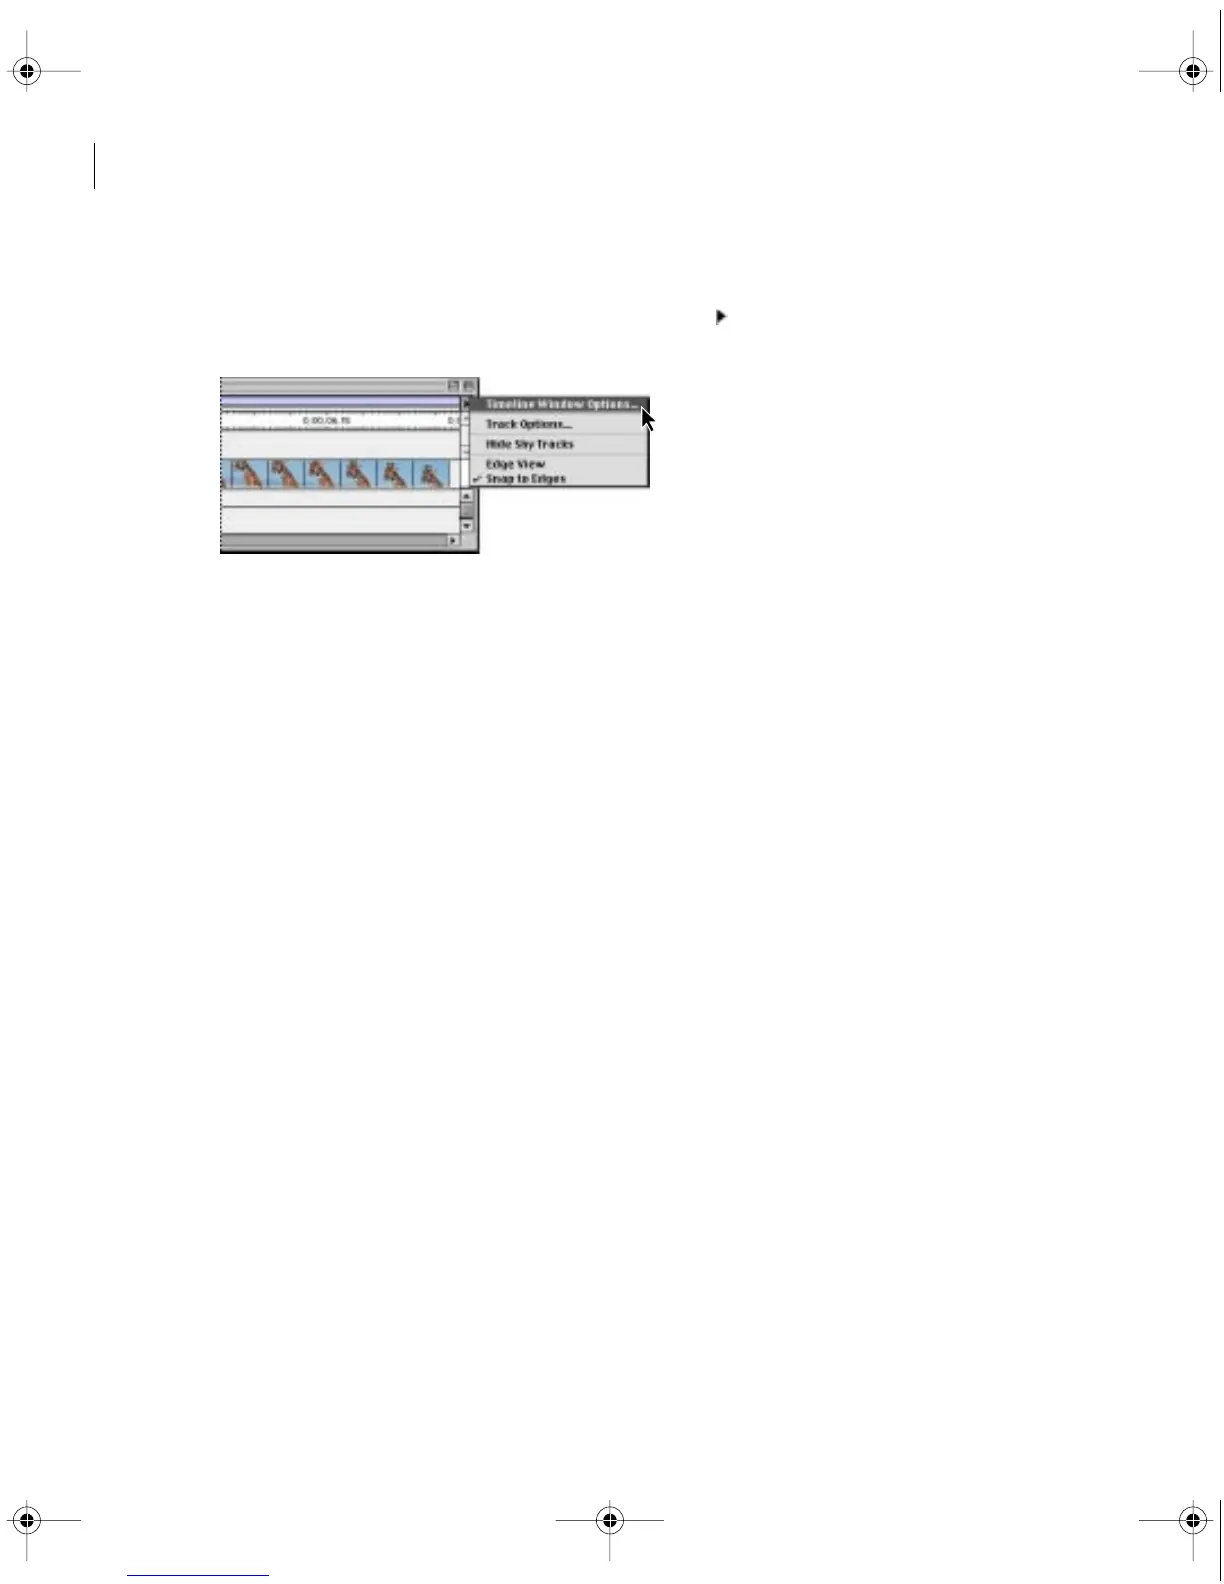
1
Click the triangle below the Timeline window title bar ( ), and choose Timeline Window
Options from the Timeline window menu.
2
In the Icon Size section, select the size of the preview icon you want in the Timeline. If you
expect to use many tracks or work on a small monitor, a small icon size can display more tracks.
3
In the Track Format section, select an option:
•
The first option displays sample frames along the duration of a clip. This option makes
it easier to find a frame, but slows display and does not include the filename.
•
The second option displays the clip’s starting and ending frames and the filename.
•
The third option displays the filename only. This option displays the fastest.
•
Deselect Show Audio Waveforms if you want the Timeline window to draw faster by not
displaying a graphic representation of audio when you expand an audio track.
4
In the Options section, specify the following options as necessary and then click OK:
•
From the Count menu, select the unit of time displayed in the Timeline (see “Understanding
timecode and time display options” on page 339).
•
Specify a Zero Point if you want the starting timecode for the video program to be other
than 00:00:00:00. This option also sets the starting timecode when you export an EDL.
•
For On Insert, select Shift Material in All Unlocked Tracks if you want all tracks to adjust
when you insert a clip into the Timeline, or select Shift Material Only in Target Tracks if you
want only the target tracks to be affected when you insert a clip. See “Tracks shift out of sync”
on page 371.
c00.book for PS Page 140 Tuesday, March 31, 1998 1:28 PM