157
ADOBE PREMIERE 5.0
User Guide
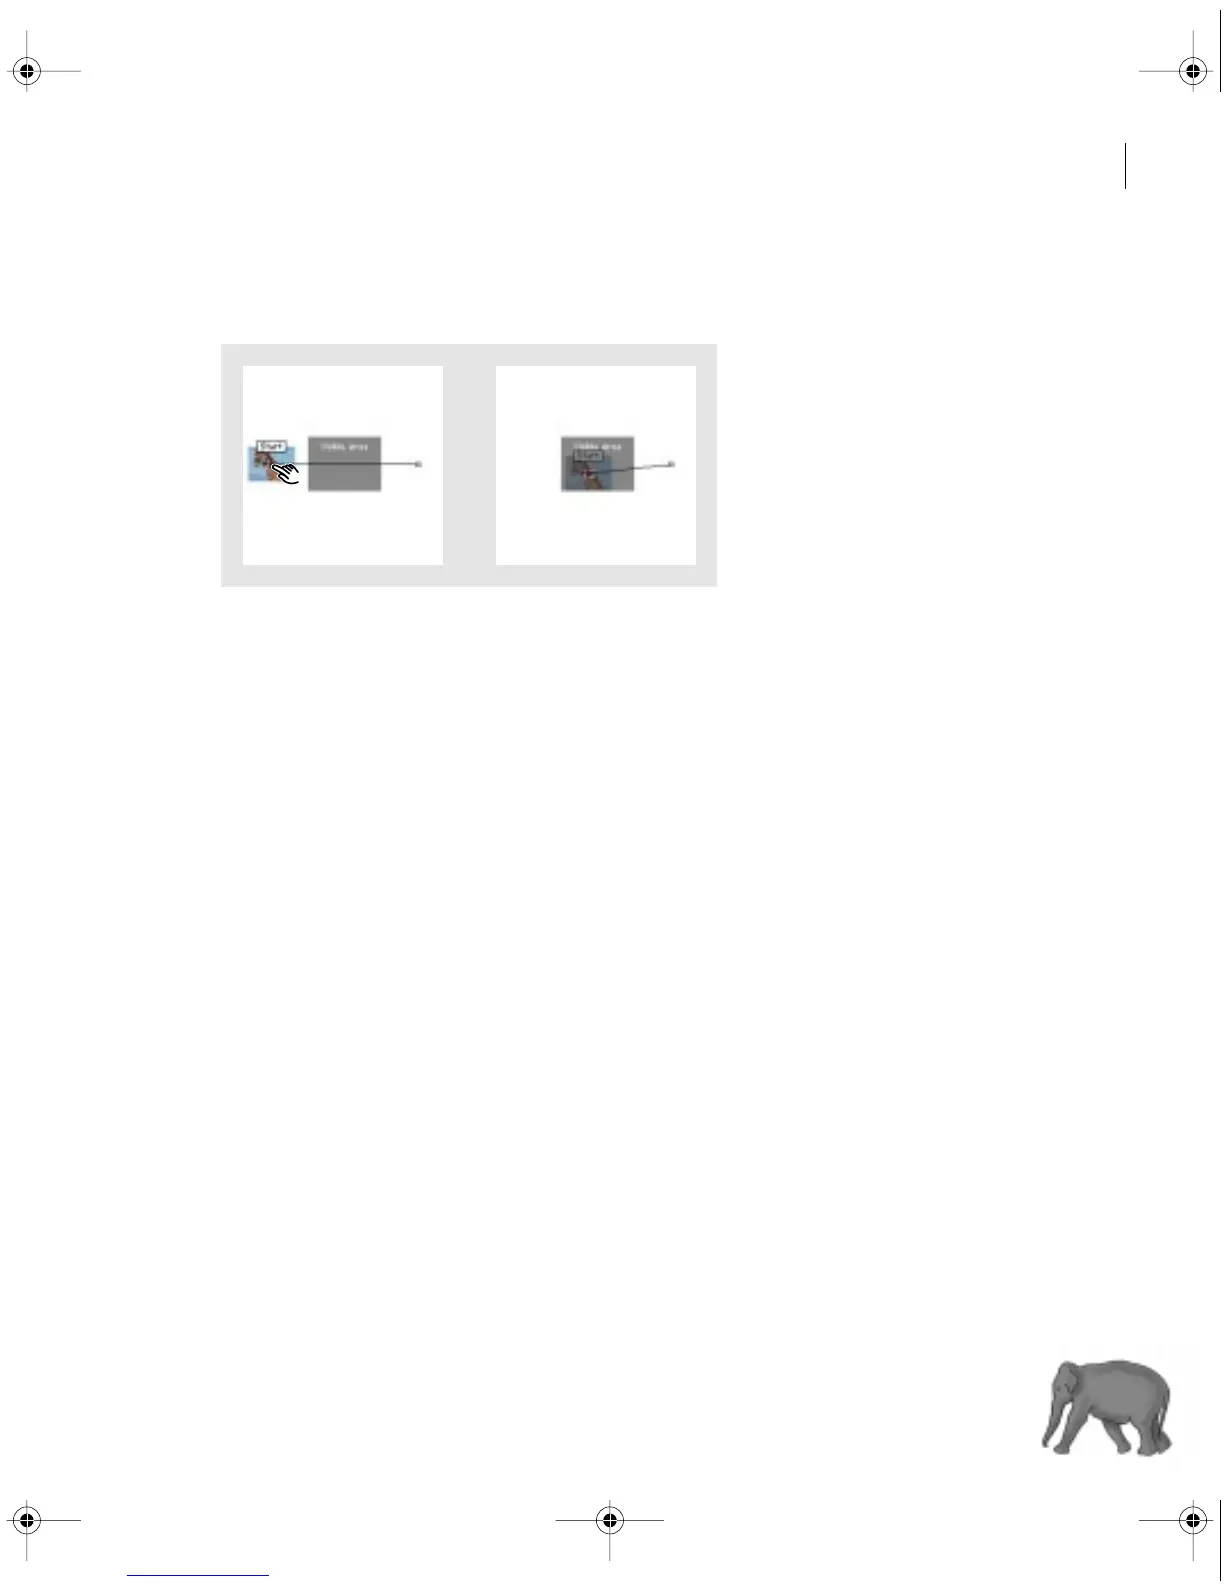
4 In the sample image with the motion path, drag the first (red) motion point to position
the scaled clip in the frame.
5 Write down the coordinates in the Info option and the percentage in the Zoom option.
6 Click the second (white) motion point in the sample image, and enter the Info coordinates
and Zoom percentage you noted in the previous step. This sets position and zoom to begin
and end at the same point so that the clip does not move or scale over time.
7 Check the motion preview in the upper left corner of the dialog box. If the image is in the
correct position and size, click OK.
Changing clip duration and speed
The duration of a video or audio clip is the length of time it plays—the difference in time
between a clip’s In point and Out point. The initial duration of a clip is the same as it was
when the clip was imported or captured. If you alter the beginning and ending of a clip
by editing the source In and Out points, its duration will change. You can also set the
duration of a clip by specifying a length of time from its current source In point. A still image
can also have a duration when you want to display it for a specific length of time. You can set
the default duration of the still images you import; see “Importing still images” on page 121.
c00.book for PS Page 157 Tuesday, March 31, 1998 1:28 PM