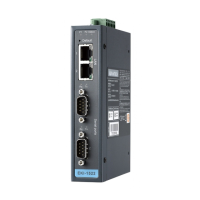
47 EKI-1526(TI) | 1528(TI) User Manual
Review the settings under the Ethernet fields and verify them.
6. Click Next to continue or Previous to return to the previous screen.
The selected settings are displayed in the following Wizard window.
7. Locate the radio button correlating to the target port to modify and click on it to
select it.
Verify the Device Port (EKI device physical serial port) and System Port (virtual
COM port for PC) settings before continuing.
8. Click Finish to complete the process. A Wizard complete! screen displays indi-
cating the completion of a successful procedure.
5.2.4 Confirming Virtual COM Settings
1. On your desktop, navigate to Start > All Programs > EKI Device Configura-
tion Utility and click Advantech EKI Device Configuration Utility to open the
utility.
2. Locate Serial Ports menu in the menu pane and click on the Expand icon next
to Virtual COM Ports to view a list of the mapped ports.
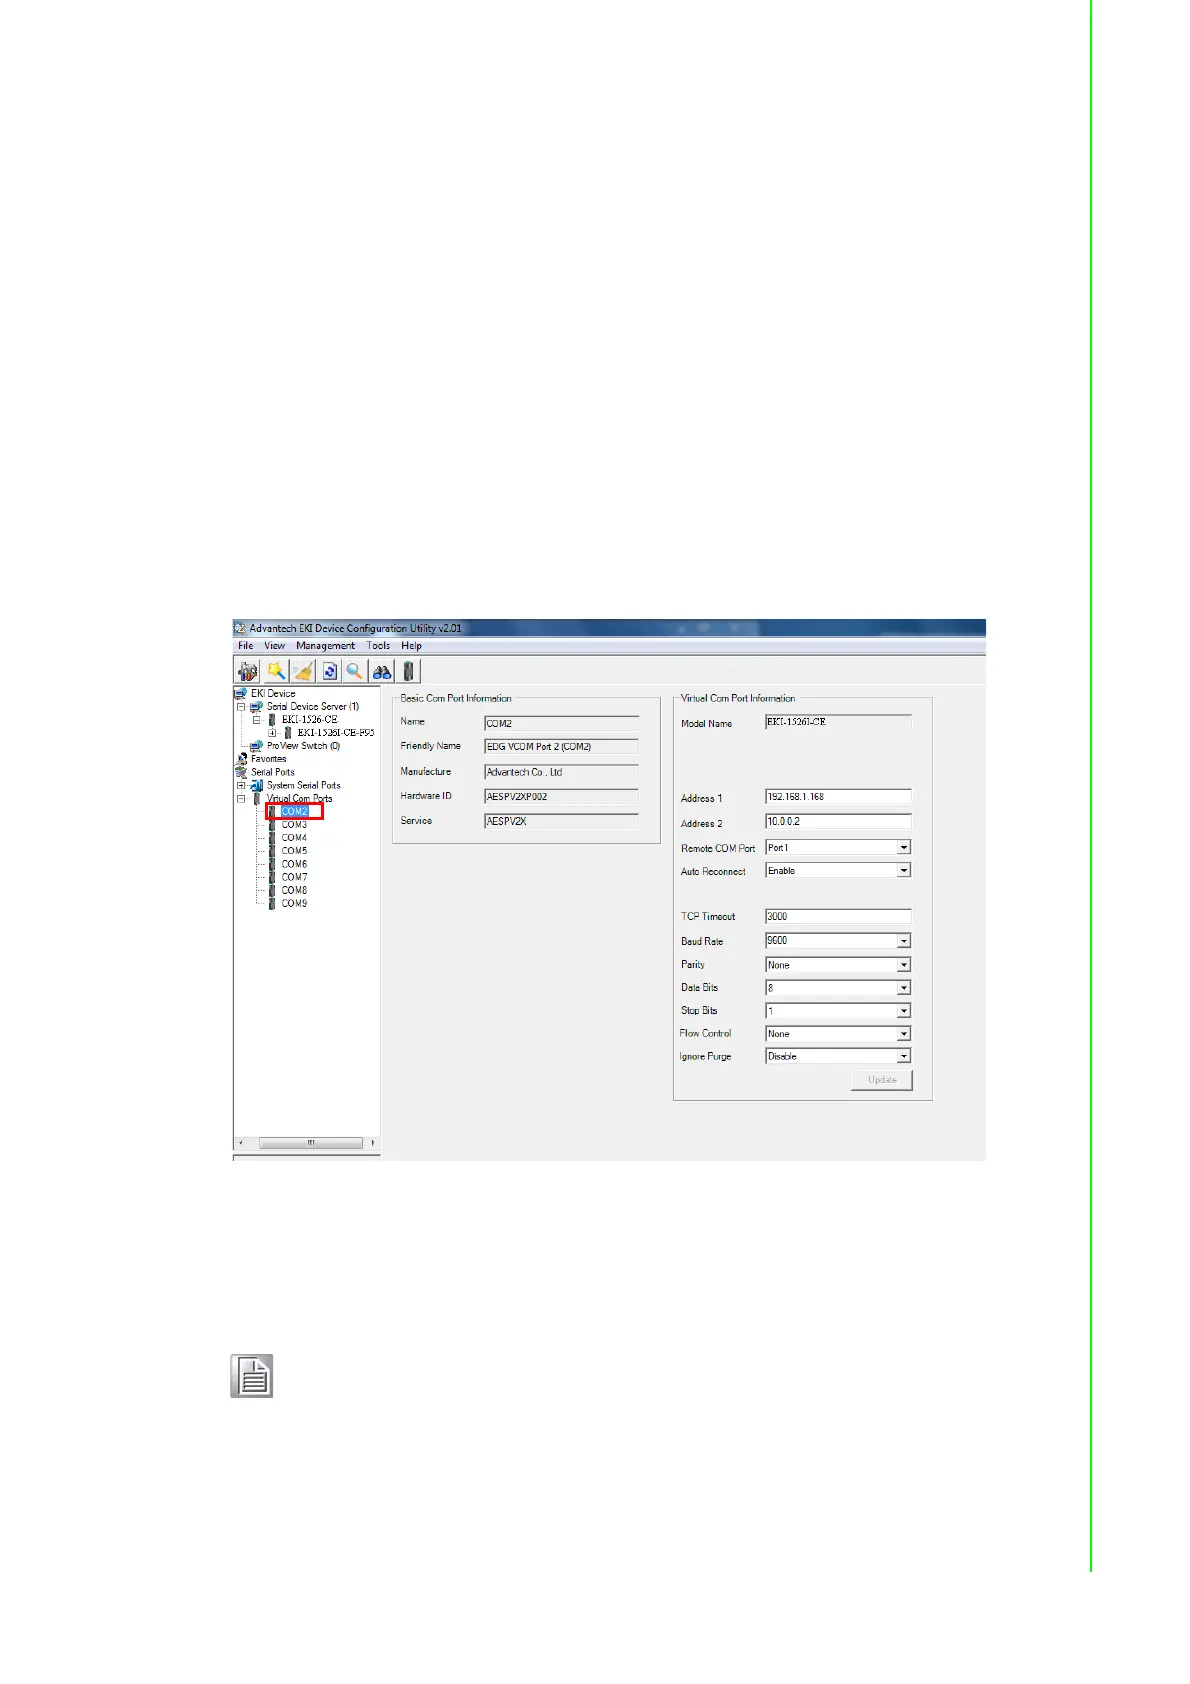
3. Select a VCOM port to view its settings.
Figure 5.9 Serial Port Listing on EKI Device
For the next step, you will need to open the device manager on your system.
Using the Device Manager, you can both view and change the COM port set-
tings.
4. On your desktop, click on the Start button and then on Control Panel. A win-
dow displays showing all the available control panels.
5. Click on Hardware and Sound (Hardware). A list of all available hardware con-
figuration options displays.
Note! The following instructions are written for Windows 7; the Windows XP
equivalent is displayed in parentheses (). The instructions may vary on
other operating systems.