Chapter 6 Squareness Measurements in a Horizontal Plane
Introduction
6-2 Measurements Reference Guide
Introduction
This chapter explains how to make squareness measurements in a
horizontal plane. These measurements allow you to determine if two
machine axes are oriented, and move, perpendicular to each other. An
example of a machine with two perpendicular axes is a milling machine
with a horizontal spindle and a bed that moves perpendicular to the
spindle.
Chapter 7, “Squareness Measurements in a Vertical Plane,” explains how
to determine if two machine axes that are perpendicular to each other in a
vertical plane are oriented, and move, perpendicular to each other.
Before performing the procedures described in this chapter, you must fully
understand and know how to perform the procedures presented in the
Agilent 5530 Getting Started Guide.
For operating specifications for squareness measurement optics, see
Appendix A.
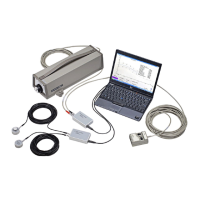
Figure 6-1 shows the required hardware for squareness measurements in
a horizontal plane.


