Routine Maintenance: Inlets
Maintaining a purged packed inlet
Released: March 2004 6850 Series II GC User Information page 146 of 256
6. Cap the septum purge fitting with a 1/8-inch Swagelok cap or with a capil-
lary column nut, a solid piece of wire (such as a metal paper clip), and a
0.5 mm id graphite ferrule.
7. Make sure that the pressure at the gas supply is at least 35 psi. Carrier
source pressure should always be at least 10 psi greater than the desired
inlet pressure.
8. Use a Control Module or ChemStation/Cerity Chemical to define a capil-
lary column. Enter a length of 0 m and any diameter. The inlet will now be
in pressure control mode.
9. Set the inlet and oven to normal operating temperature.
10. Set the inlet pressure to 25 psi. Wait a moment for the pressure to
equilibrate. The pressure may exceed the setpoint briefly while it equili-
brates.
If the pressure cannot be reached, either there is a gross leak in the system
or the source pressure is not high enough.
11. Turn the pressure off. Because the column and septum purge vent are
capped, the pressure should remain fairly constant.
12. Monitor the pressure for 10 minutes.
• If there is a pressure loss of less than 0.7 psi (0.07 psi/min or less),
consider the system leak tight
• If the pressure drop is much greater than 0.7 psi, there is a leak that
must be found and corrected. See “Correcting leaks” on page 147.
13. When the system is leak free, restore the GC to your normal operating con-
ditions. Remove the cap from the septum purge, install the column,
define/undefine the correct column, and restore operating temperatures
and pressures.
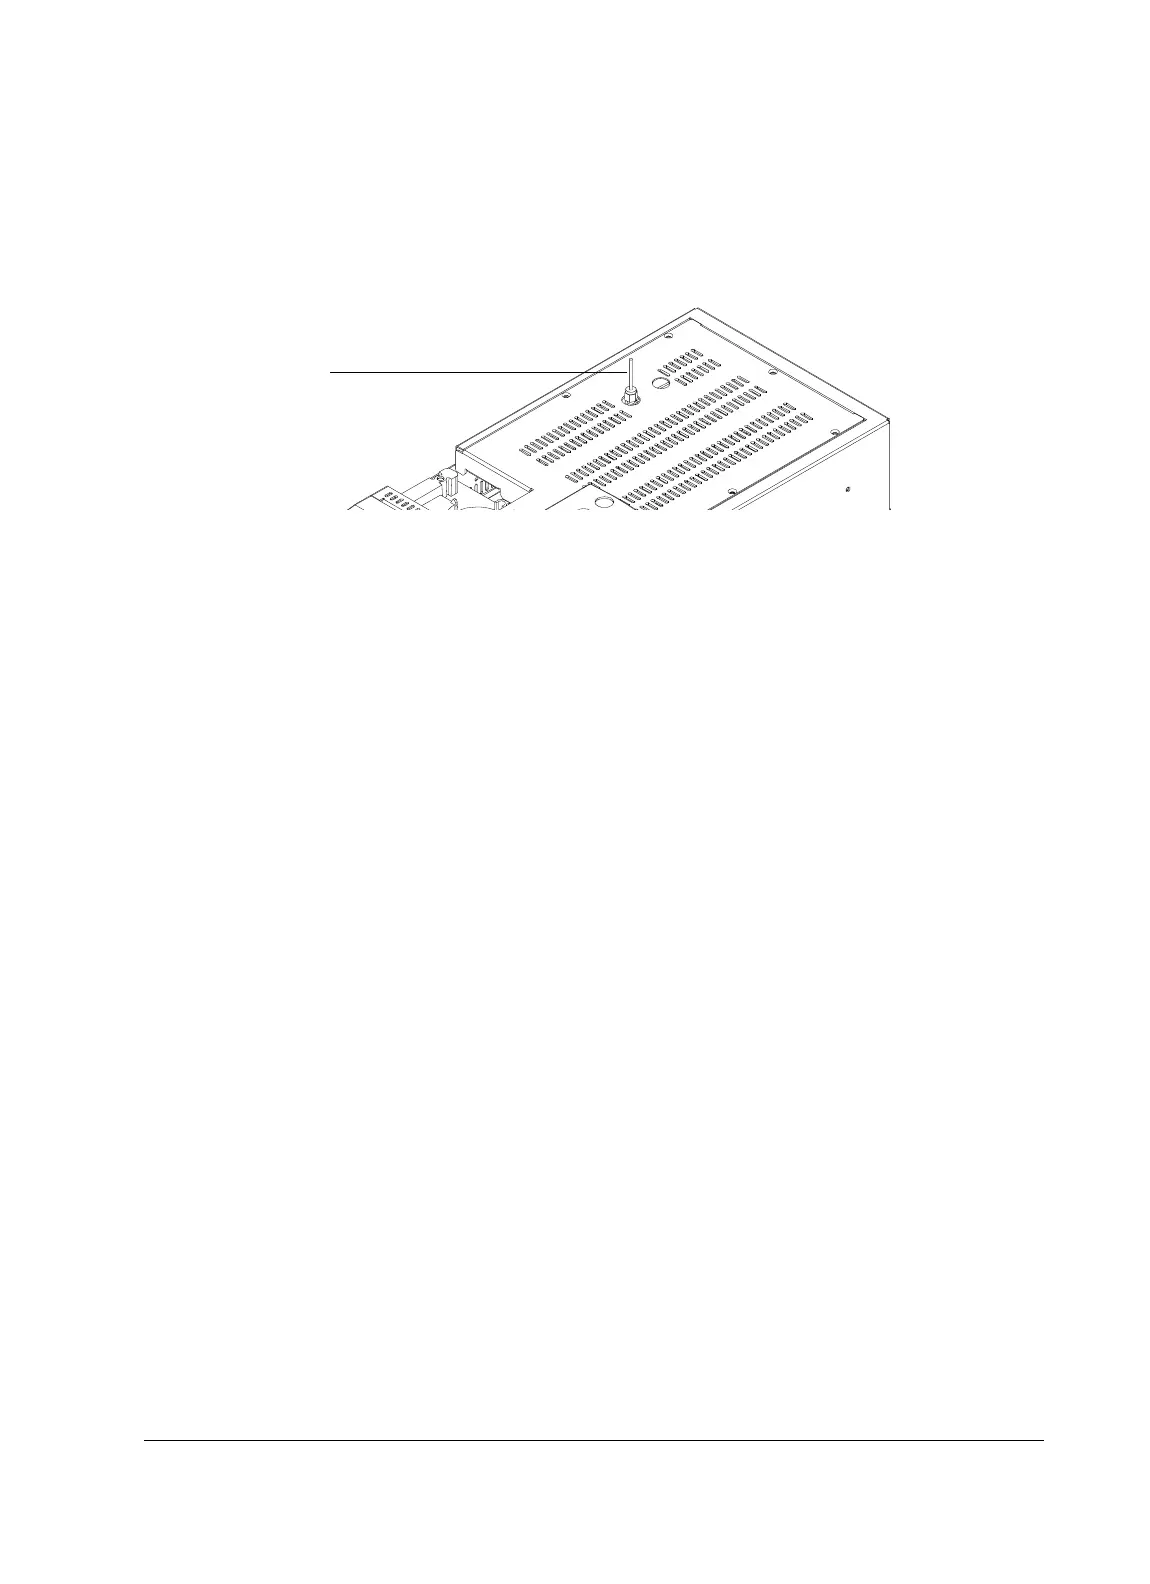
Septum purge vent

 Loading...


