Columns and Traps
Installing packed metal columns
Released: March 2004 6850 Series II GC User Information page 43 of 256
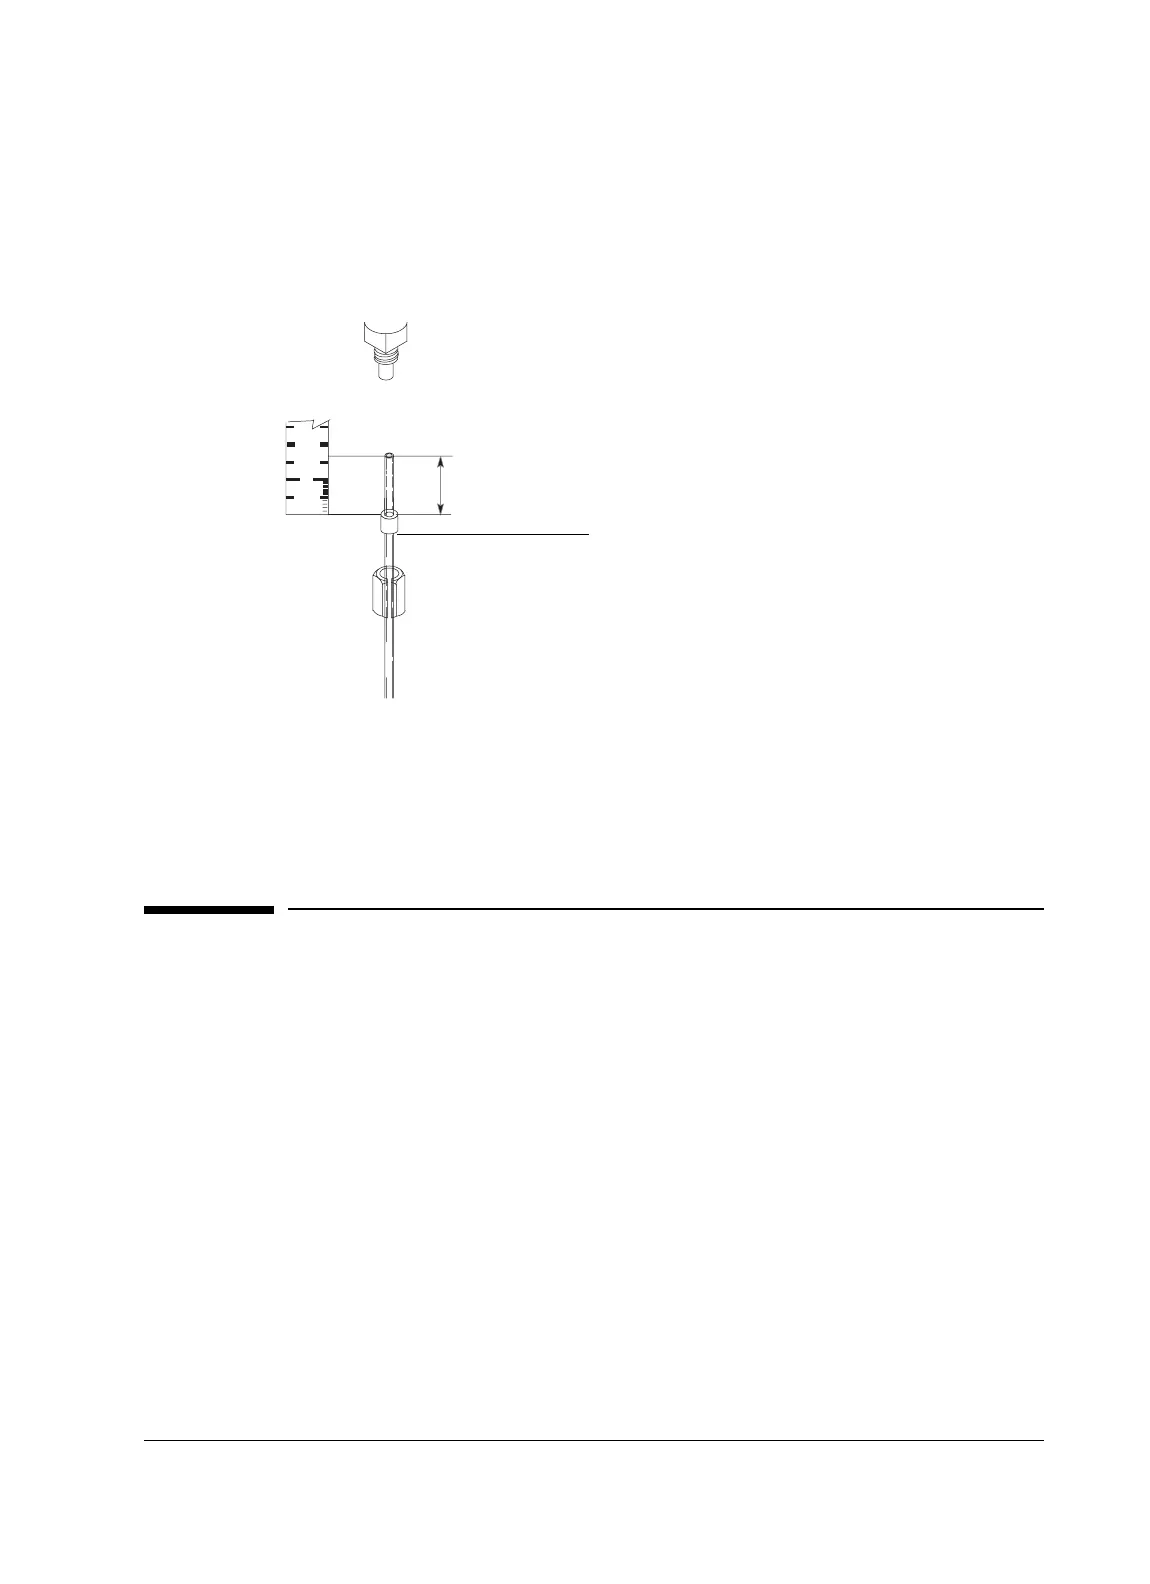
6. Position the ferrule so that it is 17 mm from the column end. Place a small
mark (typewriter correction fluid is useful) at the back of the ferrule and,
making sure that the column is correctly positioned, insert the column end
into the adapter.
7. Screw the column nut on finger tight. Using a 5-mm wrench, tighten the
column nut 1/8- to 1/4-turn. Be careful not to overtighten.
8. Check the connections for leaks. If there are any leaks at the column
adapter, tighten it slightly more with the open end wrench provided.
Installing packed metal columns
There are two sizes of packed metal columns, 1/4-in. and 1/8-in., in common
use. This general procedure applies to both sizes of columns.
1. Install ferrules on your packed column (See “Installing ferrules on a metal
column” on page 44).
2. If the capillary column hanger is installed, remove it. (See “Removing the
capillary column hanger” on page 22.)
3. See Table 9 for fittings required. Install fittings as needed.
0
2
cm
17 mm
Mark column here

 Loading...


