Installation
Installation checklist
Released: March 2004 6850 Series II GC User Information page 244 of 256
Installation
Installation checklist
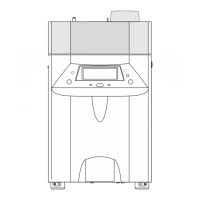
The table below summarizes the installation steps for your 6850 GC. See also
your Agilent 6850 installation poster.
Step
1. Remove protective caps from TCD and vents.
❐
2. Connect all cables.
❐
3. Remove plugs and install column (label to front).
❐
4. If available, install cryo cooling coil. Bend bracket to secure coil.
❐
5. If available, install your sampler and cable.
❐
6. Remove caps and connect your gases. If valve installed, connect sample lines.
❐
7. Set gas source pressures and check for leaks.
❐
8. Turn on the GC. If available, connect cryo filter and coolant.*
❐
9. Load CHECKOUT method and wait until “Ready...”
❐
10. For manual injection, prepare the checkout sample and start.
❐
11. If available, prepare checkout sample and start.
❐
12. Verify chromatographic peaks.
❐
13. If available, plug in the control module.
❐
* See “Prepare the cryogenic oven cooling system” on page 247 for more details.

 Loading...