130
REPLACEMENT OF MAIN COMPONENTS
5) Hold the 2 stays (plate-shaped) at No. 1 compres-
sor side under the bracket with your hand paying
attention to the direction. Holding the stays, tighten
4 bolts lightly so that the No. 1 compressor moves.
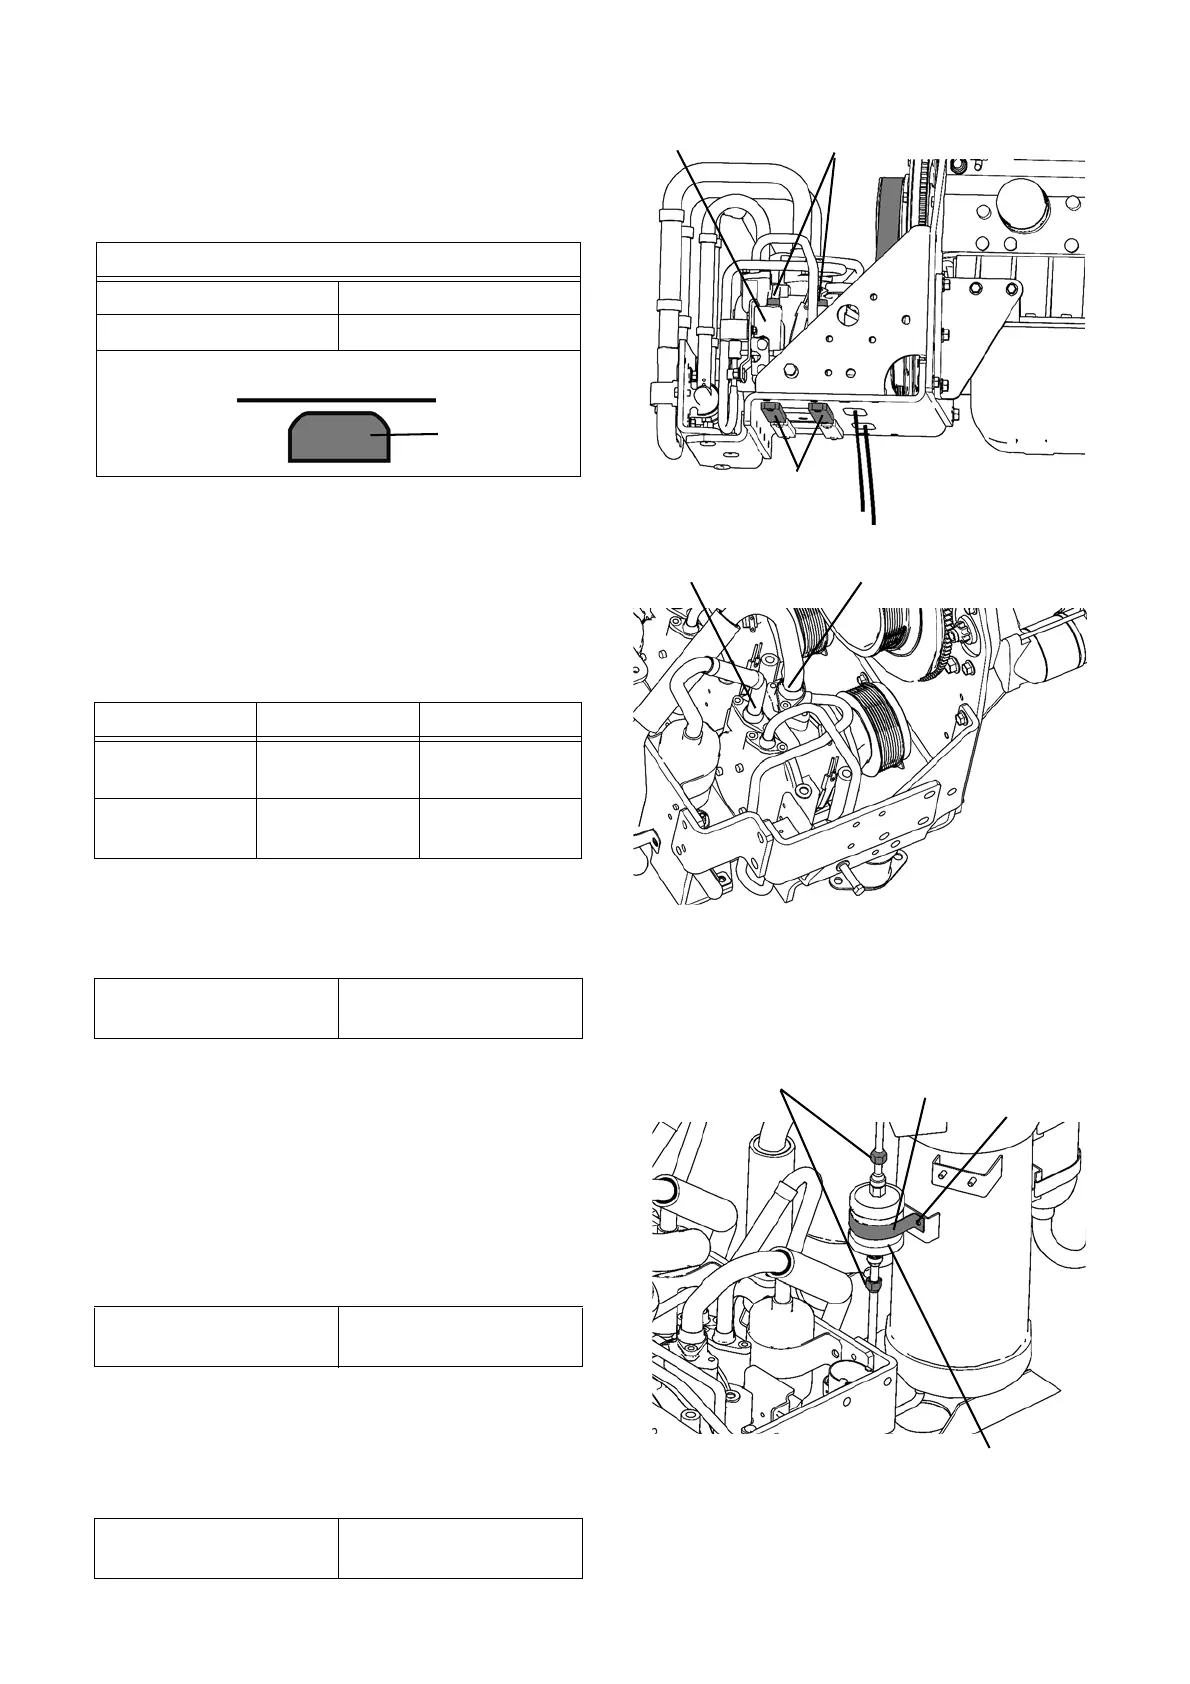
8. Mount the intake and discharge ports.
1) Mount the new o-rings to the intake (upper side)
and discharge ports grooves.
NOTE) Apply refrigeration oil to the o-ring, and install
it so that it is not damaged.
2) Tighten each 2 bolts of intake and discharge ports.
NOTE) When mounting each port, pay attention so
that the o-rings will not be caught.
9. Replace the old dryer filter with a new one.
1) Loosen 2 flare nuts with double open-end wrench,
and move the nuts upward and downward.
2) Unscrew a bolt to remove the clamp. Remove the
dryer filter.
3) Set a new dryer filter carefully in the correct direc-
tion.
4) Mount the clamp of dryer filter and tighten a bolt.
5) Tighten 2 flare nuts with double wrench.
NOTE) Remove the foreign objects at the flare portion
of flare nuts. Apply the refrigerant oil to nuts to
tighten the nuts.
Bolts (4 pieces)
No.1
Stays
Stay mounting direction
Rounded corner Bracket side
Sharp corner Base plate side
Stay
Bracket side
Intake port
Discharge port
Port Inner diameter Wire diameter
Intake side
Ф1-1/8 inch
(Ф29.8 mm)
Ф3/32 inch
(Ф2.3 mm)
Discharge side
Ф7/8 inch
(Ф21.6 mm)
Ф3/32 inch
(Ф2.3 mm)
Tightening torque
8.9 ~ 13.3 lb·ft
(12 ~ 18 N·m)
Dryer filter
Flare nuts
Clamp
Bolt
Tightening torque
2.2 ± 0.7 lb·ft
(3.0 ± 0.9 N·m)
Tightening torque
18.4 ± 3.7 lb·ft
(25.0 ± 5.0 N·m)
 Loading...