91
REPLACEMENT OF MAIN COMPONENTS
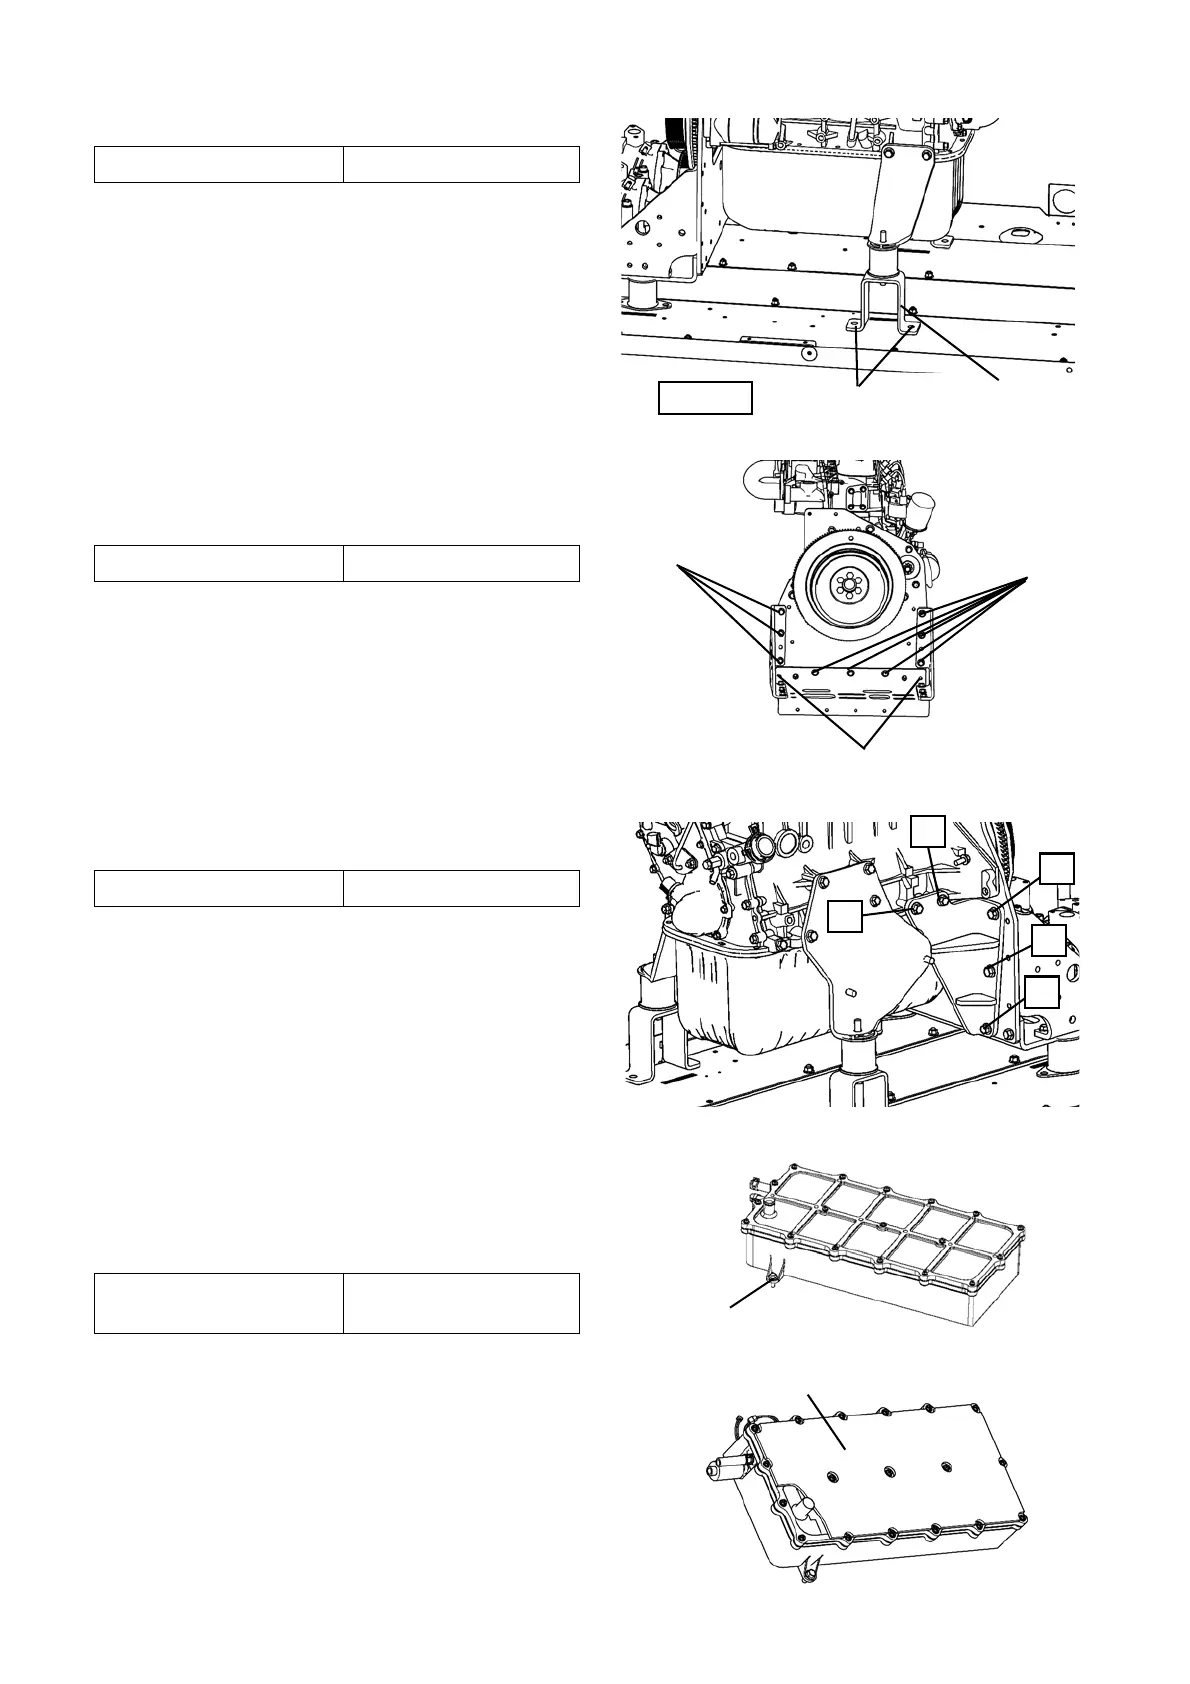
7) Tighten 2 bolts of engine mount bracket.
8) Mount 3 compressor brackets to the engine and
tighten 11 connecting bolts (2 of the bolts are
installed from the engine side).
9) Mount the brackets (both sides) and tighten 5 bolts
(both sides) in the order shown right.
10) Remove the 3 wooden blocks under the compres-
sor bracket and oil pan.
3. Reassemble the exhaust water drain filter box.
1) Mount the box and tighten 1 bolts.
NOTE) Do not tilt the box when installing it, because
the box contains exhaust drain water.
NOTE) Connect the connector of the exhaust water
drain filter if the drain heater kit is installed.
Bolts
Bracket
Front side
Tightening torque 31.0 lb·ft (42.0 N·m)
Bolts
Bolts
Bolts (installed from the engine side)
Tightening torque 31.0 lb·ft (42.0 N·m)
①
②
③
④
⑤
Tightening torque 31.0 lb·ft (42.0 N·m)
Bolt
Tightening torque
8.9 ± 2.7 lb·ft
(12.0 ± 3.6 N·m)
Heater
 Loading...