92
REPLACEMENT OF MAIN COMPONENTS
2) Connect the 3 exhaust water drain hoses to the
box.
4. Connect the air intake hose and the fuel gas hose to
the engine.
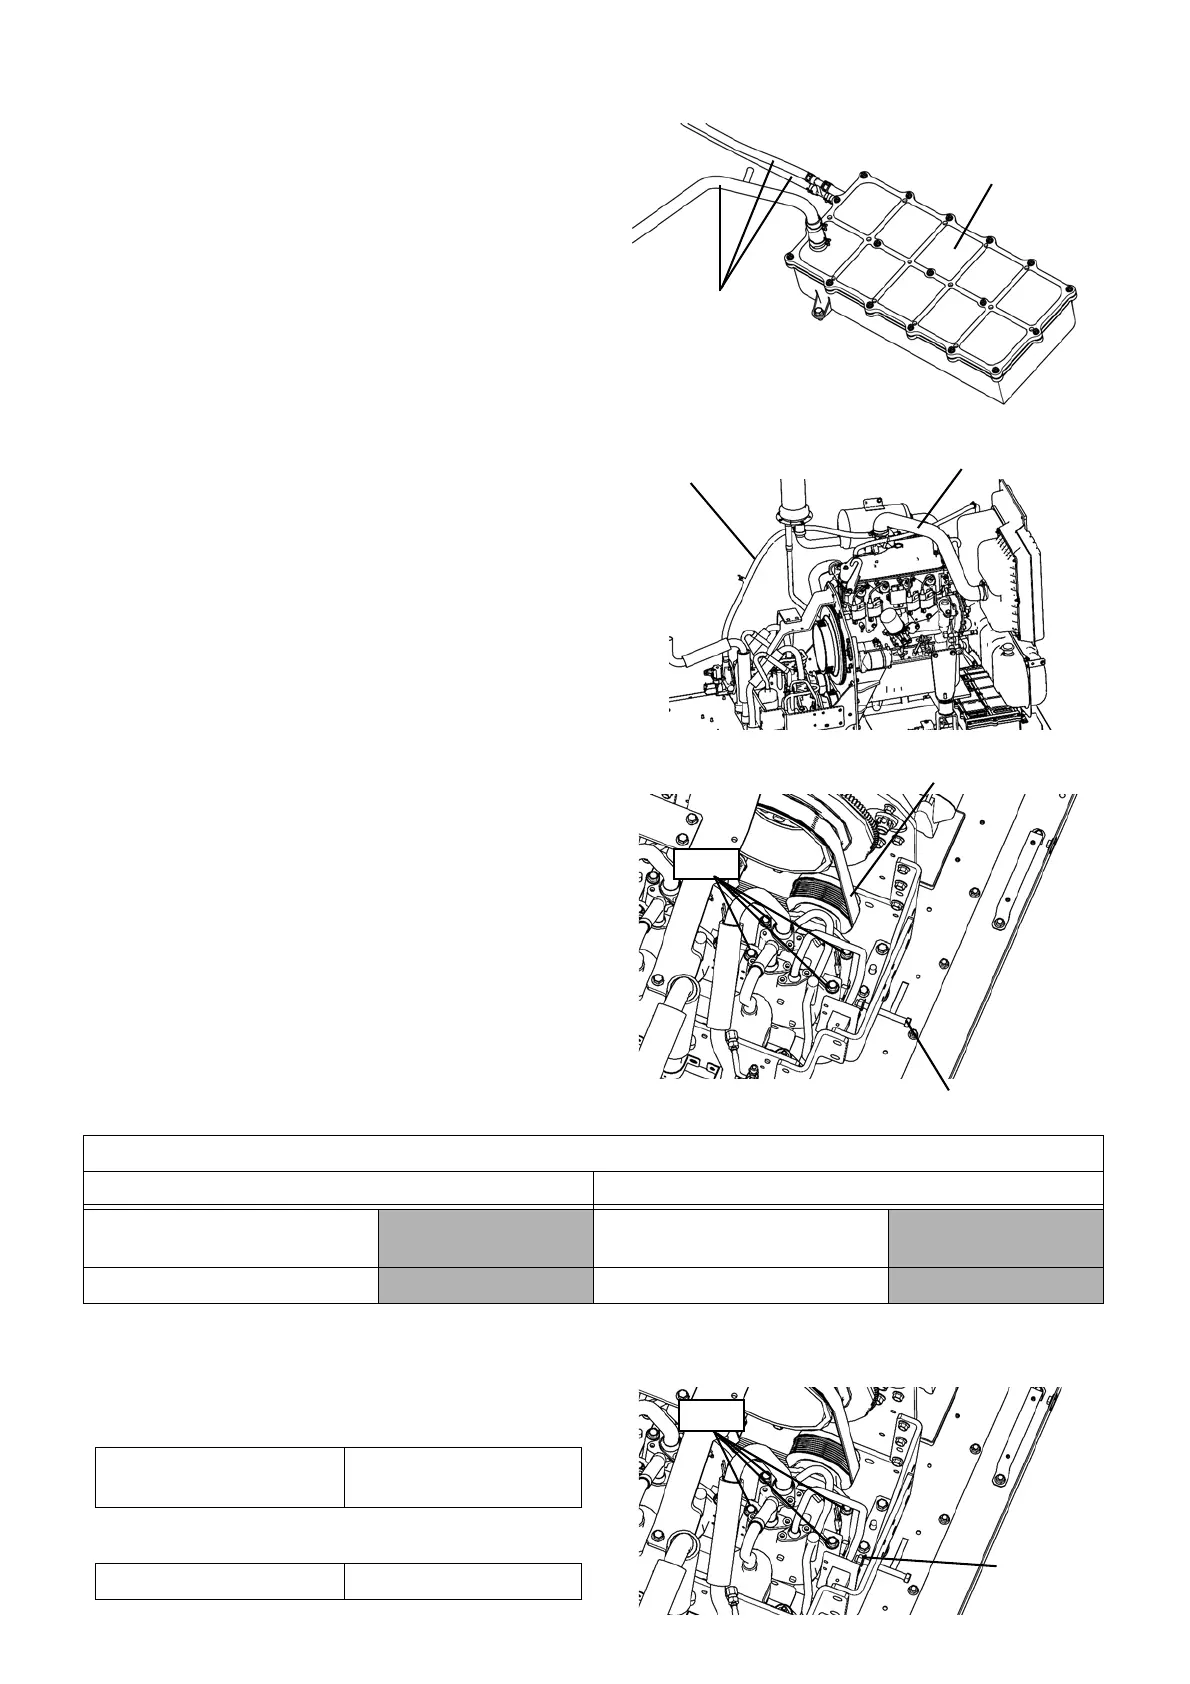
5. Mount the compressor belt.
1) Attach the compressor belt.
2) Lightly tighten 4 mounting bolts of front side com-
pressor.
3) Adjust the belt tension with the adjustment bolt.
※
Measure the belt tension with a sonic belt tension gauge. Tension values for a mechanical belt tension gauge on
the chart are reference values.
4) After adjusting the belt tension, tighten the locknut
to fix the compressor.
5) Tighten up 4 bolts.
Box
Exhaust water
drain hose
Air intake hose
Fuel gas hose
Compressor belt
Adjustment bolt
Bolts
Belt tension※
Belt tension adjustment standard (Replacement) Belt tension adjustment standard (Inspection)
Sonic
Mechanical
(Reference value)
Sonic
Mechanical
(Reference value)
301 ~ 346 lbf (1,340 ~ 1,540 N)
202 lbf (900 N) 241 ~ 277 lbf (1,070 ~ 1,230 N) 162 lbf (720 N)
Locknut
Bolts
Tightening torque
7.4 ~ 11.1 lb·ft
(10 ~ 15 N·m)
Tightening torque 31.0 lb·ft (42.0 N·m)
 Loading...