CHAPTER 4: OPERATING INSTRUCTIONS
UB25 LINEAR DC RESISTANCE WELDING CONTROL
4-6 990-665
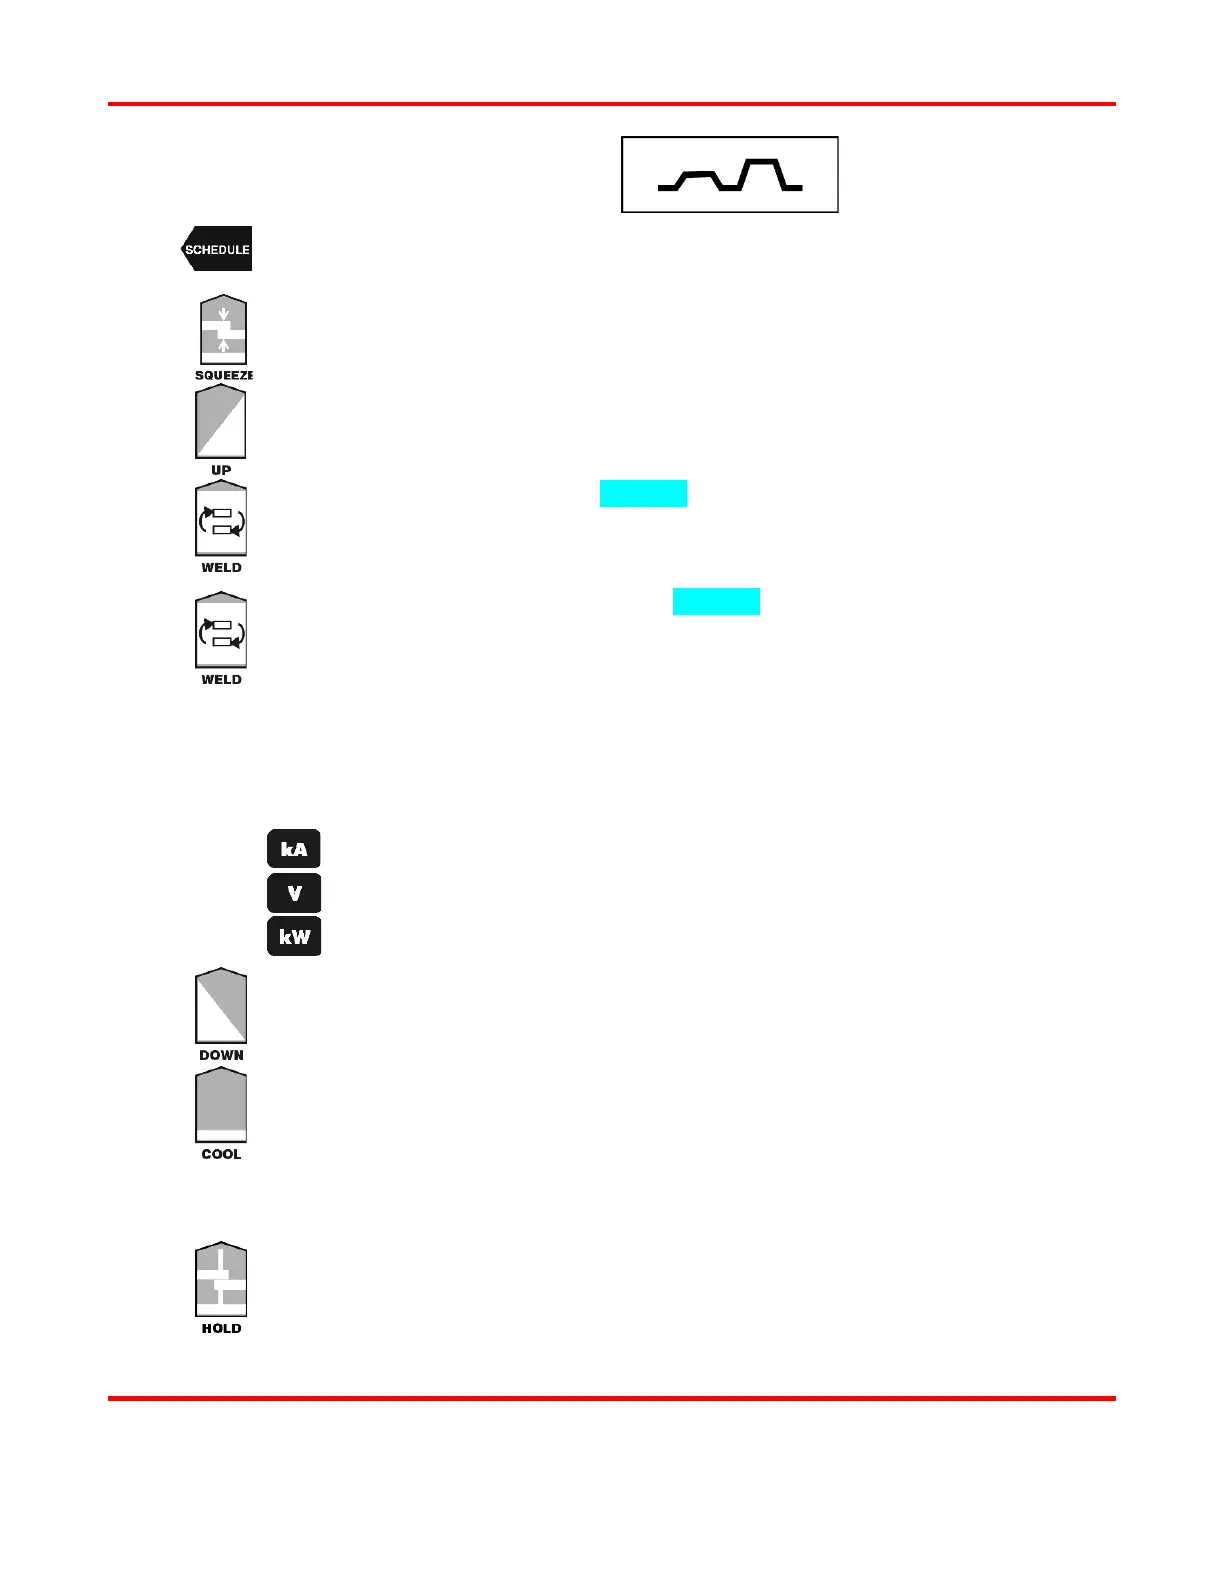
-Pulse Weld Schedule
Press the SCHEDULE button, then select a Weld Schedule using either the ▲▼ arrows
or the numeric keypad.
Press the SQUEEZE button to enter the squeeze time before the weld. Use the numeric
keypad to enter the time or use the ▲▼ arrows. We recommend 150 ms.
Press the PULSE 1 UPSLOPE button to enter the amount of time for the Weld Pulse 1
upslope. Use the numeric keypad to enter the time or use the ▲▼
between 0 and 99 milliseconds.
Press the PULSE 1 WELD key to highlight the bottom line of the LCD to enter the weld
time. Use the numeric keypad to enter the time or use the ▲▼
between 0 and 99 milliseconds.
Press the PULSE 1 WELD key again to highlight the middle line of the LCD to enter
weld energy. Use the numeric keypad to enter the energy level or use the ▲▼
The Power Supply output ranges are:
Current: from 0.005
1.000 kiloamps.
Voltage: from 0.100
4.900 volts.
Power: from 0.050
4.900 kilowatts.
Perform one of the following to program the Pulse 1 feedback mode:
Press the kA key to program current as the feedback mode.
Press the V key to program voltage as the feedback mode.
Press the kW key to program power as the feedback mode.
Press the PULSE 1 DOWNSLOPE key to enter the amount of time for the Weld Pulse
1 downslope. Use the numeric keypad to enter the time or use the ▲▼
time between 0 and 99 milliseconds.
Press the COOL key to enter the amount of time between Pulse 1 and Pulse 2. Use the
numeric keypad to enter the time or use the ▲▼ arrows. Enter a time between 0 and
milliseconds. We recommend at least 2 milliseconds.
Program Pulse 2 by repeating Steps 3 through 7 above using the keys for Pulse 2, entering
appropriate values for Pulse 2.
Press the HOLD key to enter the amount of time for the hold period after the weld. Use
the numeric keypad to enter the time or use the ▲▼ arrows. Enter a time between 0
999 milliseconds. We recommend at least 50 milliseconds.